ARM-Based Web Cluster – Build Log Part 1
After doing extensive research on single board ARM-based computers I decided to build my own cluster. The purpose of the ultra low power cluster is to develop new applications with the most recent software technologies and host few production websites. Yes, I know, I’m crazy! 😀
My research showed that previous clusters lack significant calculating power and they’re based on performance limited (hardware) boards like Raspberry Pi 2, Raspberry Pi 3 and PINE A64+. The main problems with those boards are the RAM, the limited I/O of the microSD cards (limited to 25 MB/s on Pi 2 and Pi 3), and the network speed (10/100).
Those boards are more suitable to be used as development boards. Often microSD card speeds are limited to 25MB/s (on Pi 3), which means that even if you buy UHS-II and UHS-3 cards you won’t be able to utilize them at their full speeds.
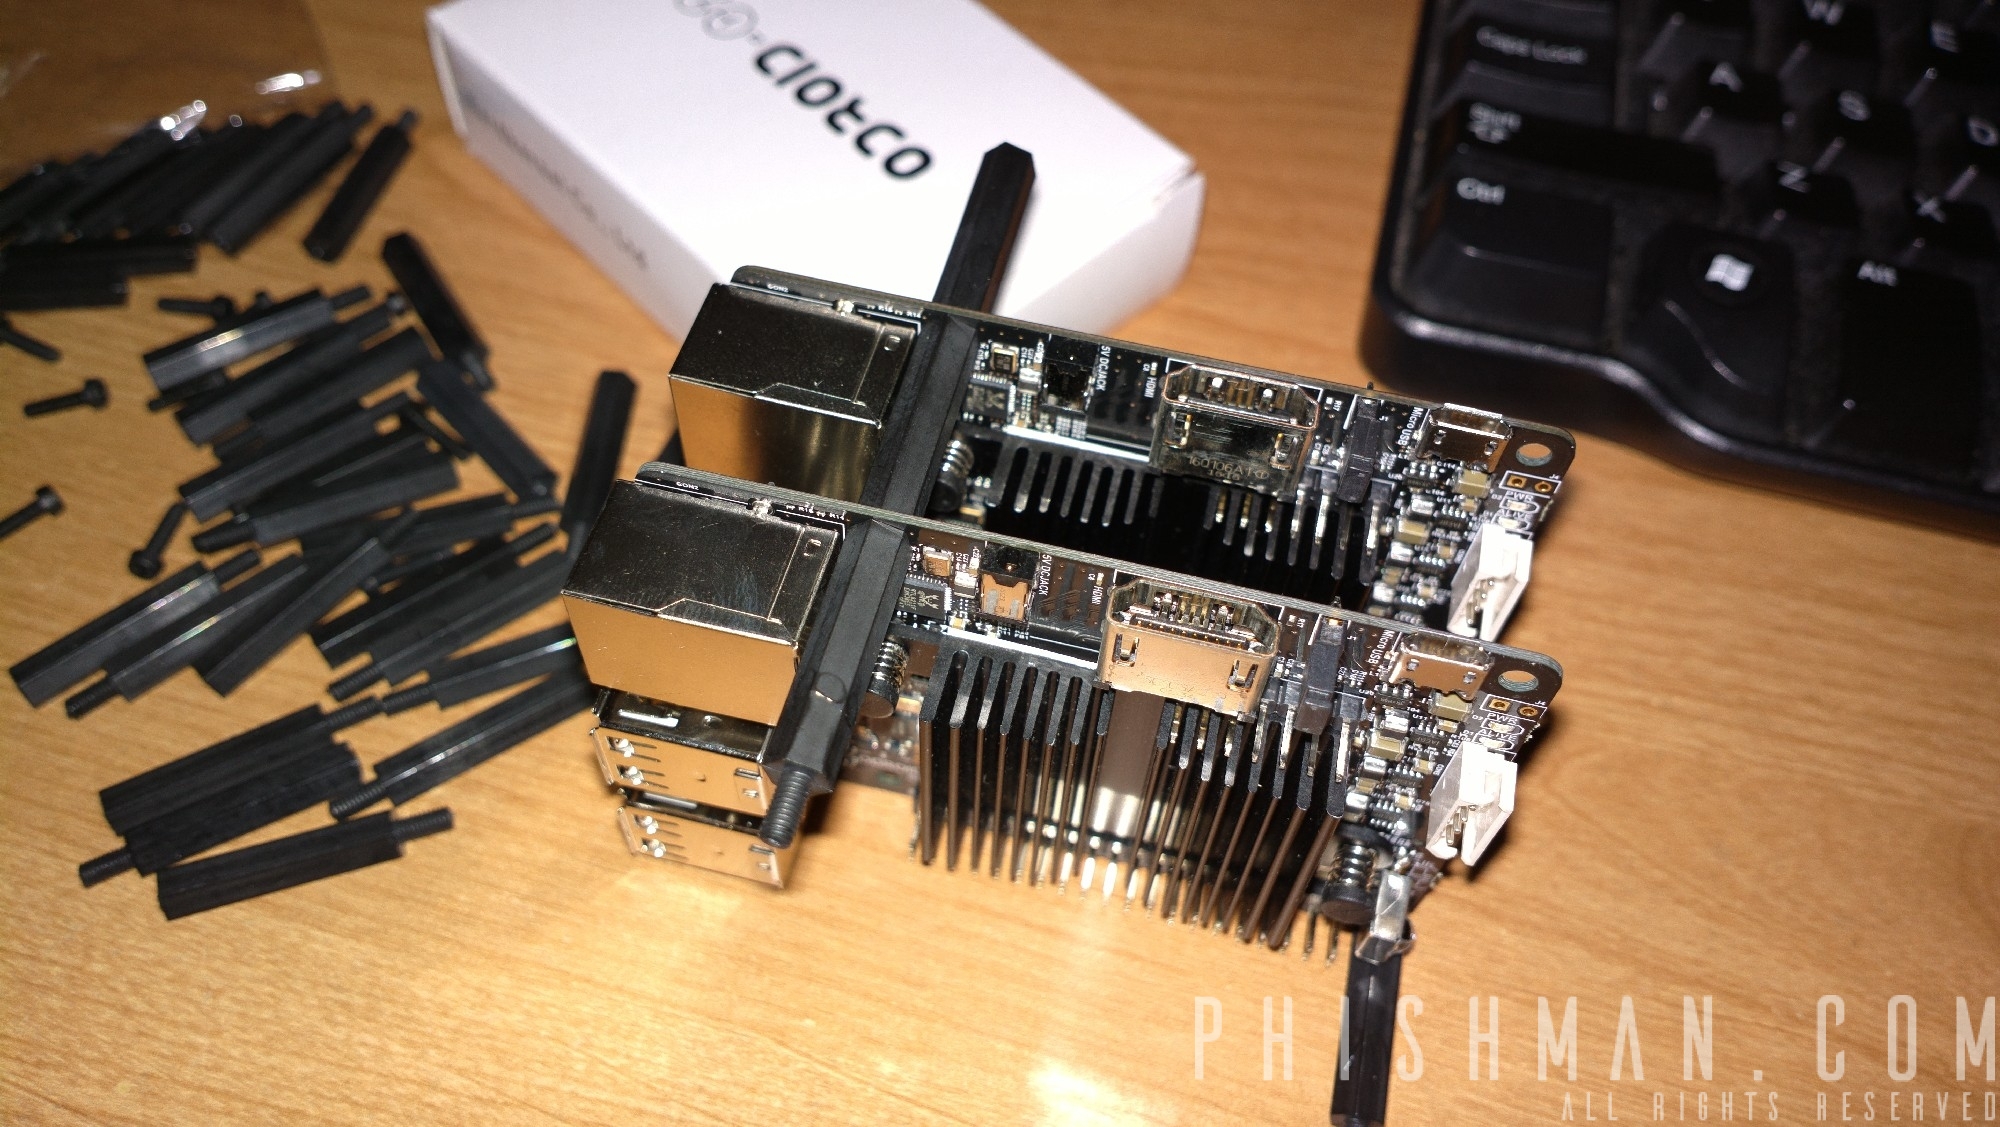
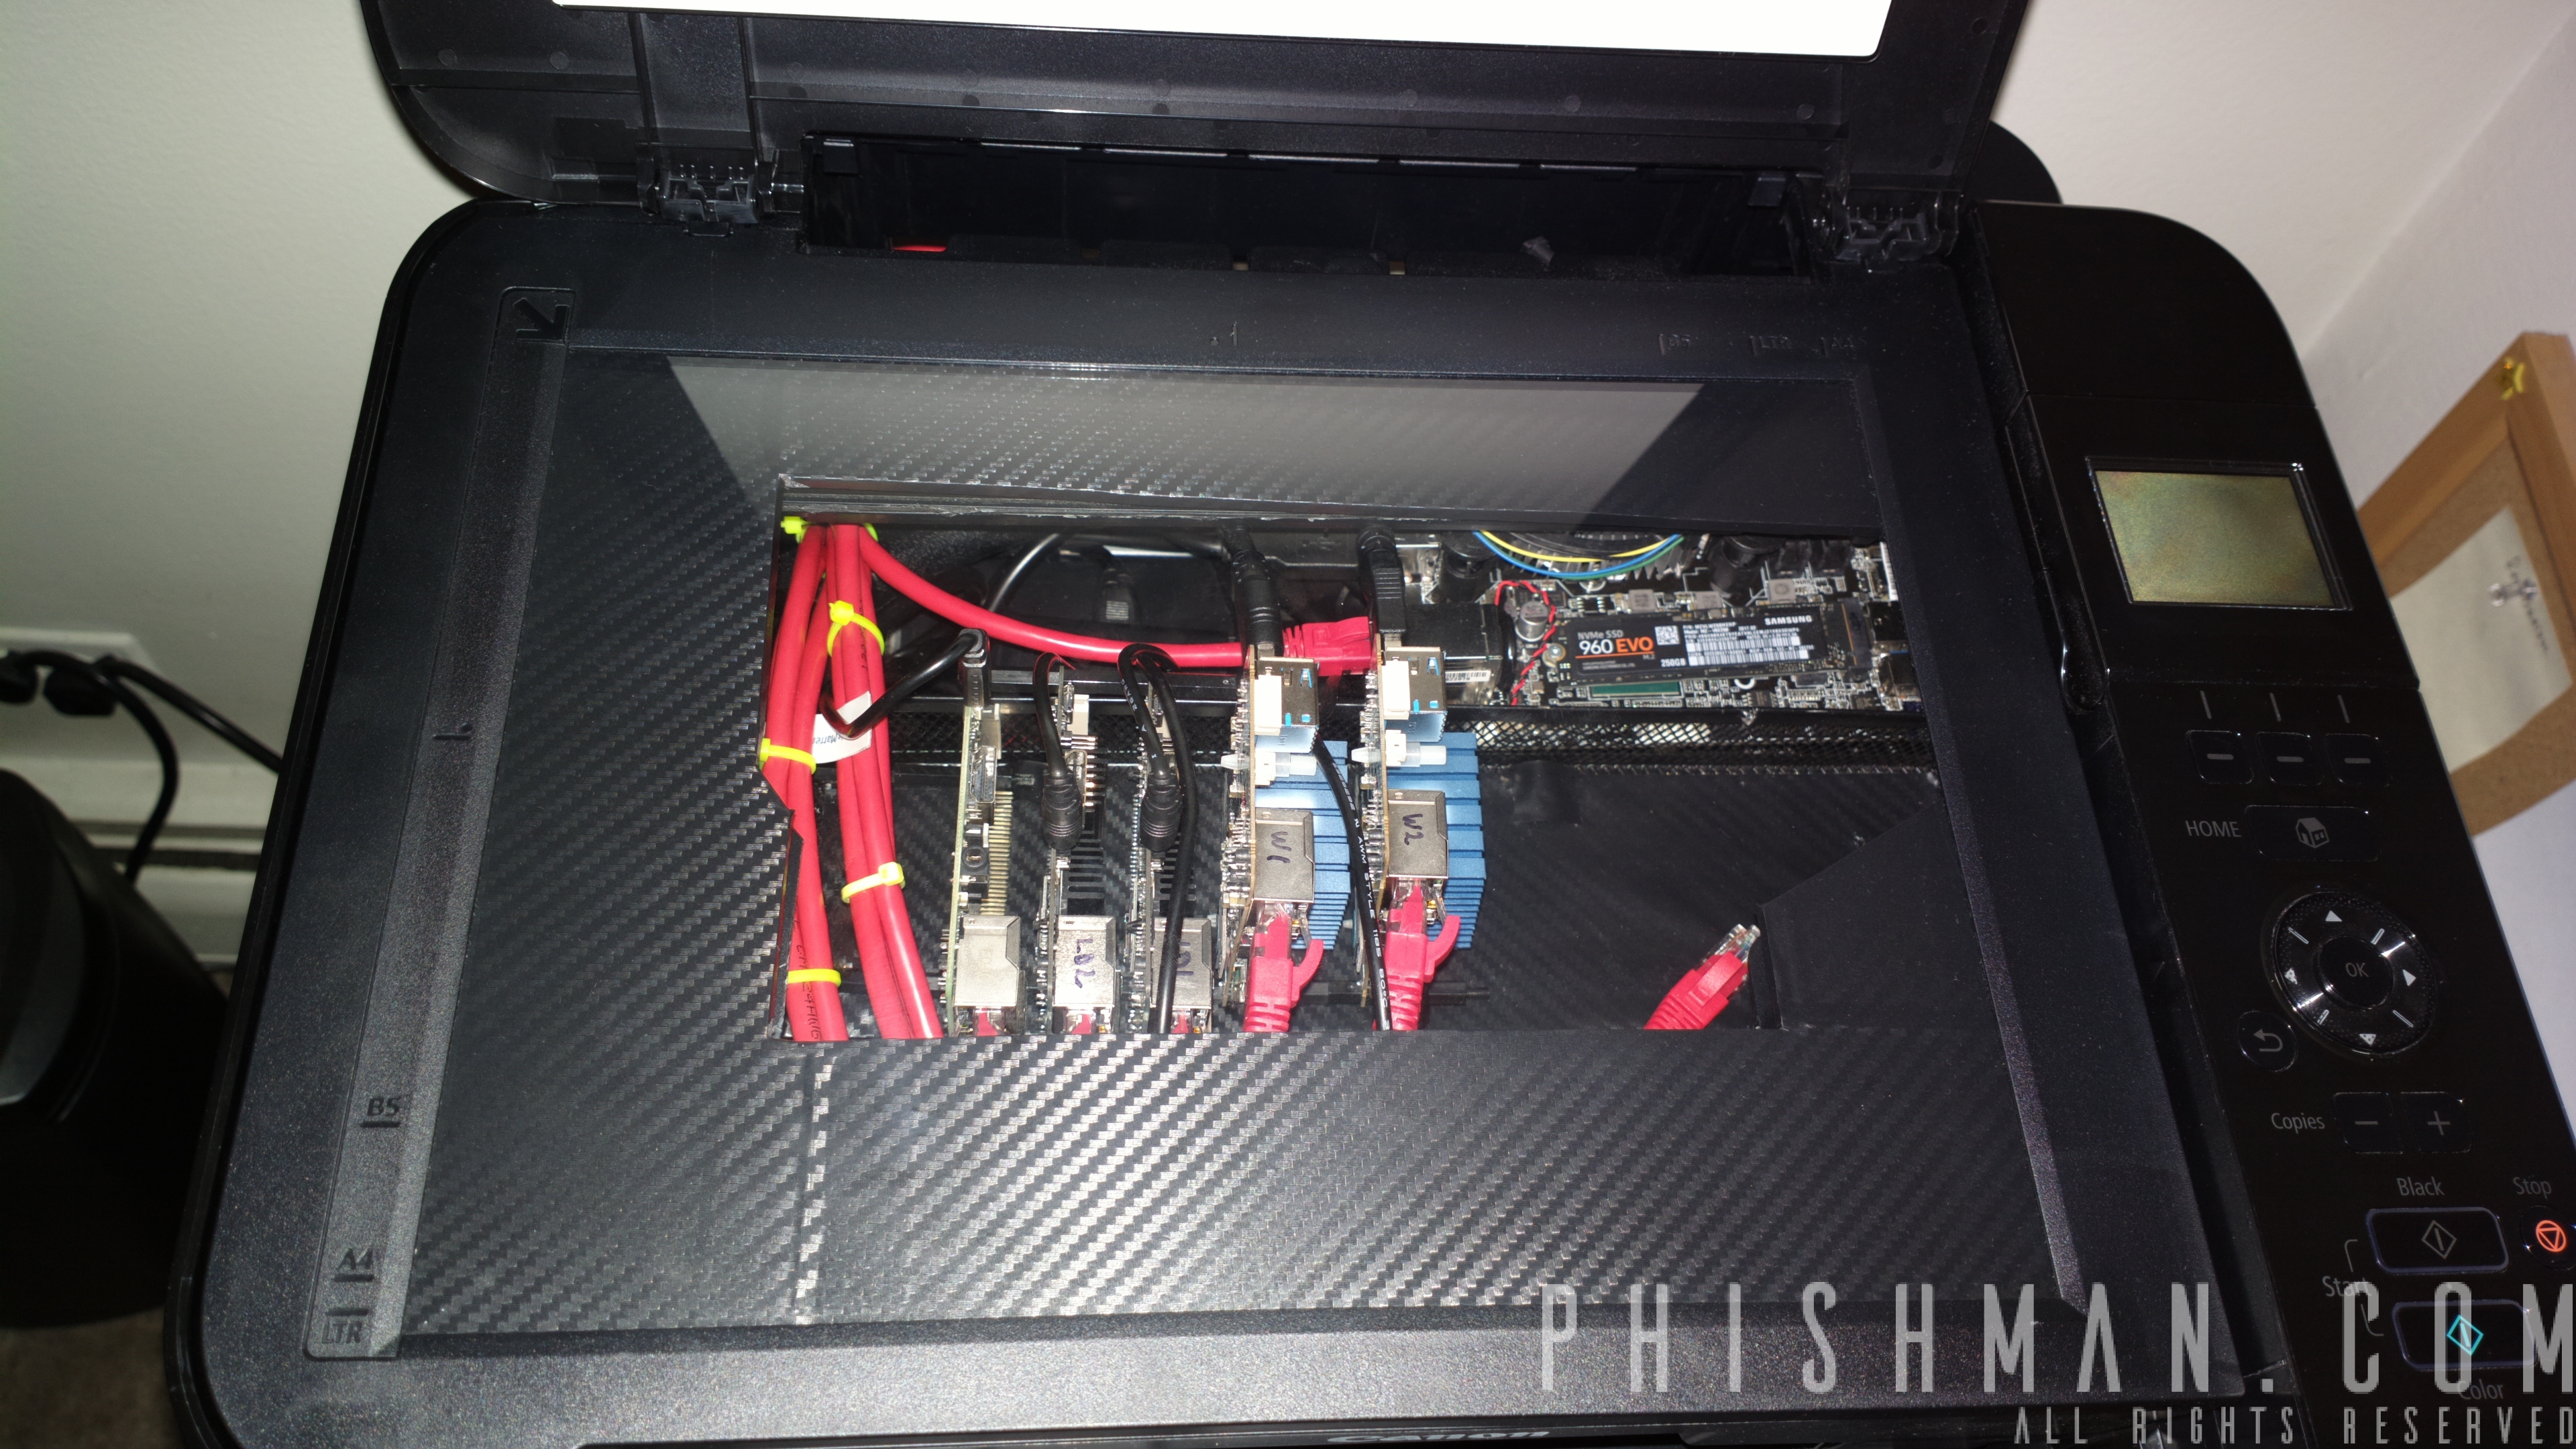
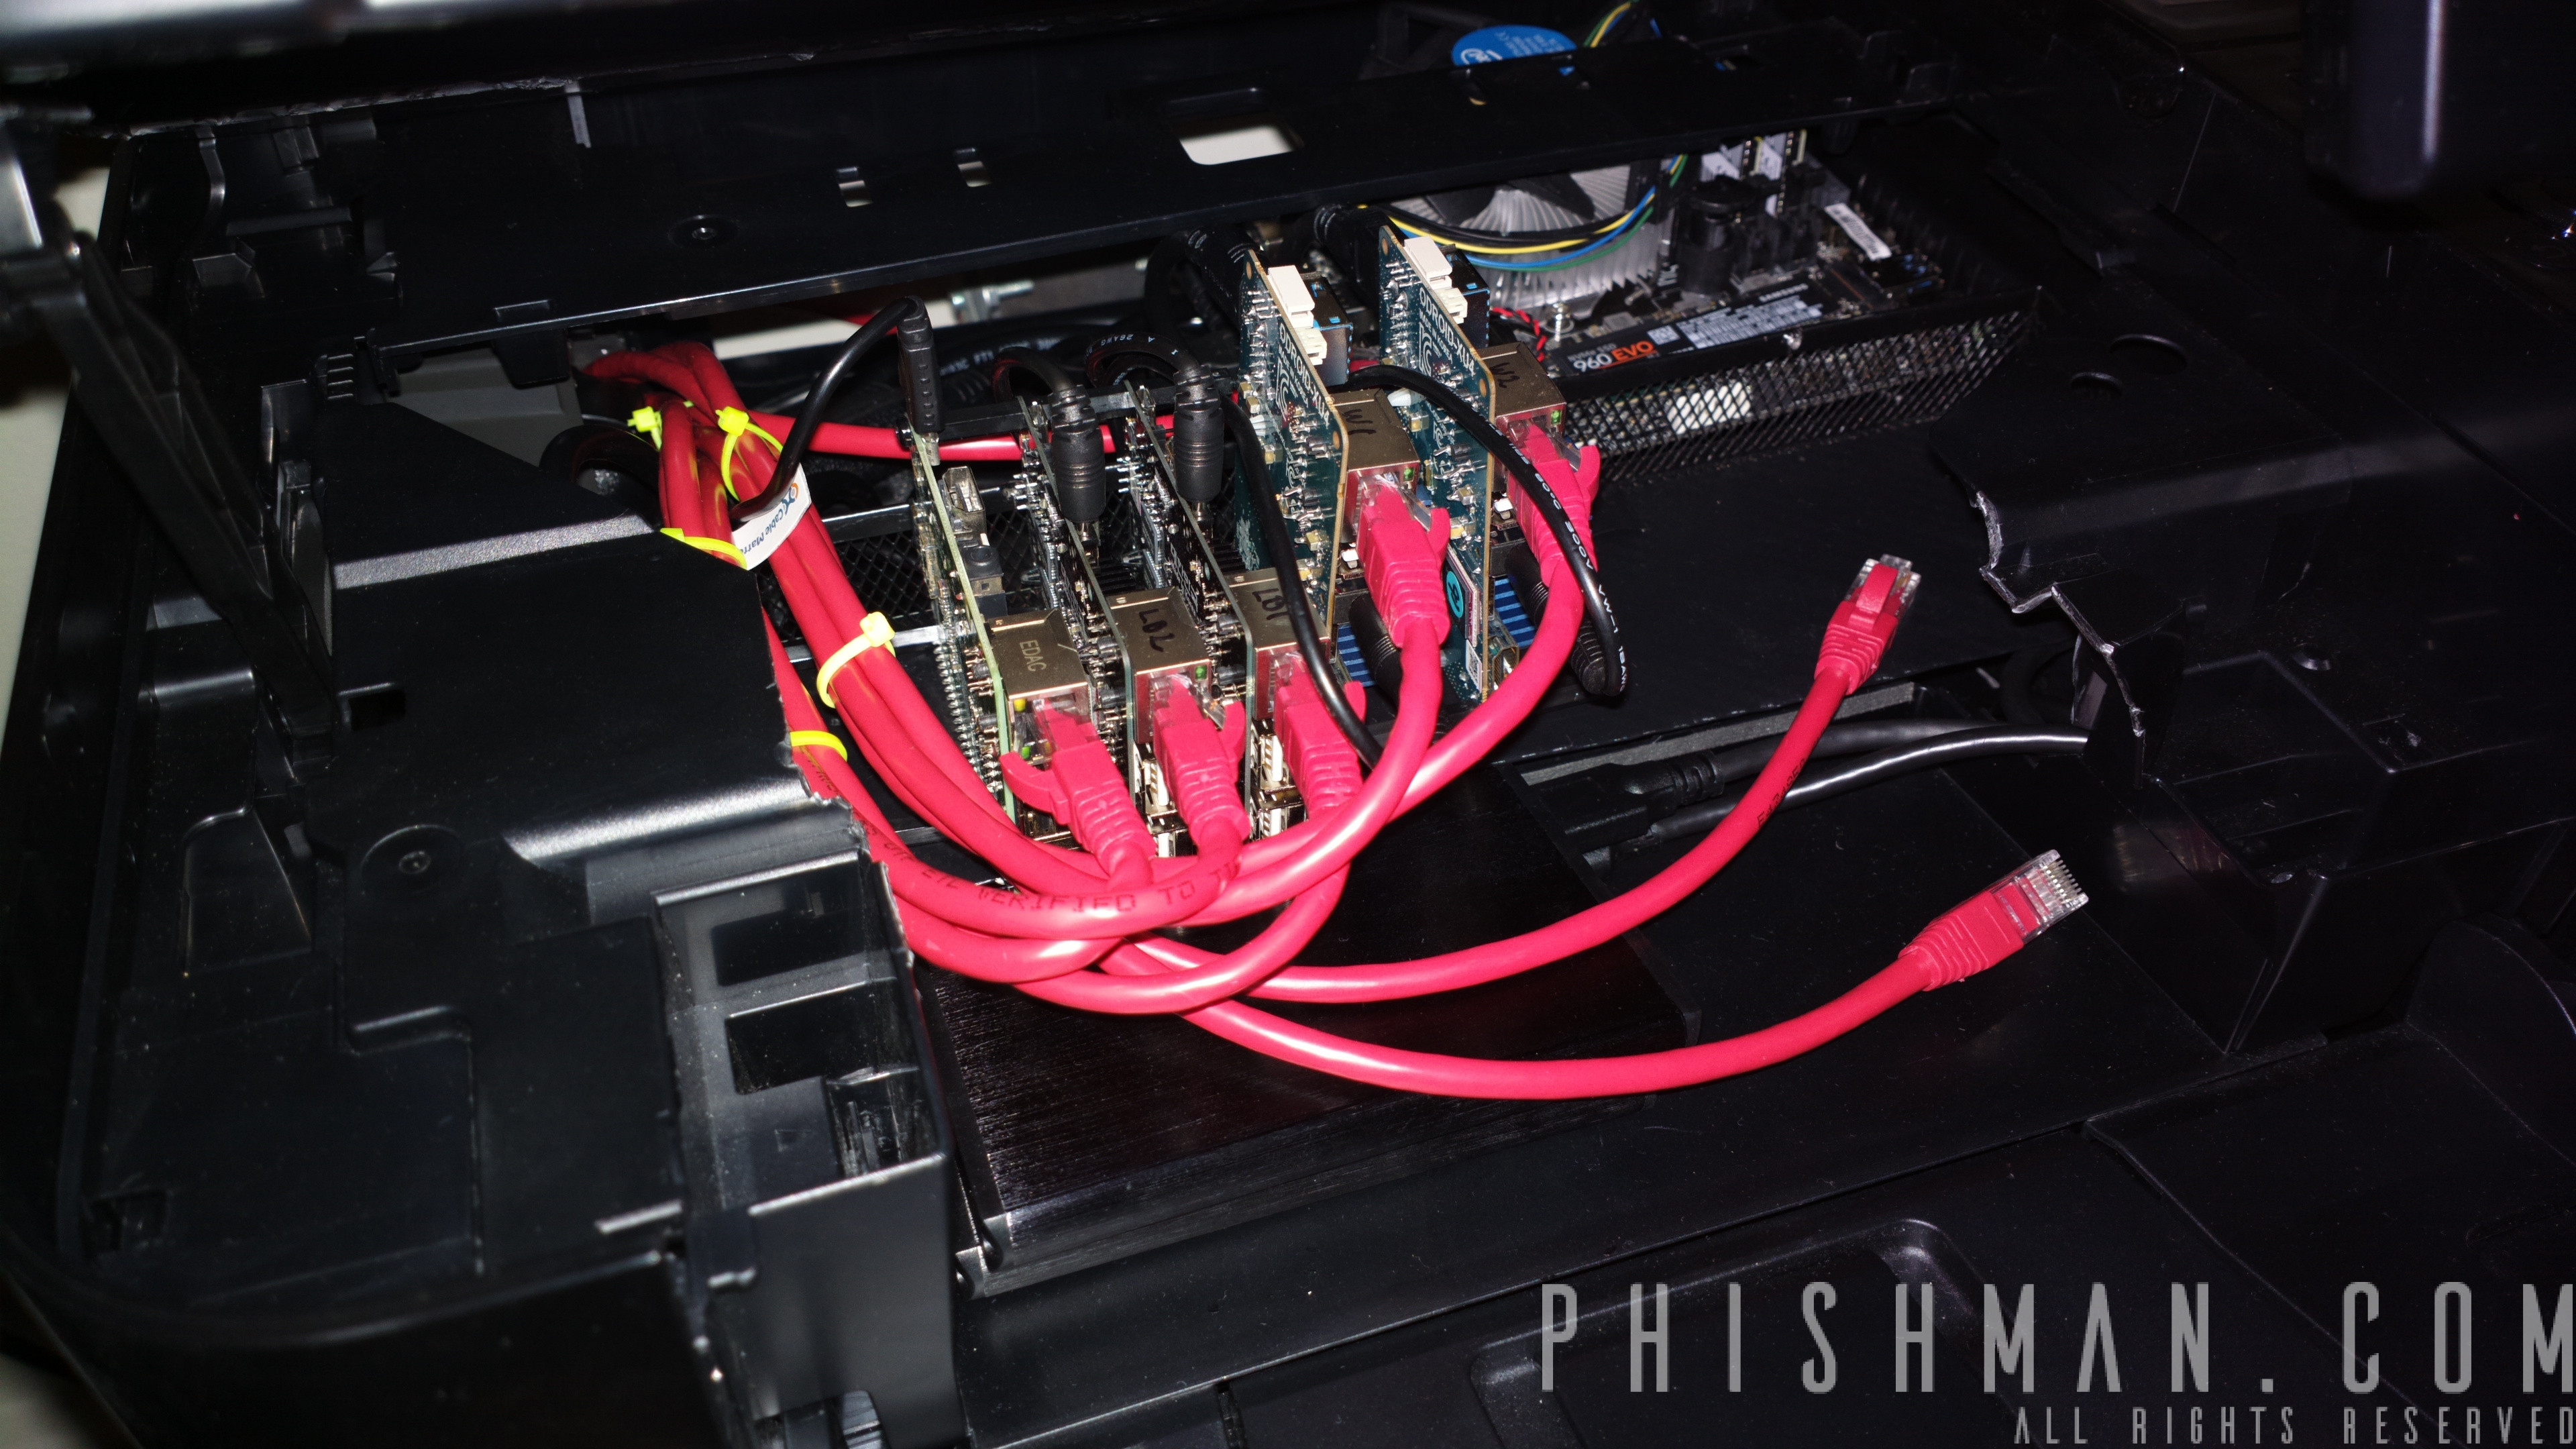
I’ve looked closely at the ODROID single boards – those have powerful CPU (Quad and Octa-core A53 and A15), fast Gigabit network (10/100/1000) , 2GB RAM USB 3.0, eMMC support.
For my build I’ve chosen the following hardware
Parts and single-boards – www.ameridroid.com
Web and Caching Nodes:
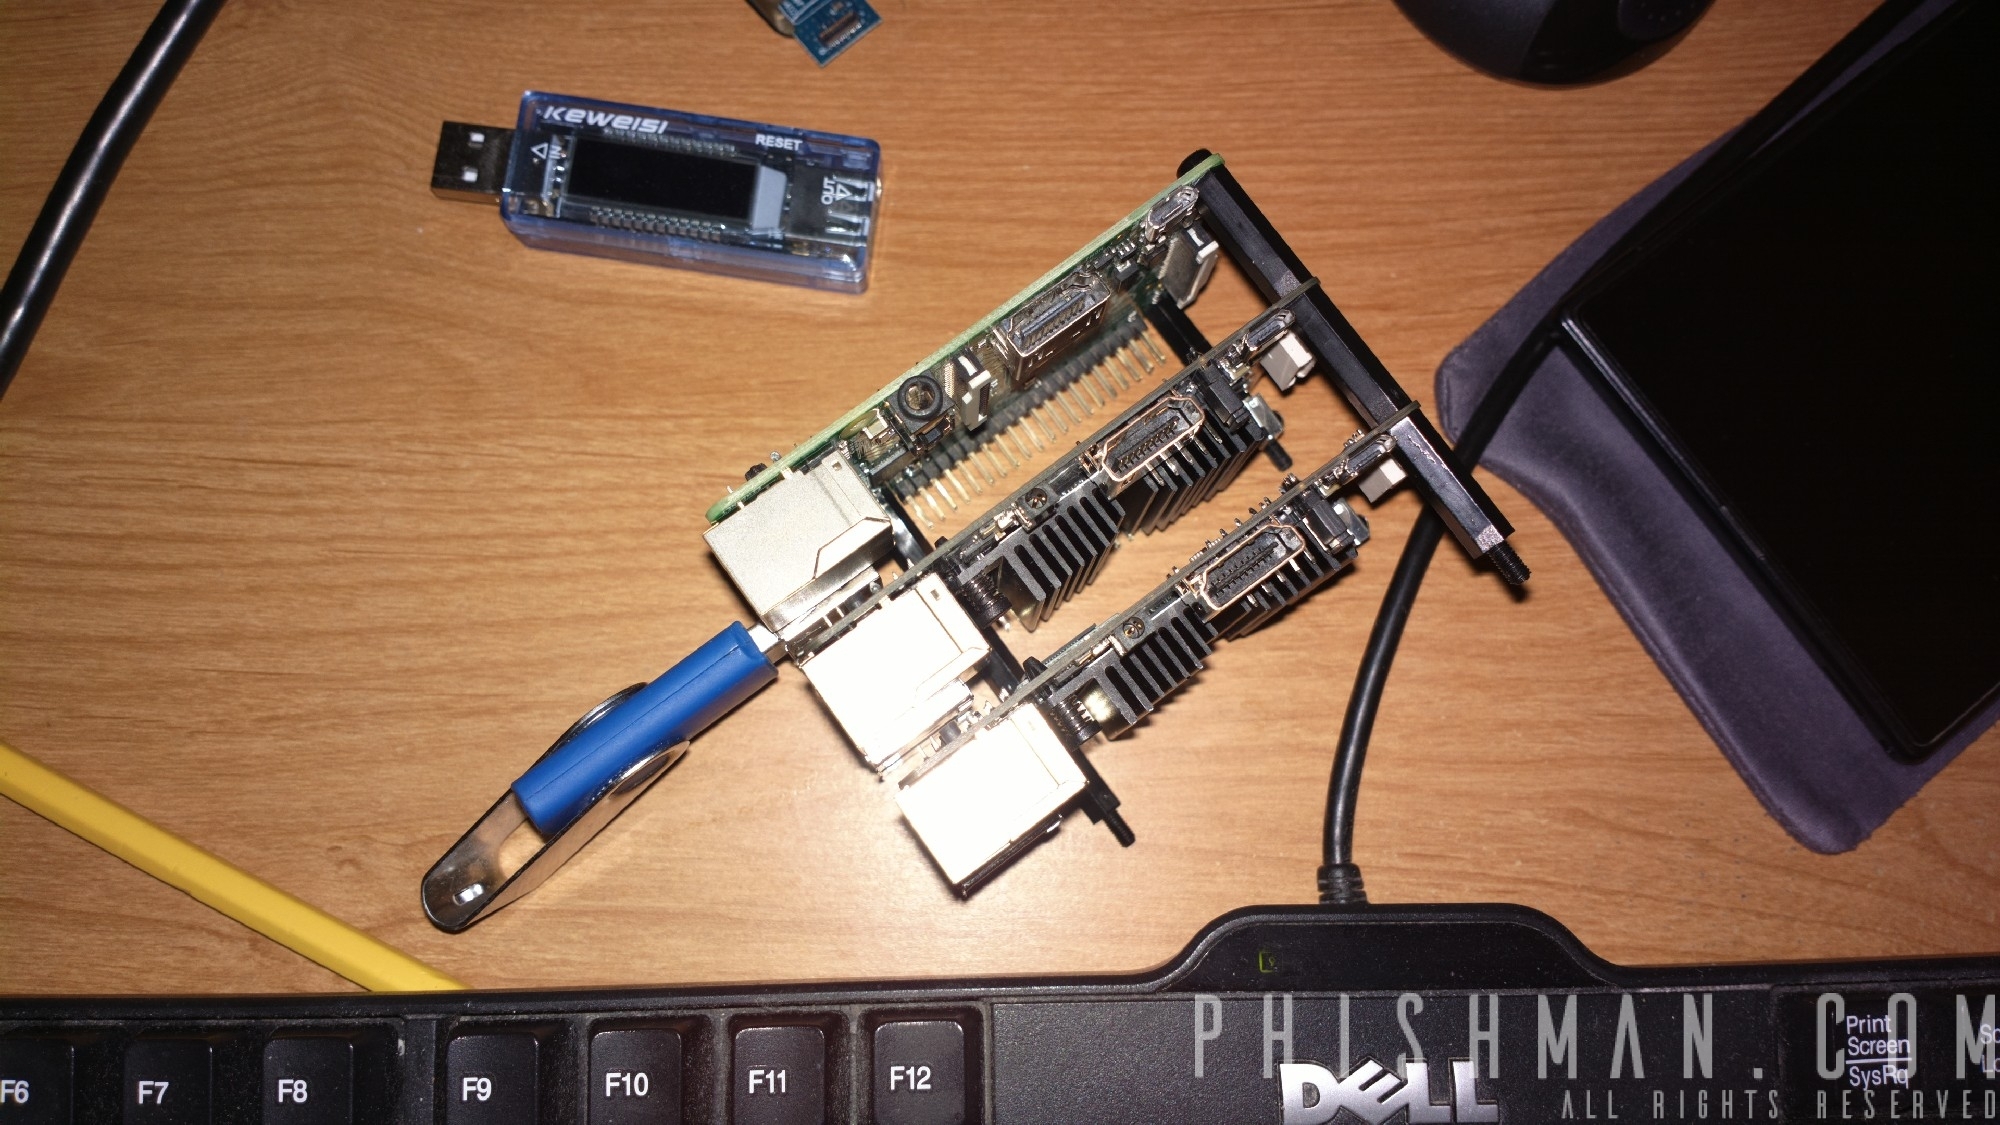
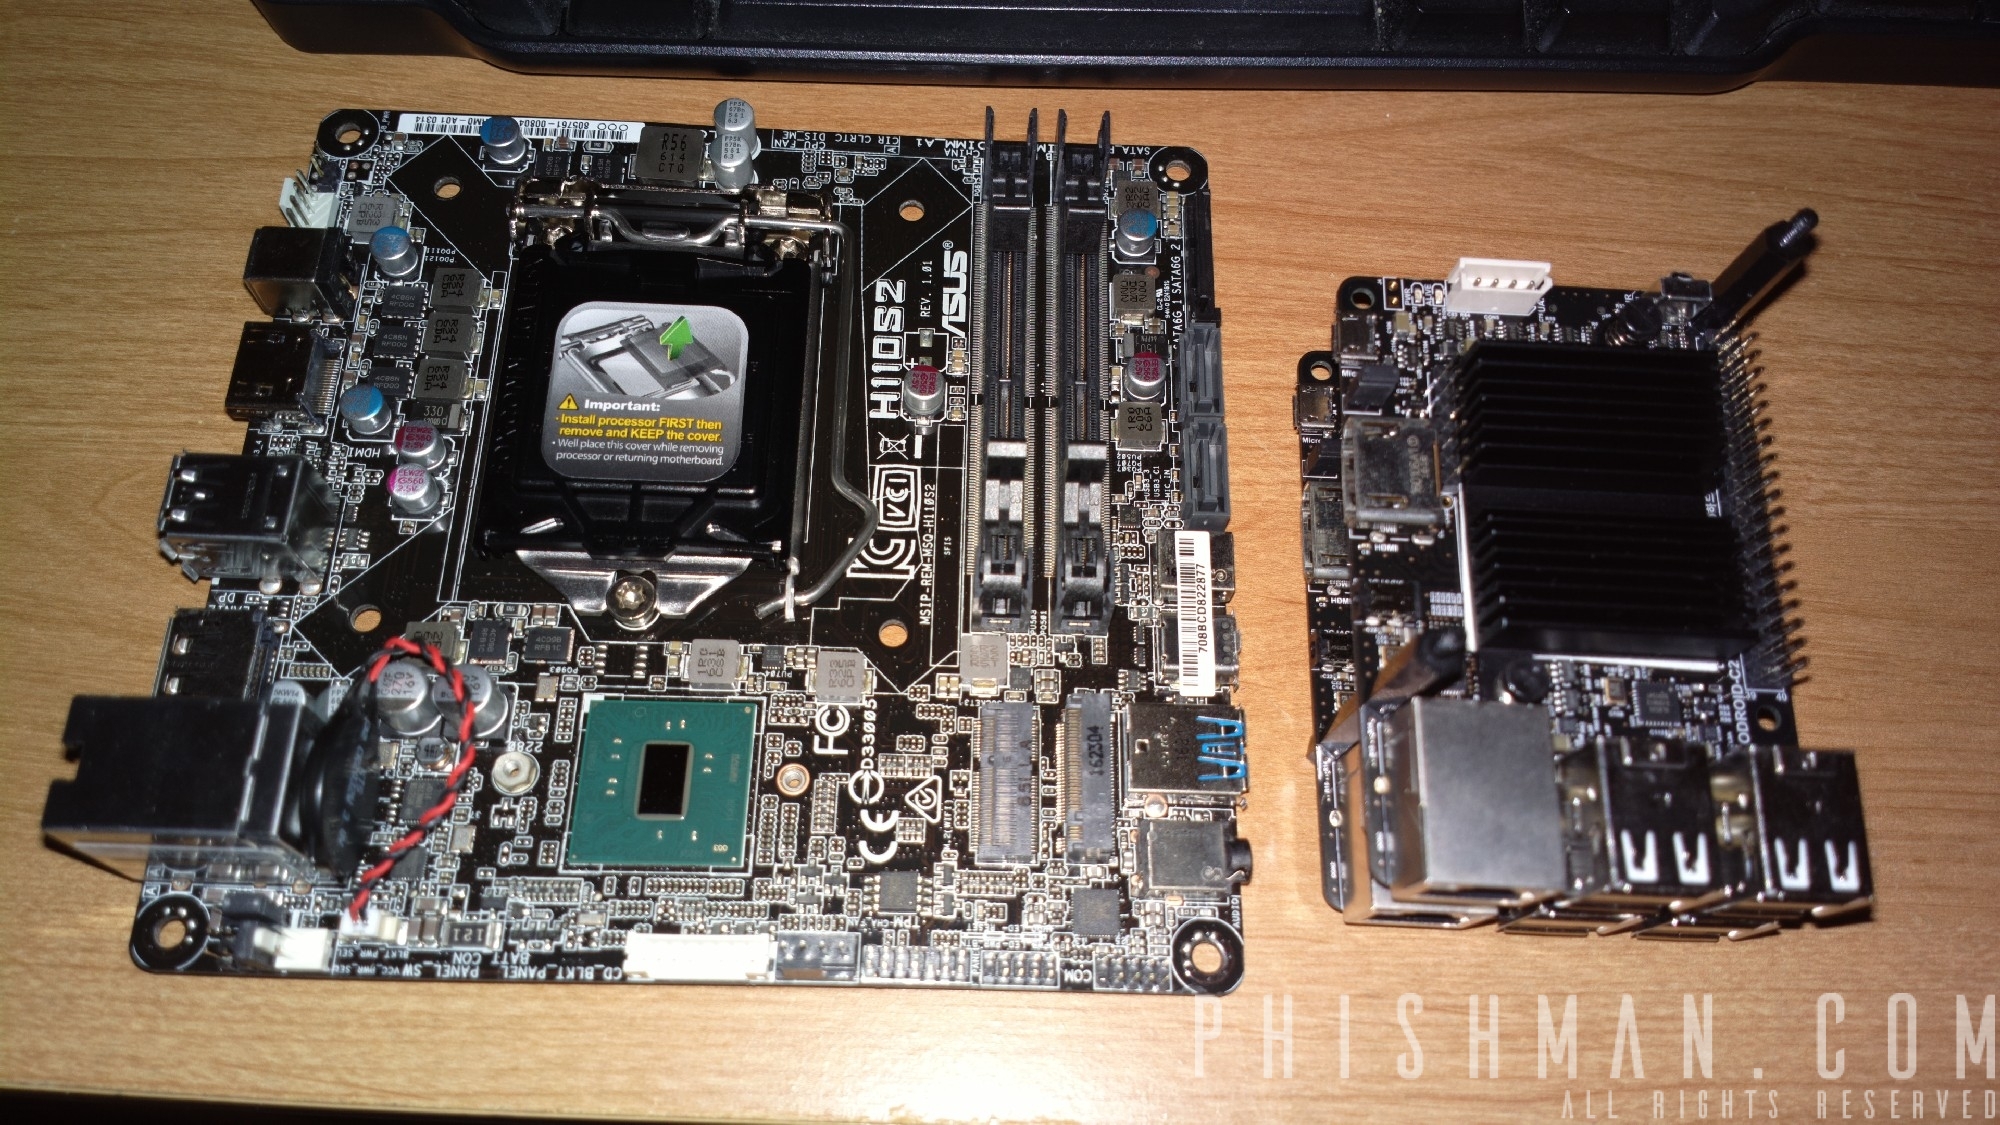
ODROID-C2:
|
1 2 3 4 5 6 7 |
Amlogic ARM® Cortex®-A53(ARMv8) 1.5Ghz quad core CPUs 2Gbyte DDR3 SDRAM Gigabit Ethernet eMMC5.0 HS400 Flash Storage slot / UHS-1 SDR50 MicroSD Card slot USB 2.0 Host x 4, USB OTG x 1 (power + data capable) Ubuntu 16.04 or Android 5.1 Lollipop based on Kernel 3.14LTS 16GB eMMC Black Module C2 Linux |
Web Server Nodes:
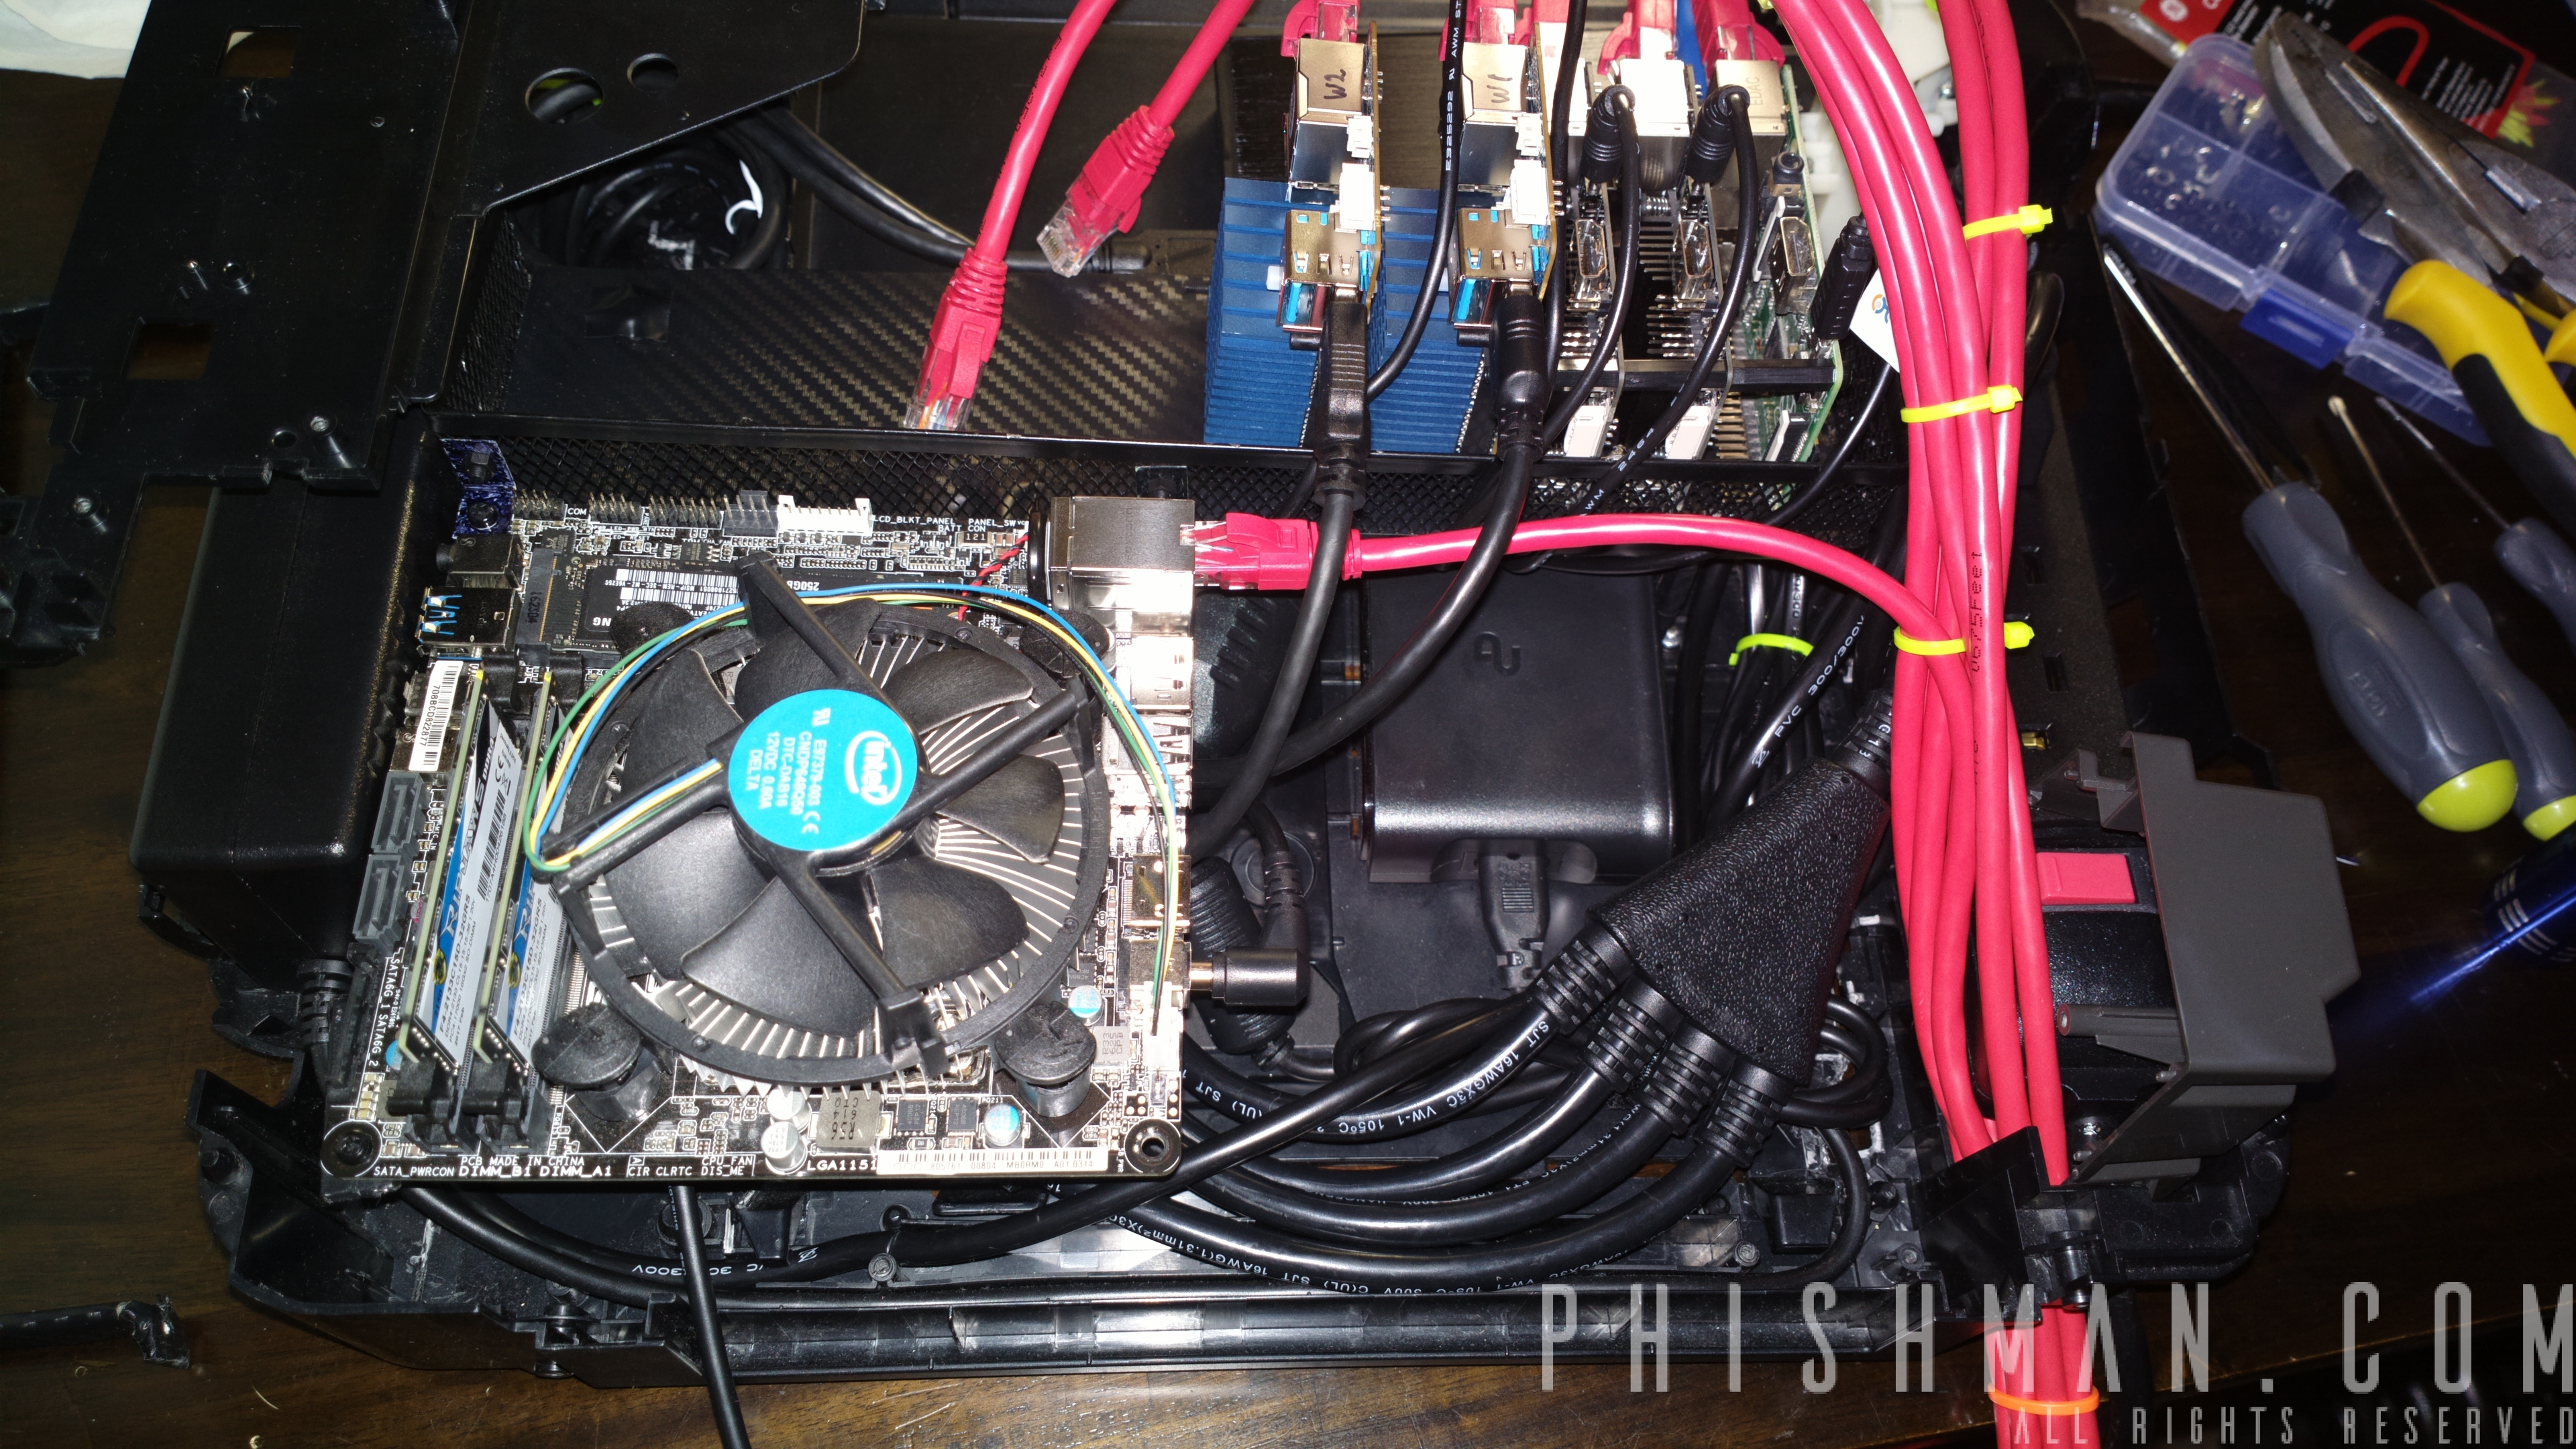
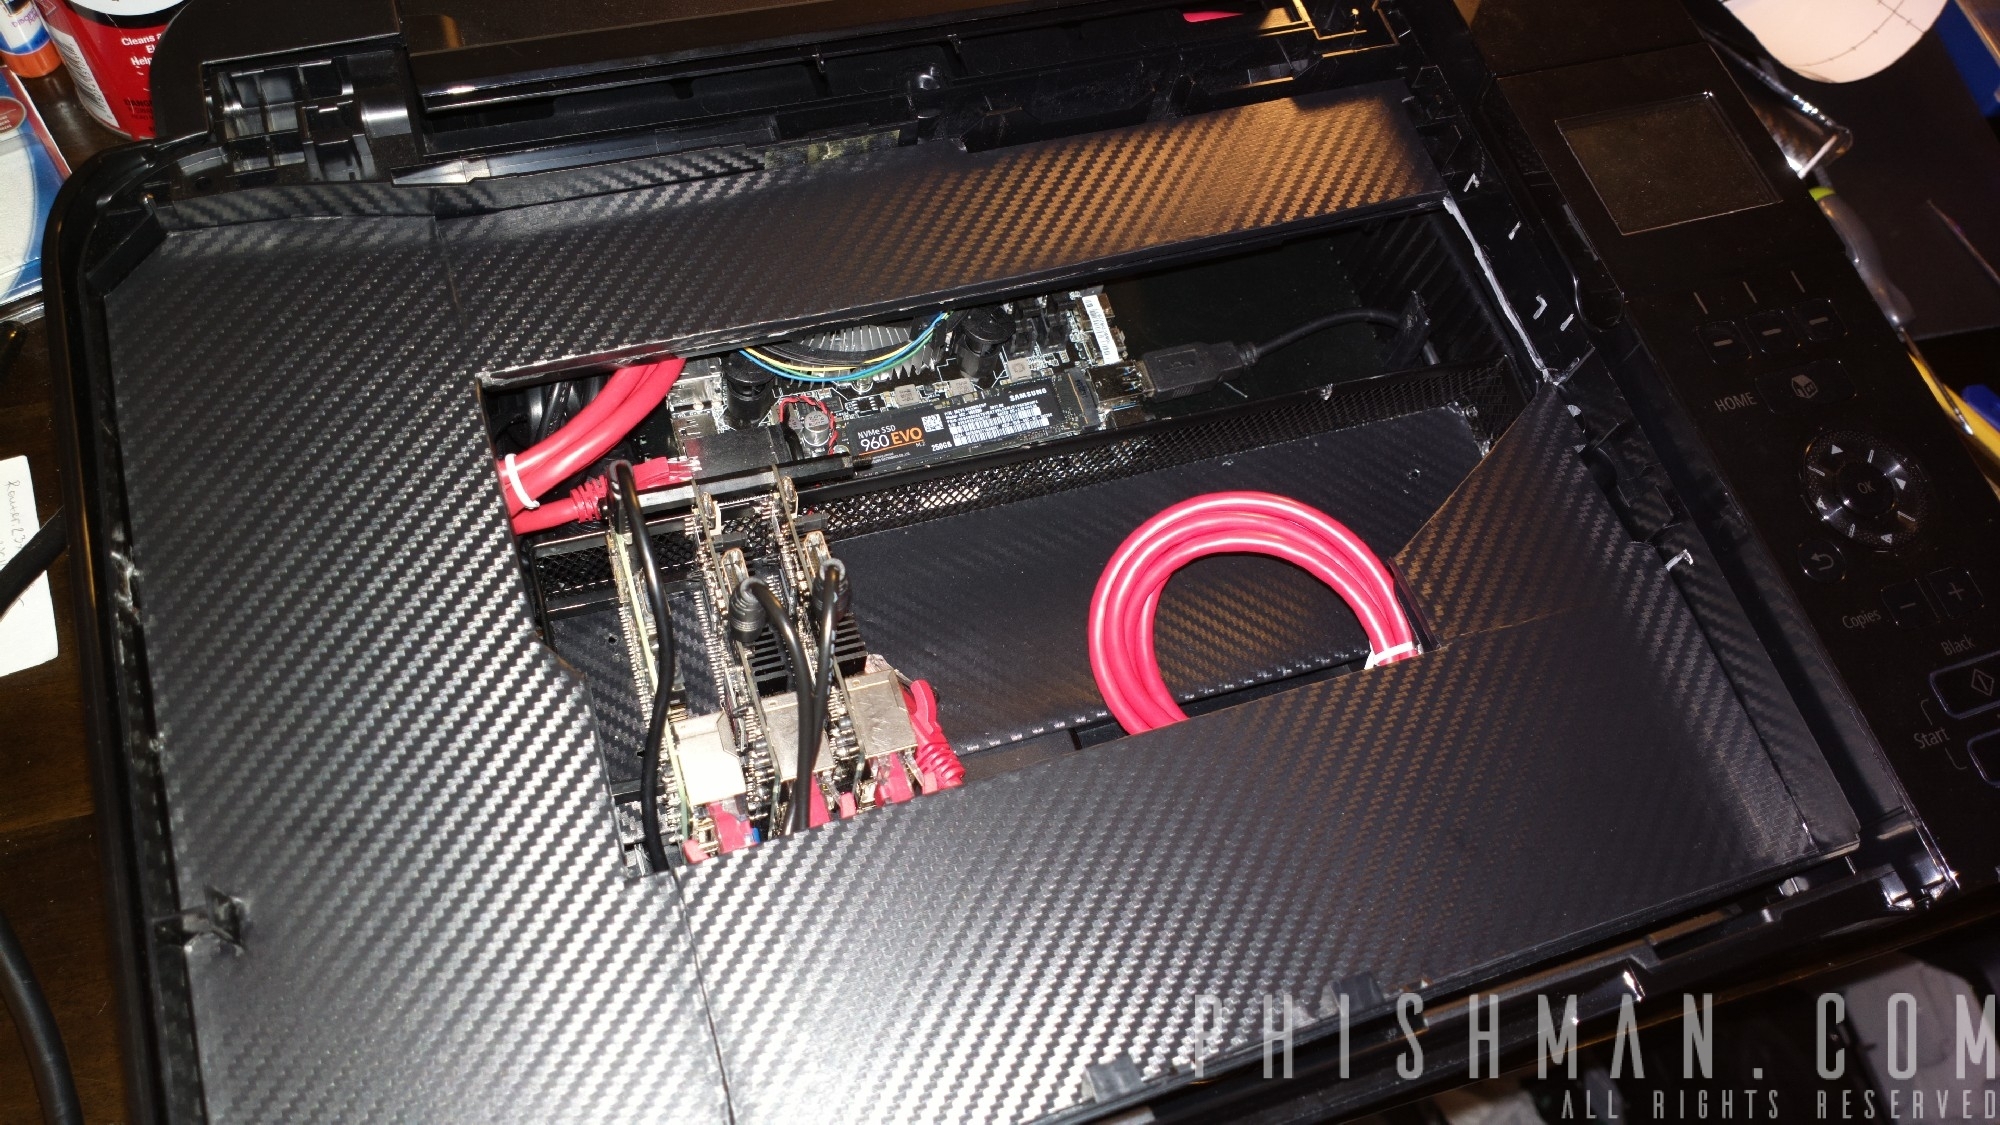
ODROID-XU4:
|
1 2 3 4 5 6 |
Samsung Exynos5422 Cortex™-A15 2Ghz and Cortex™-A7 Octa core CPUs 2Gbyte LPDDR3 RAM PoP stacked eMMC5.0 HS400 Flash Storage 2 x USB 3.0 Host, 1 x USB 2.0 Host Gigabit Ethernet port Linux Kernel 4.9 LTS |
We benefit from faster more capable CPU, eMMC (up to 400MB/s capable eMMC5.0) speeds, USB 3.0, Gigabit network and 2 GB of LPDDR3.
Database Nodes:
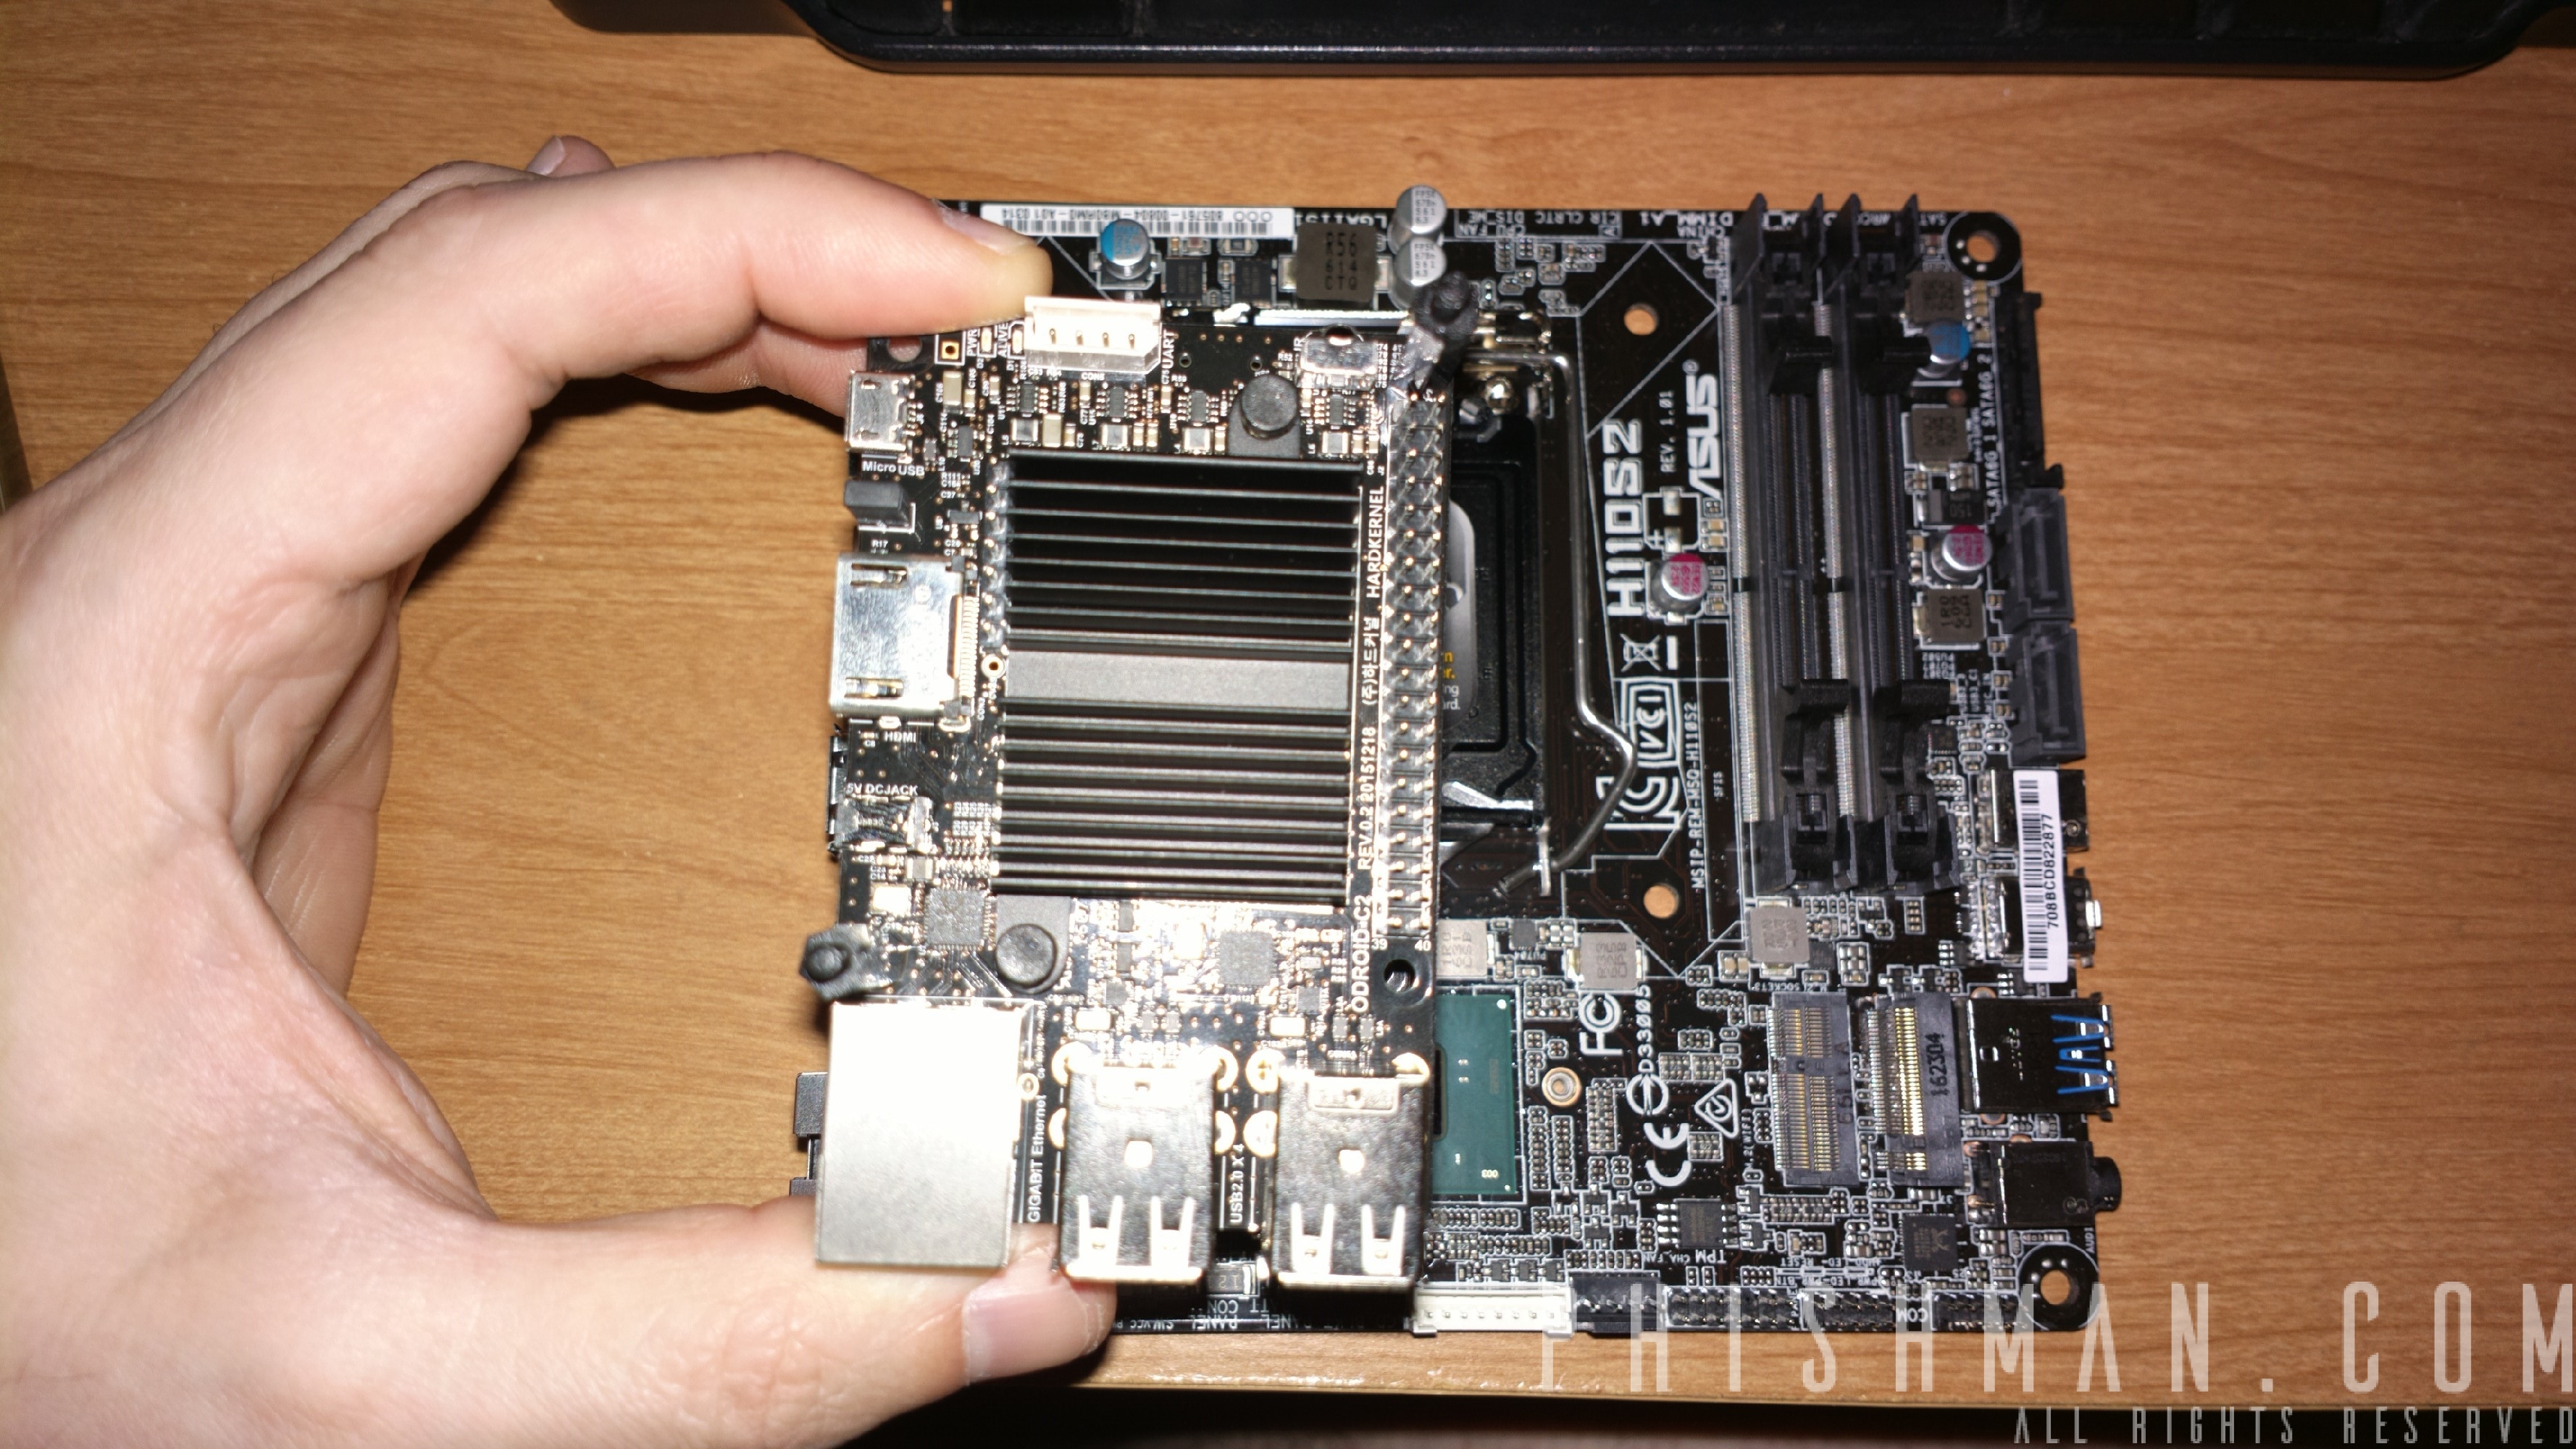
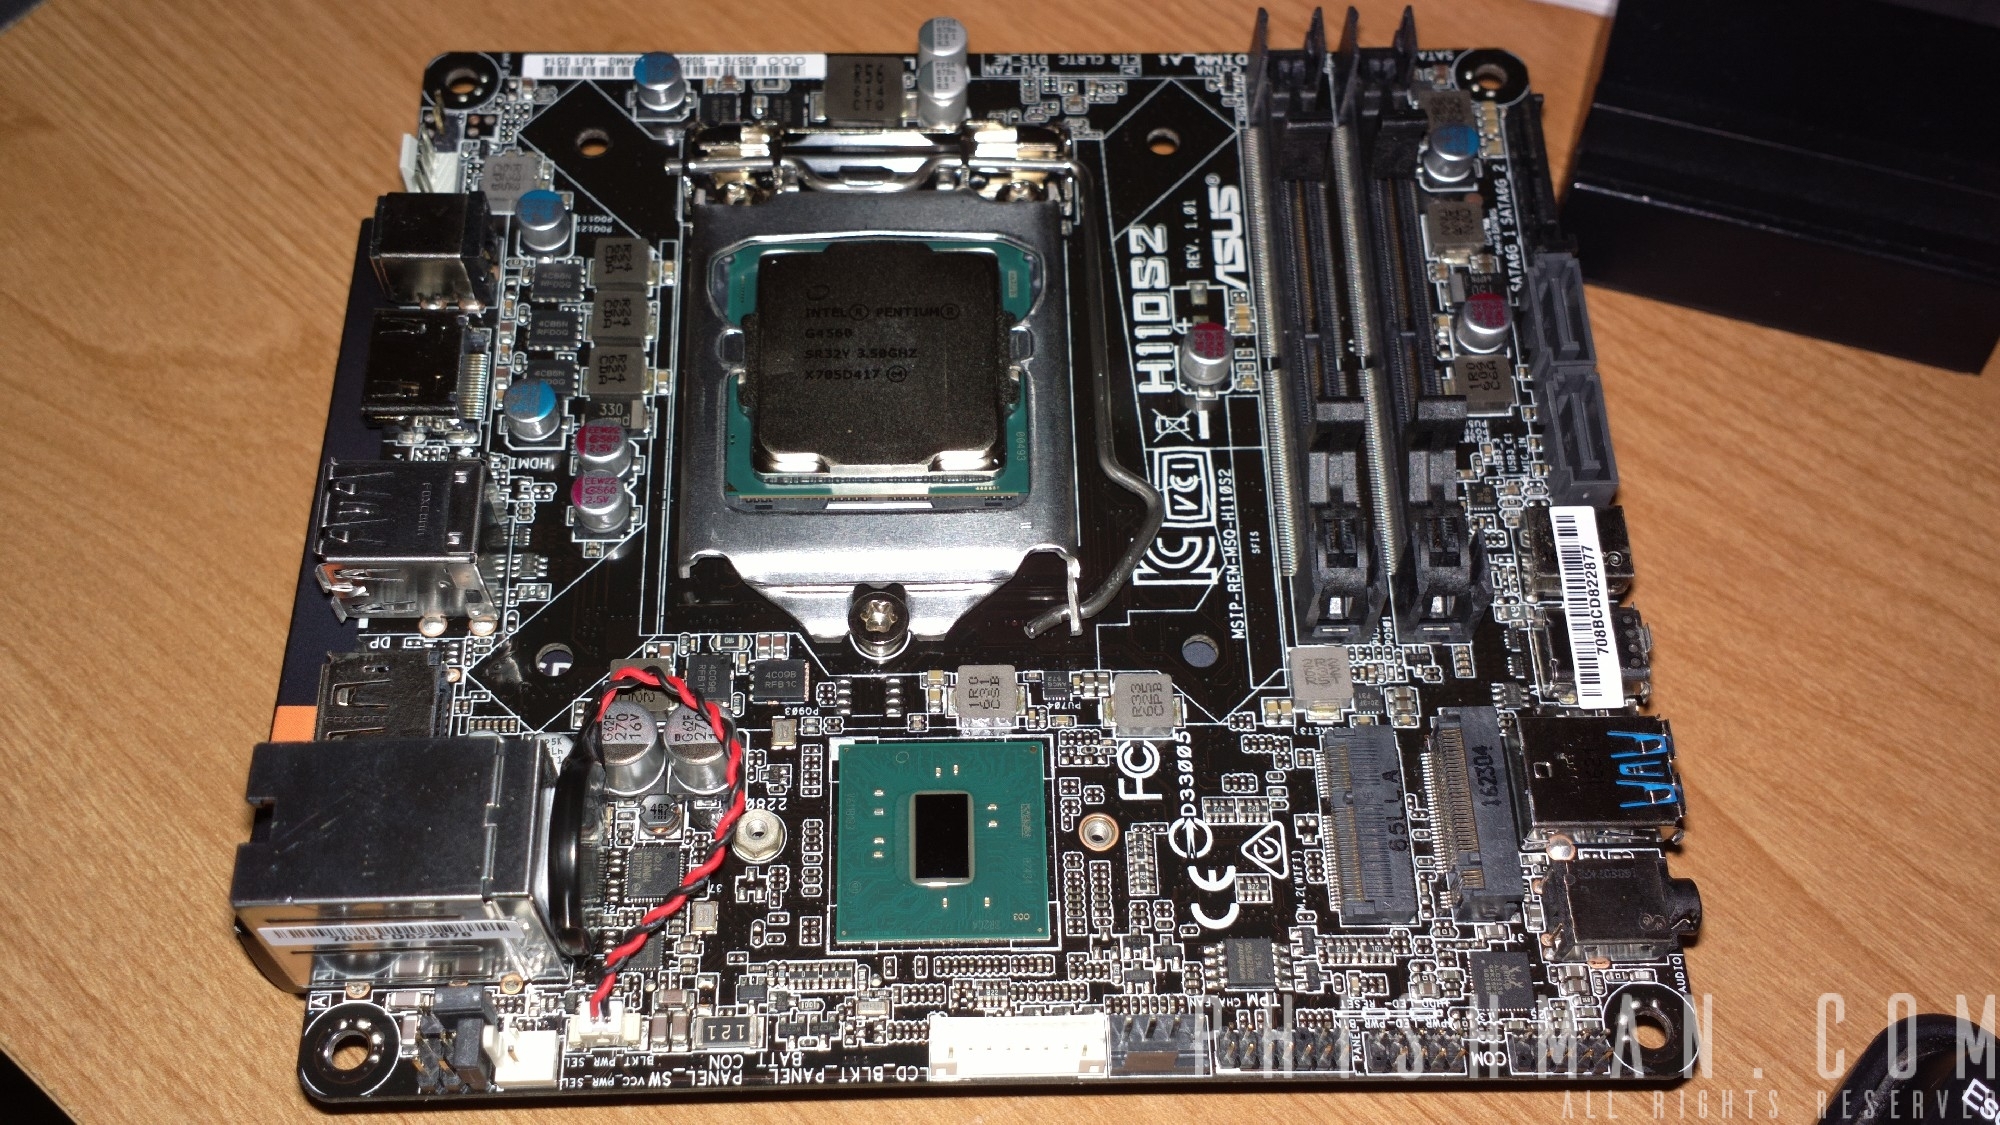
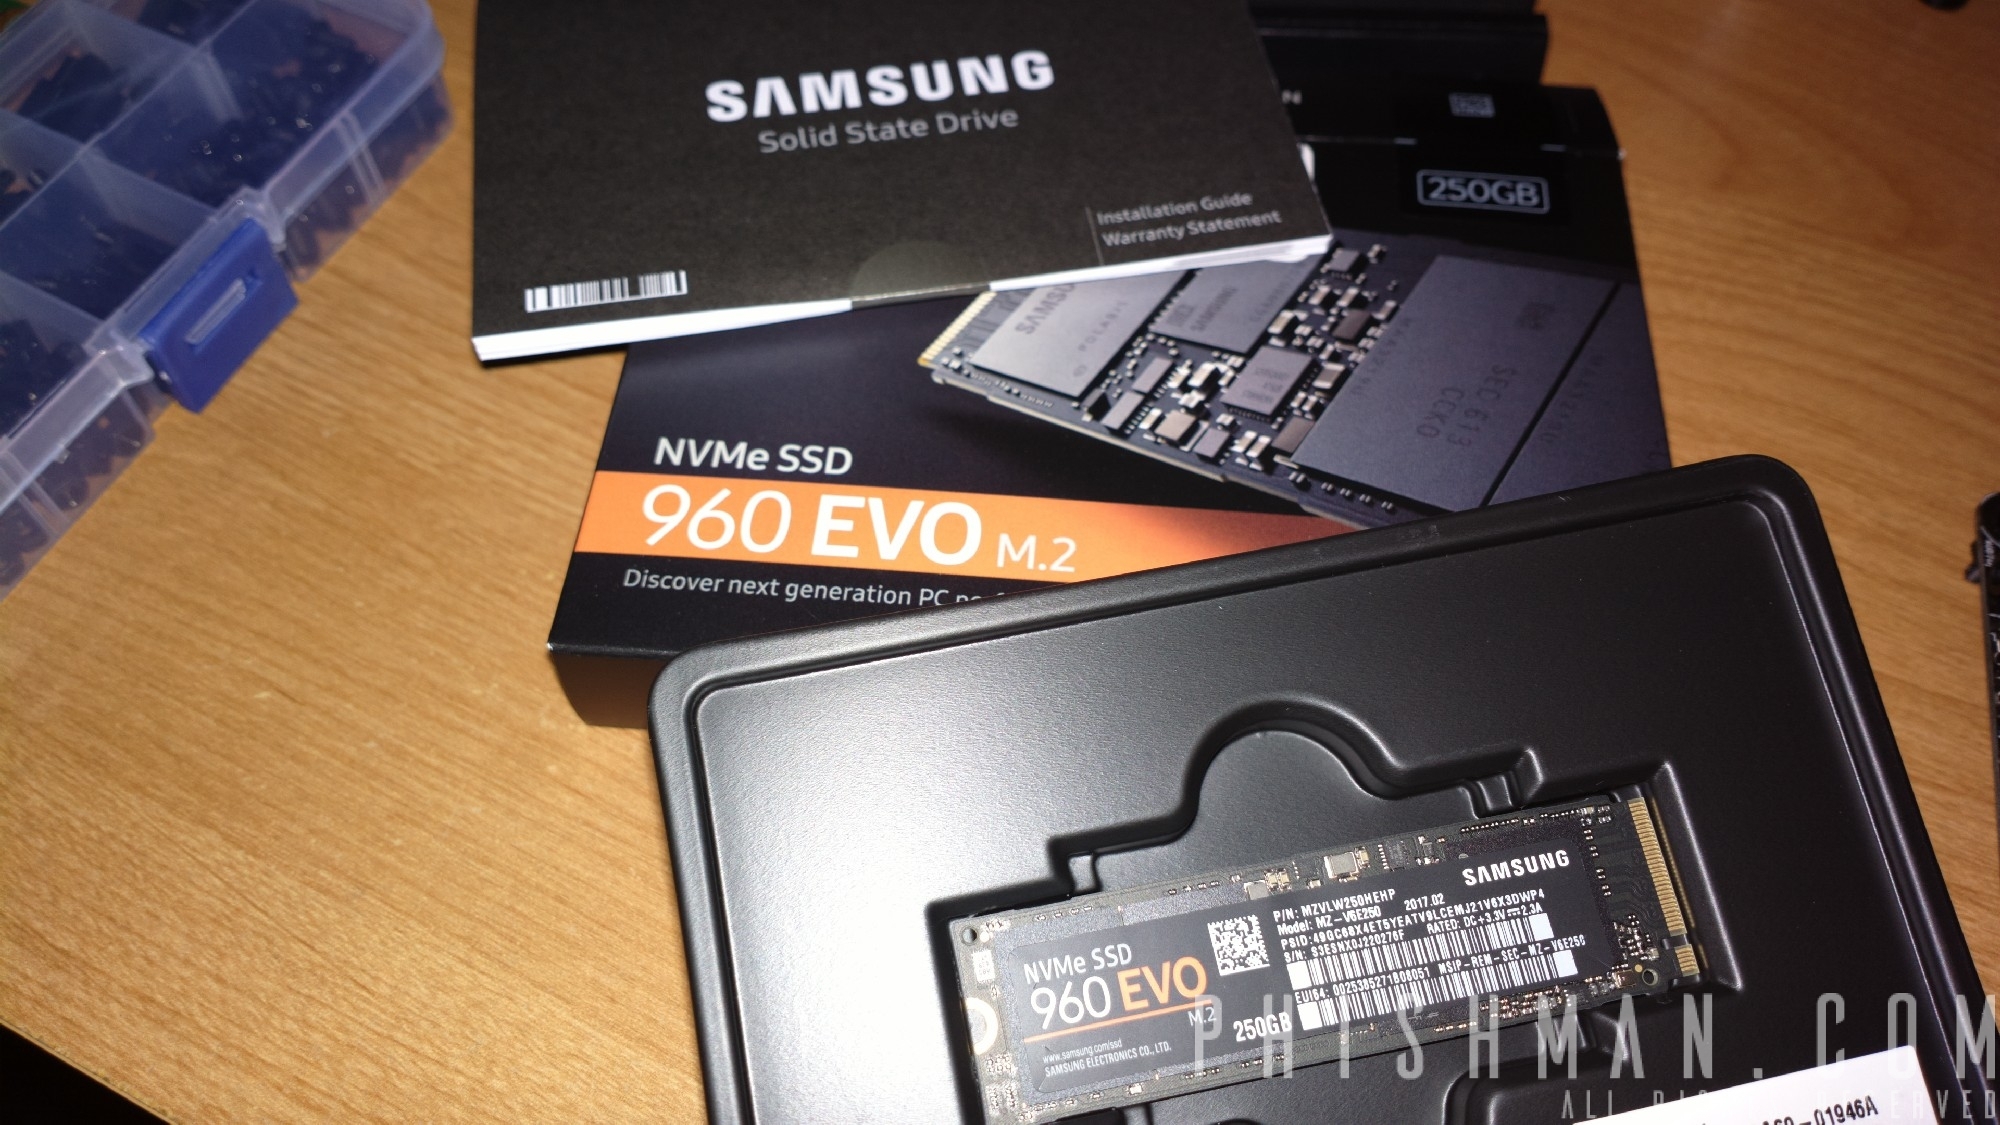
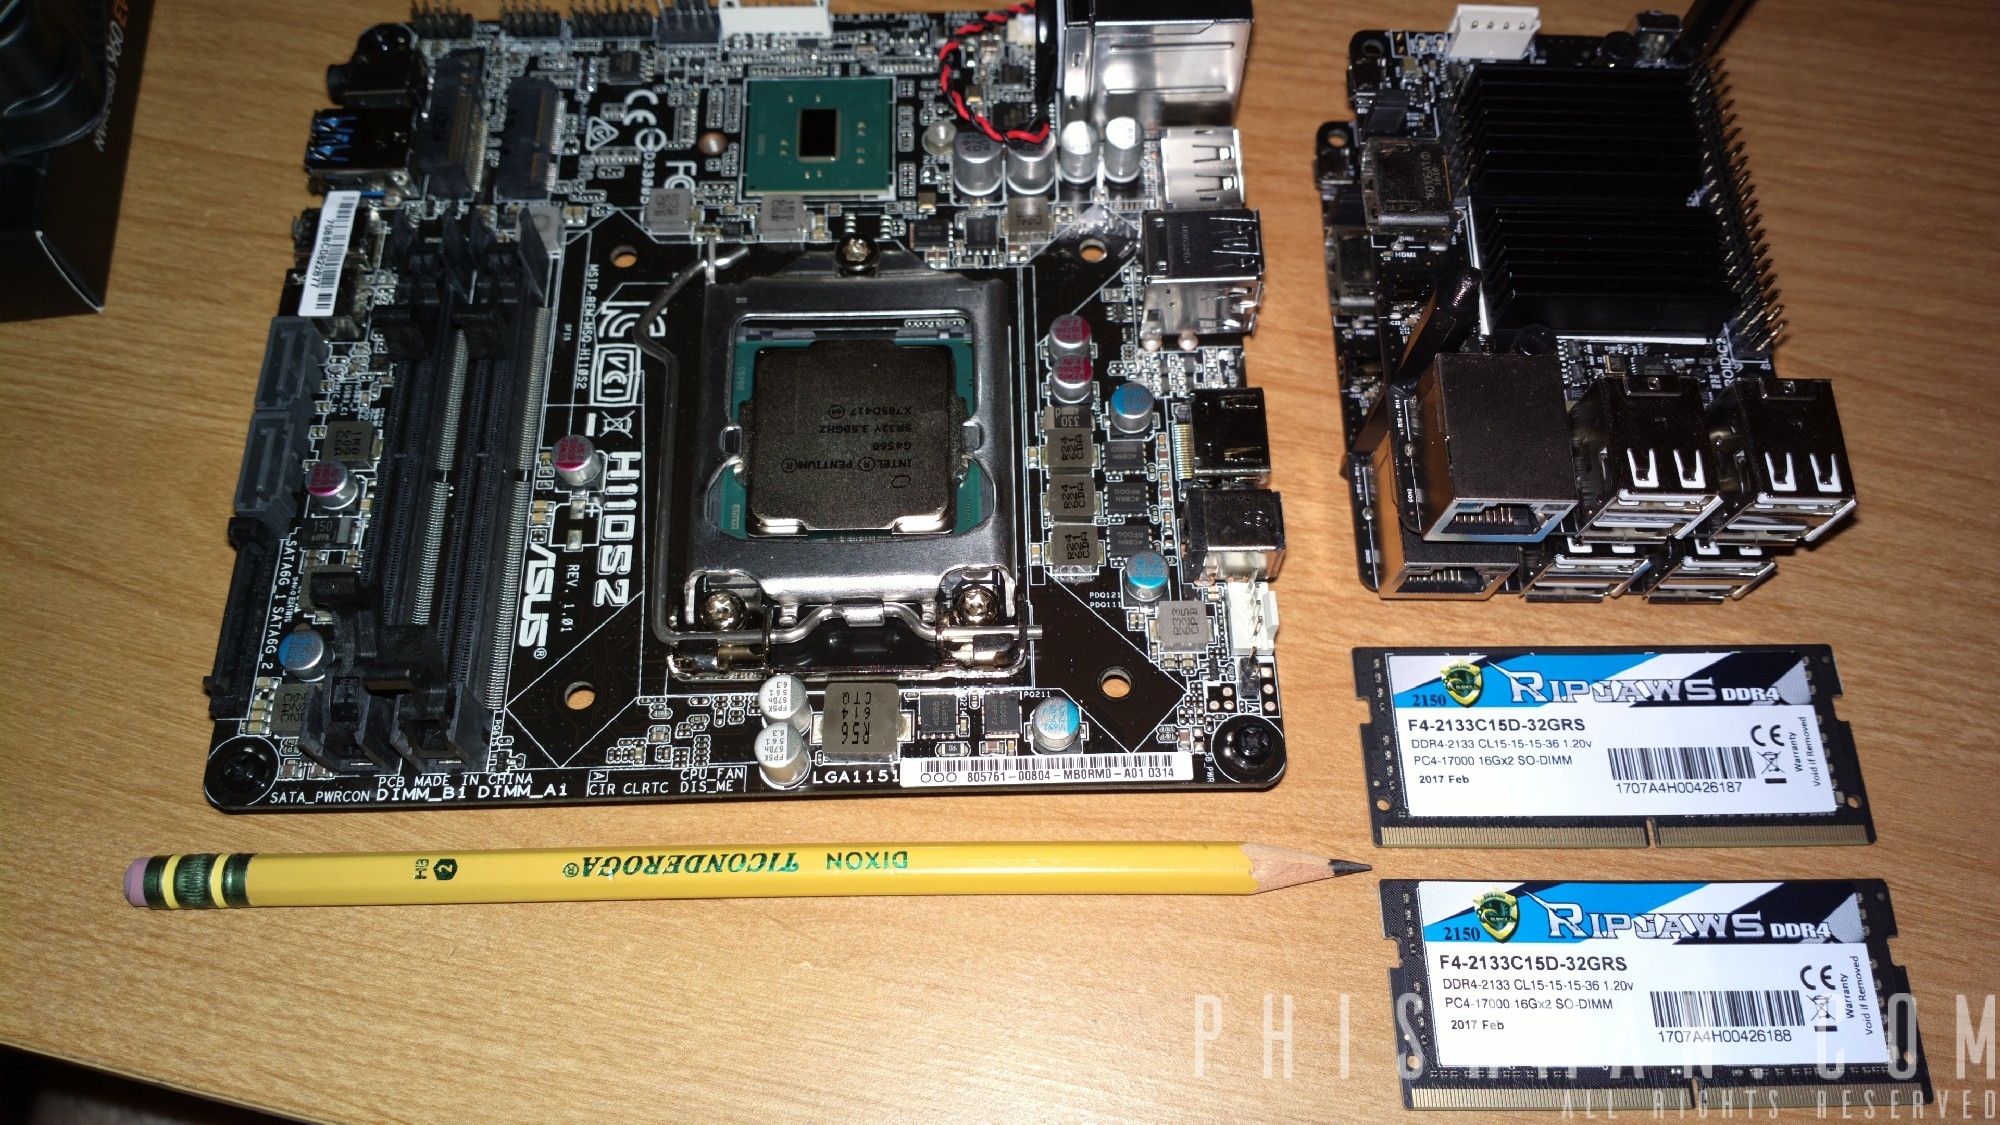
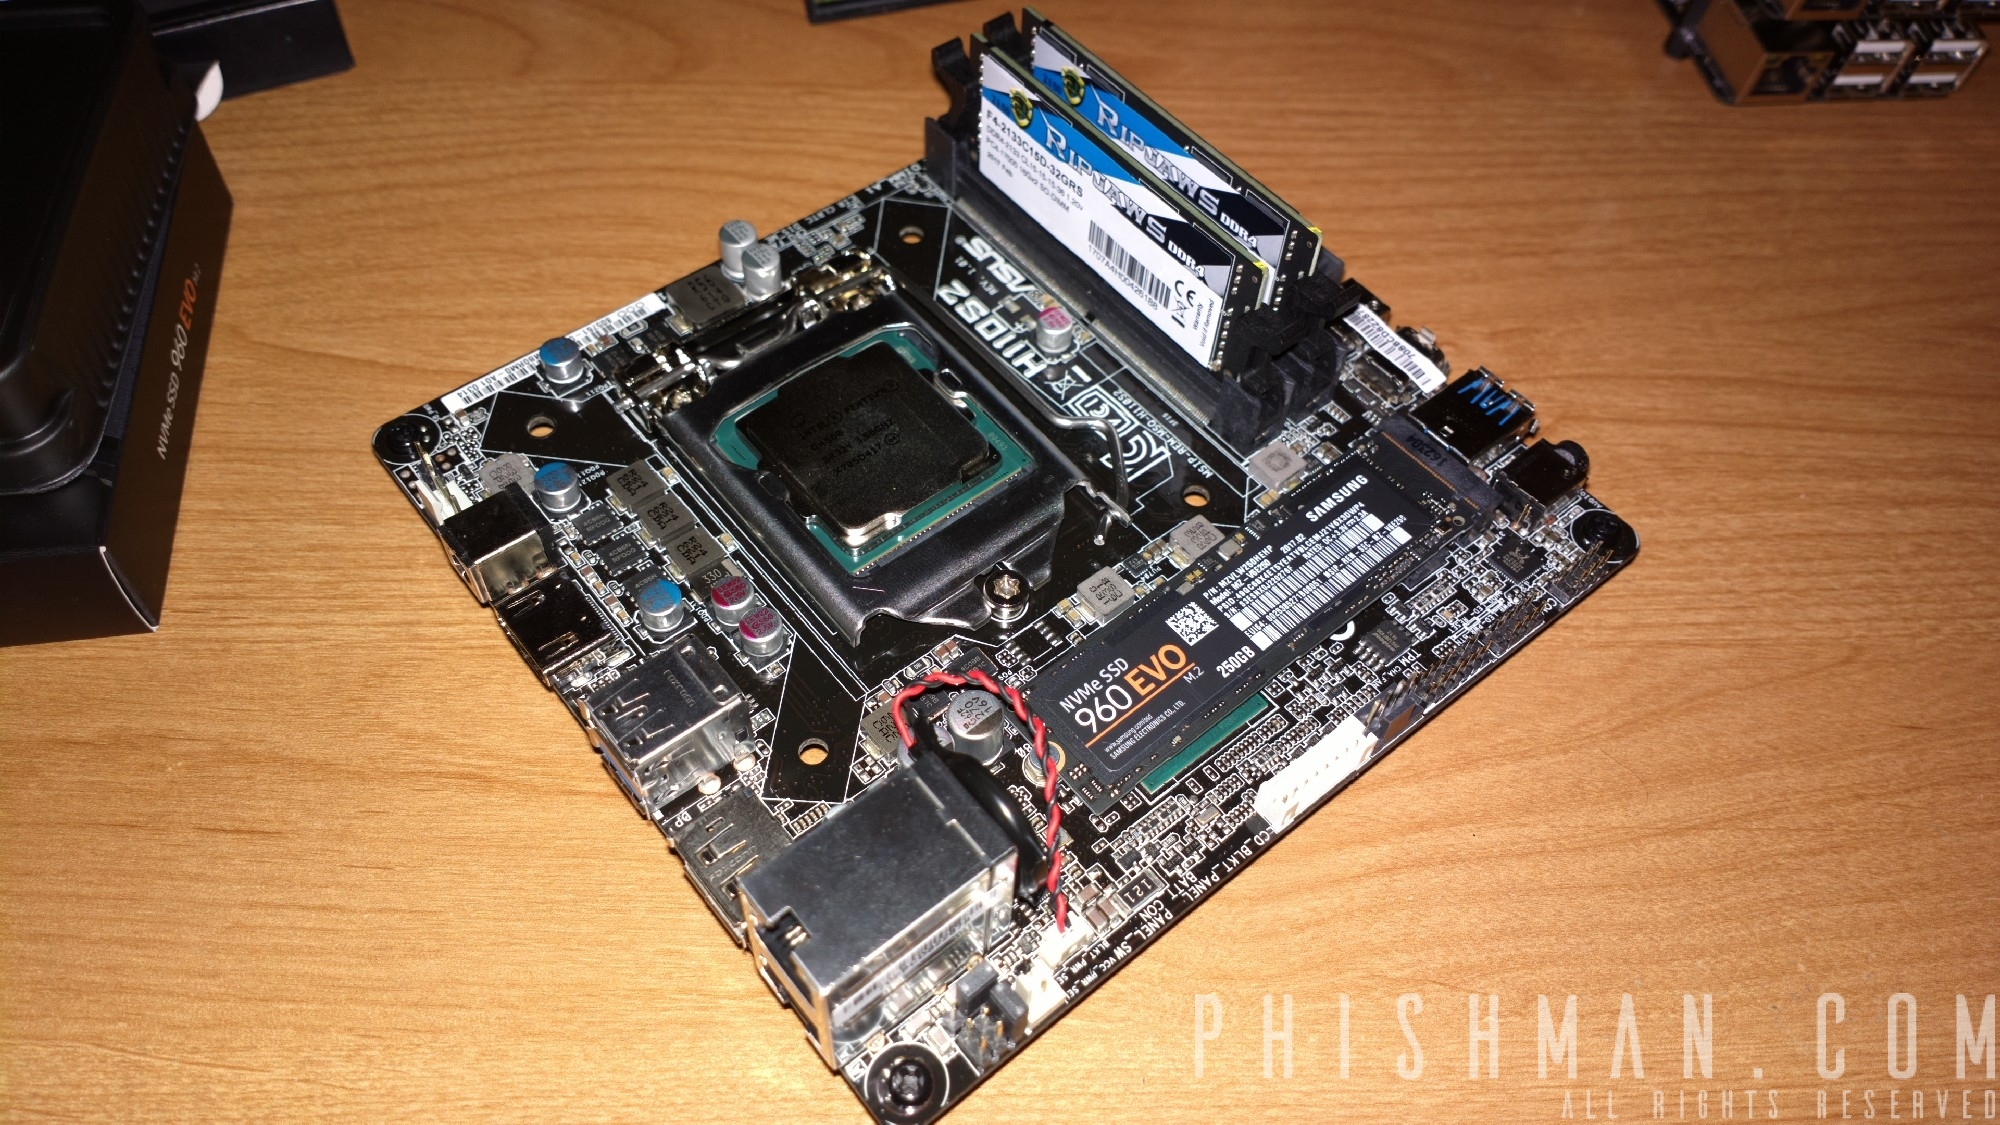
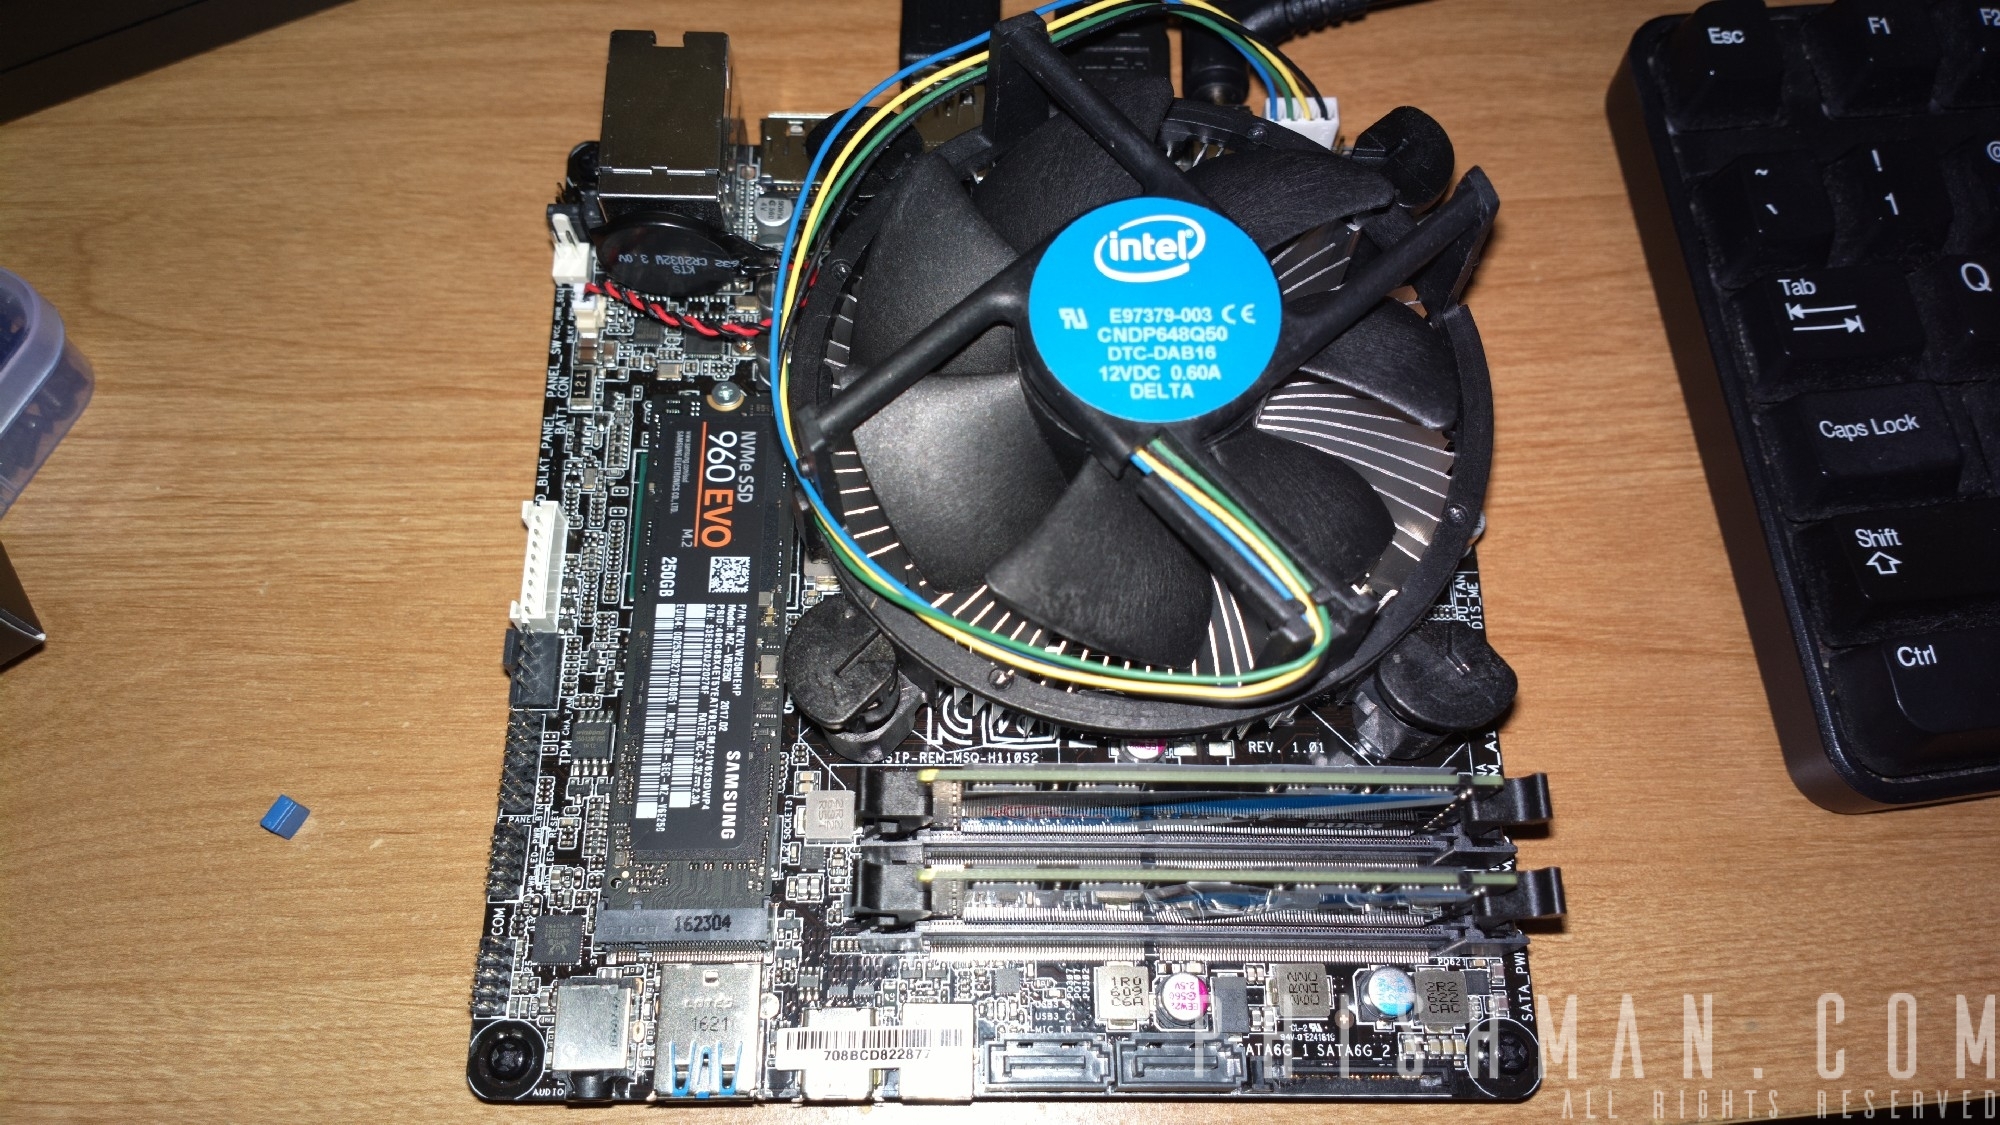
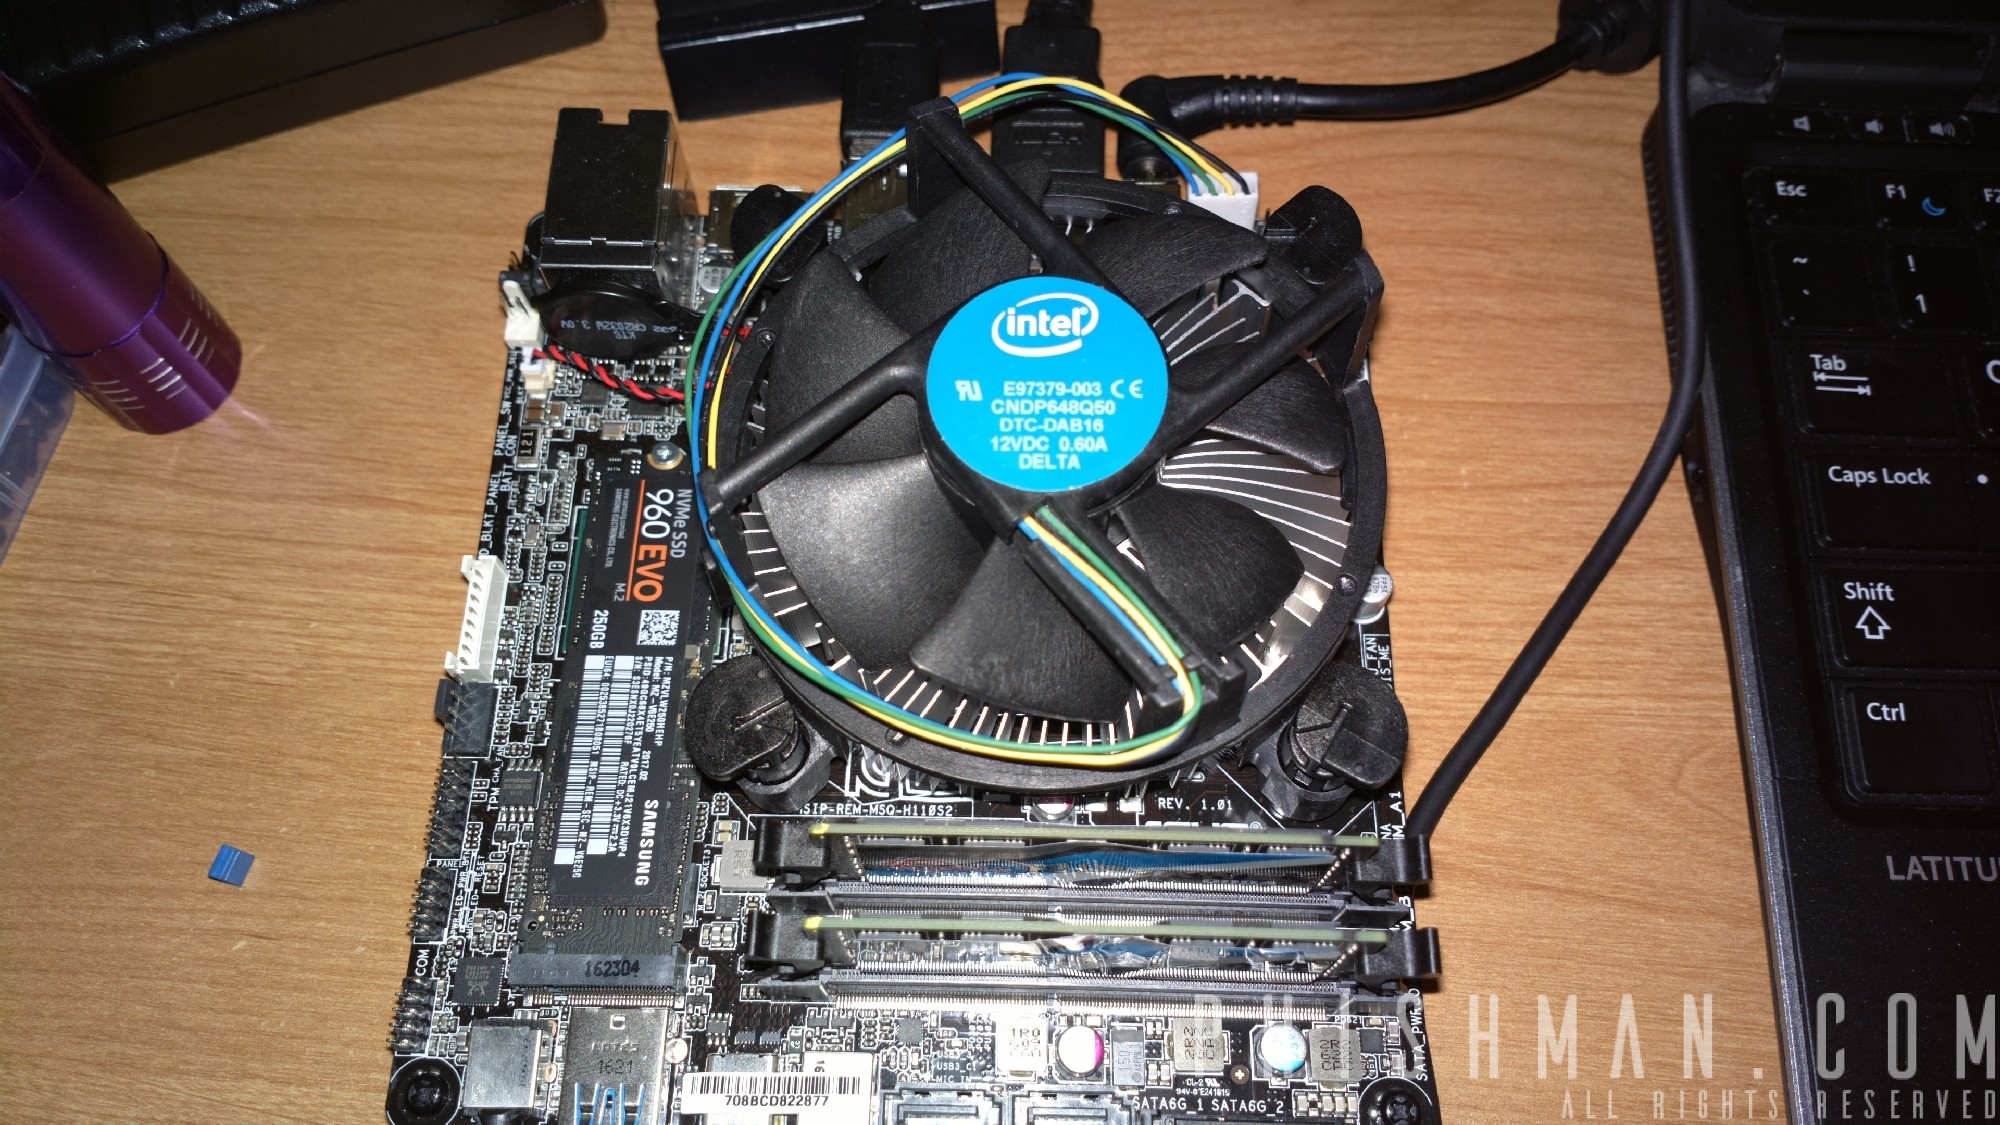
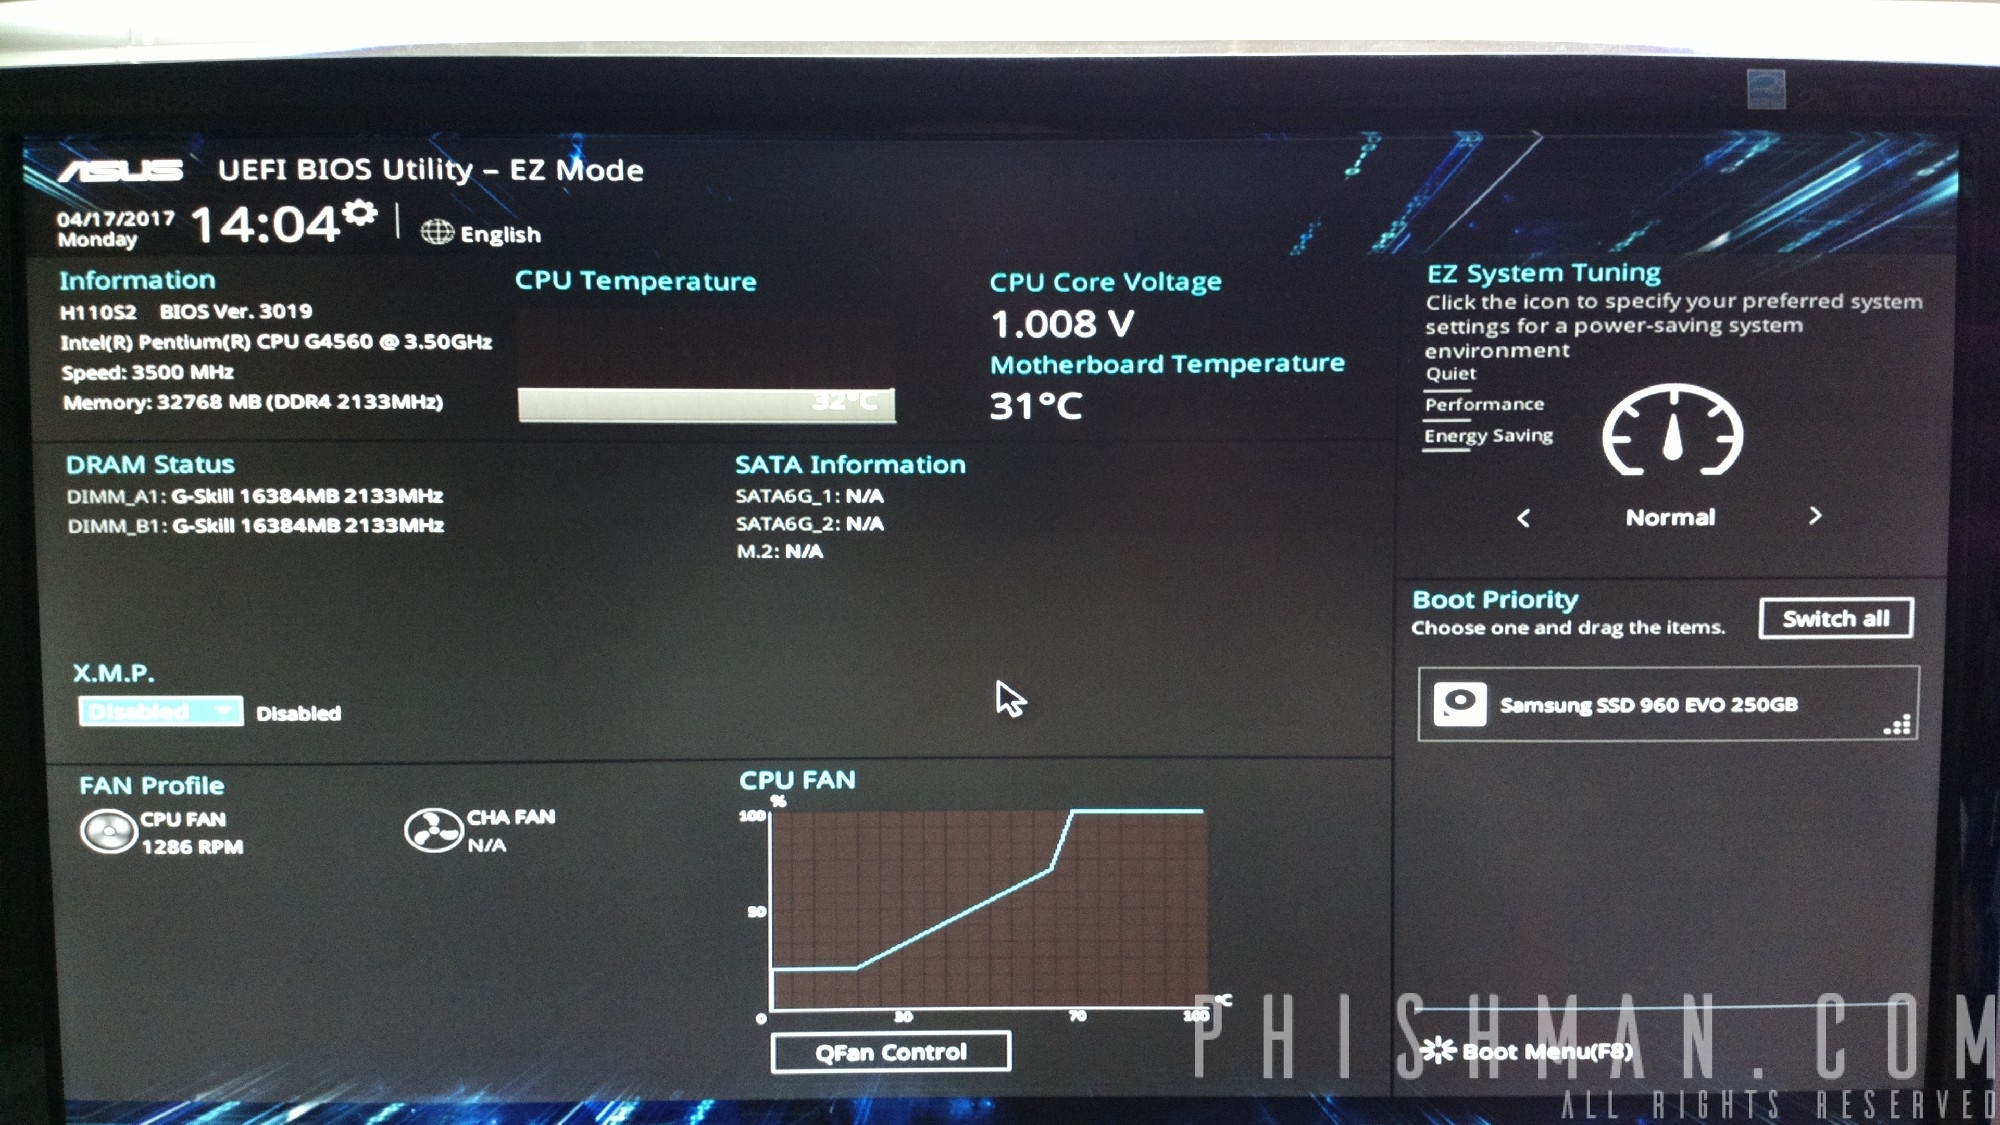
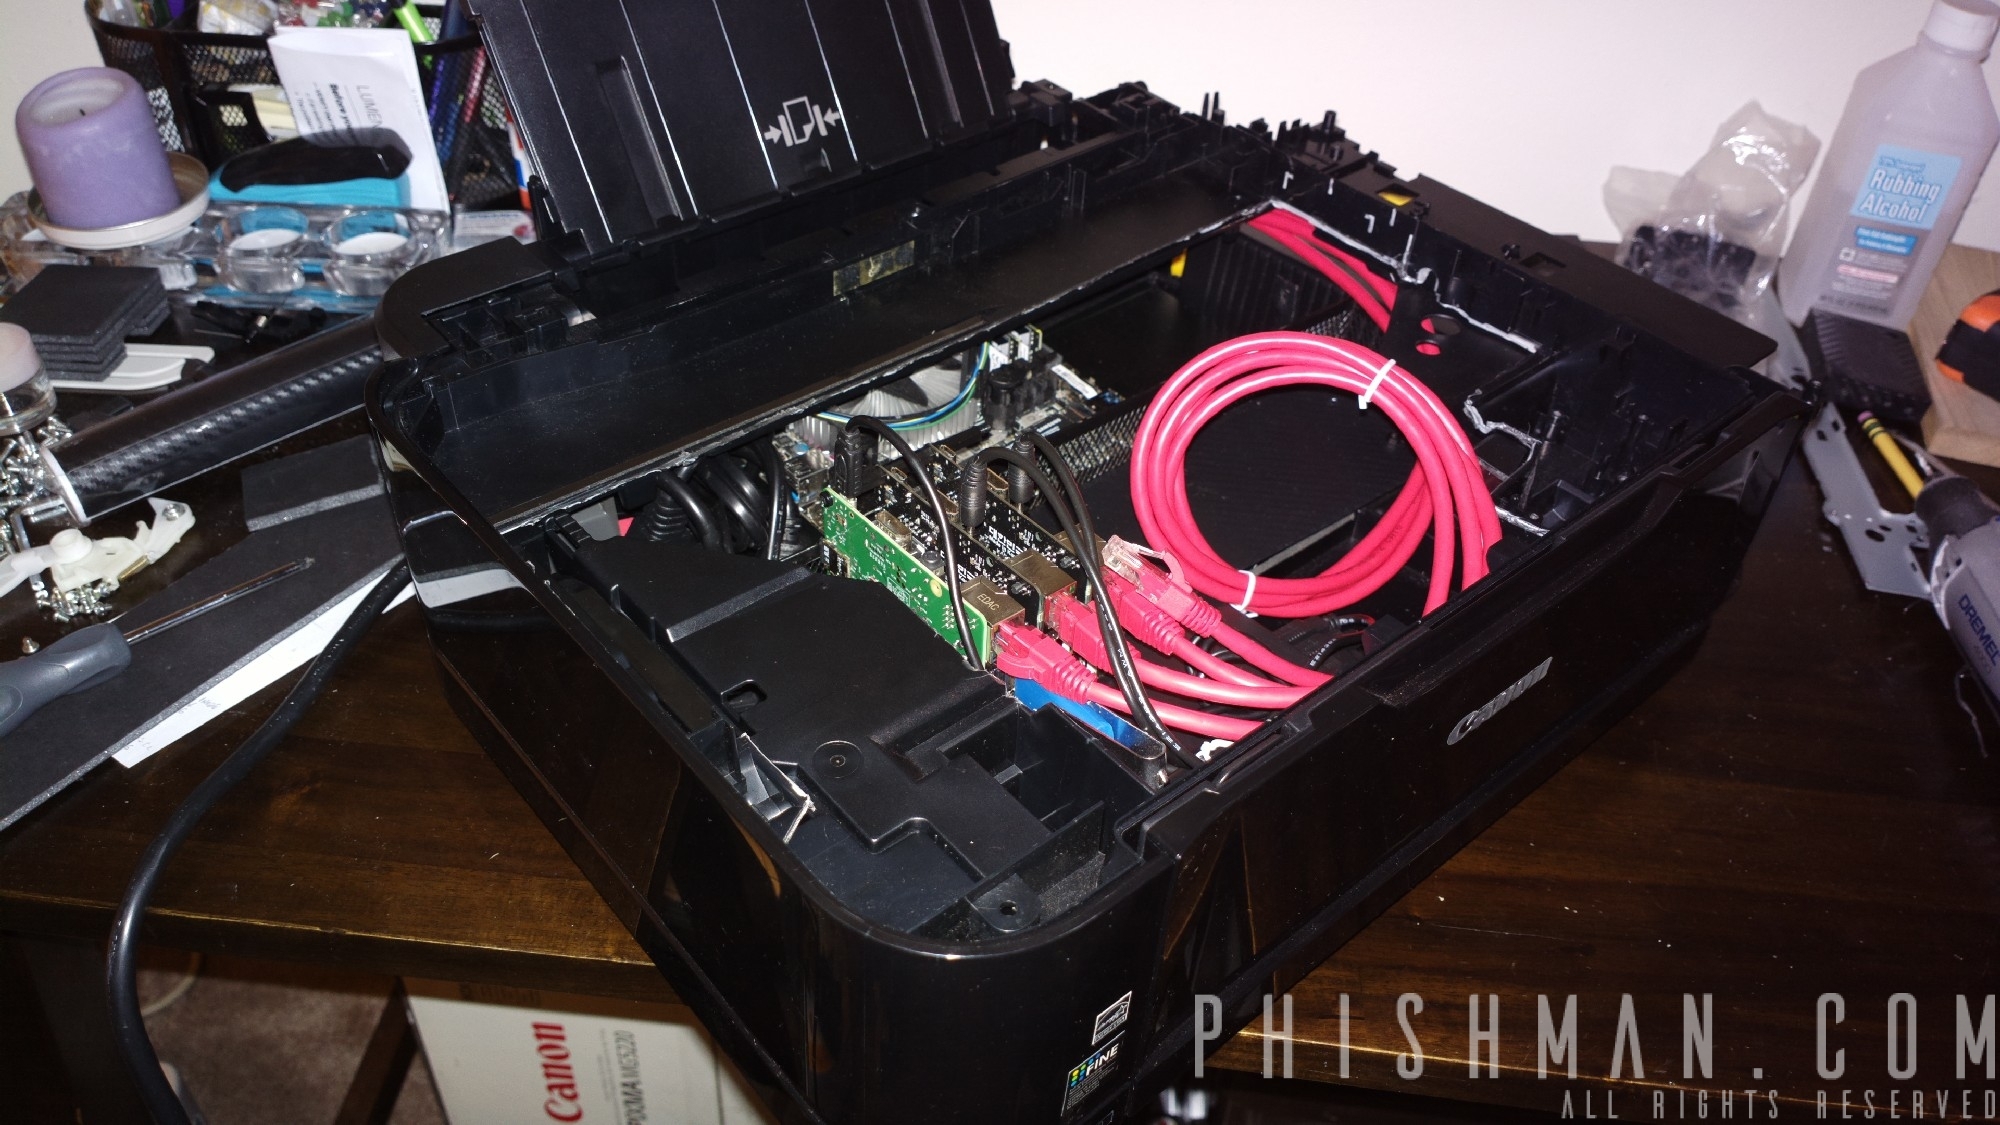
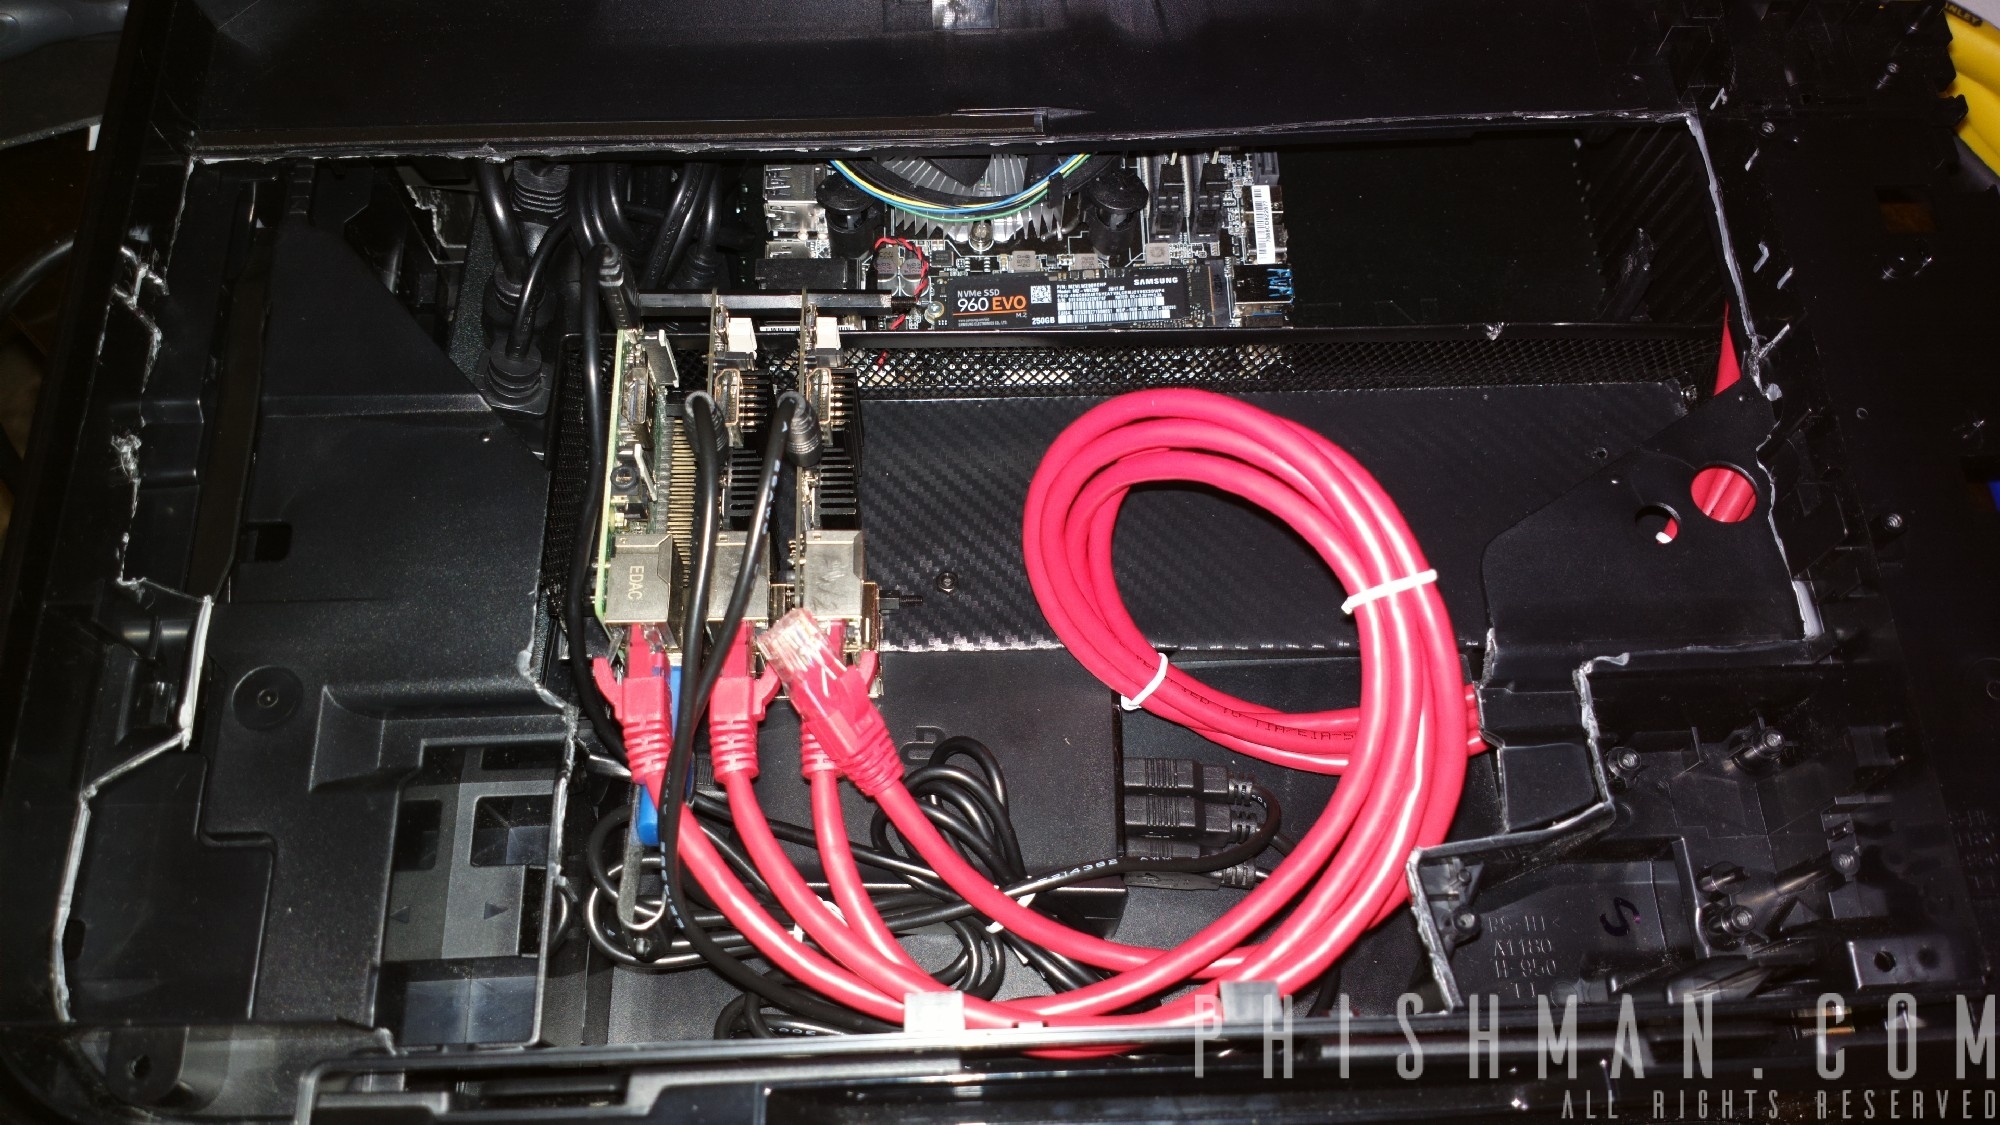
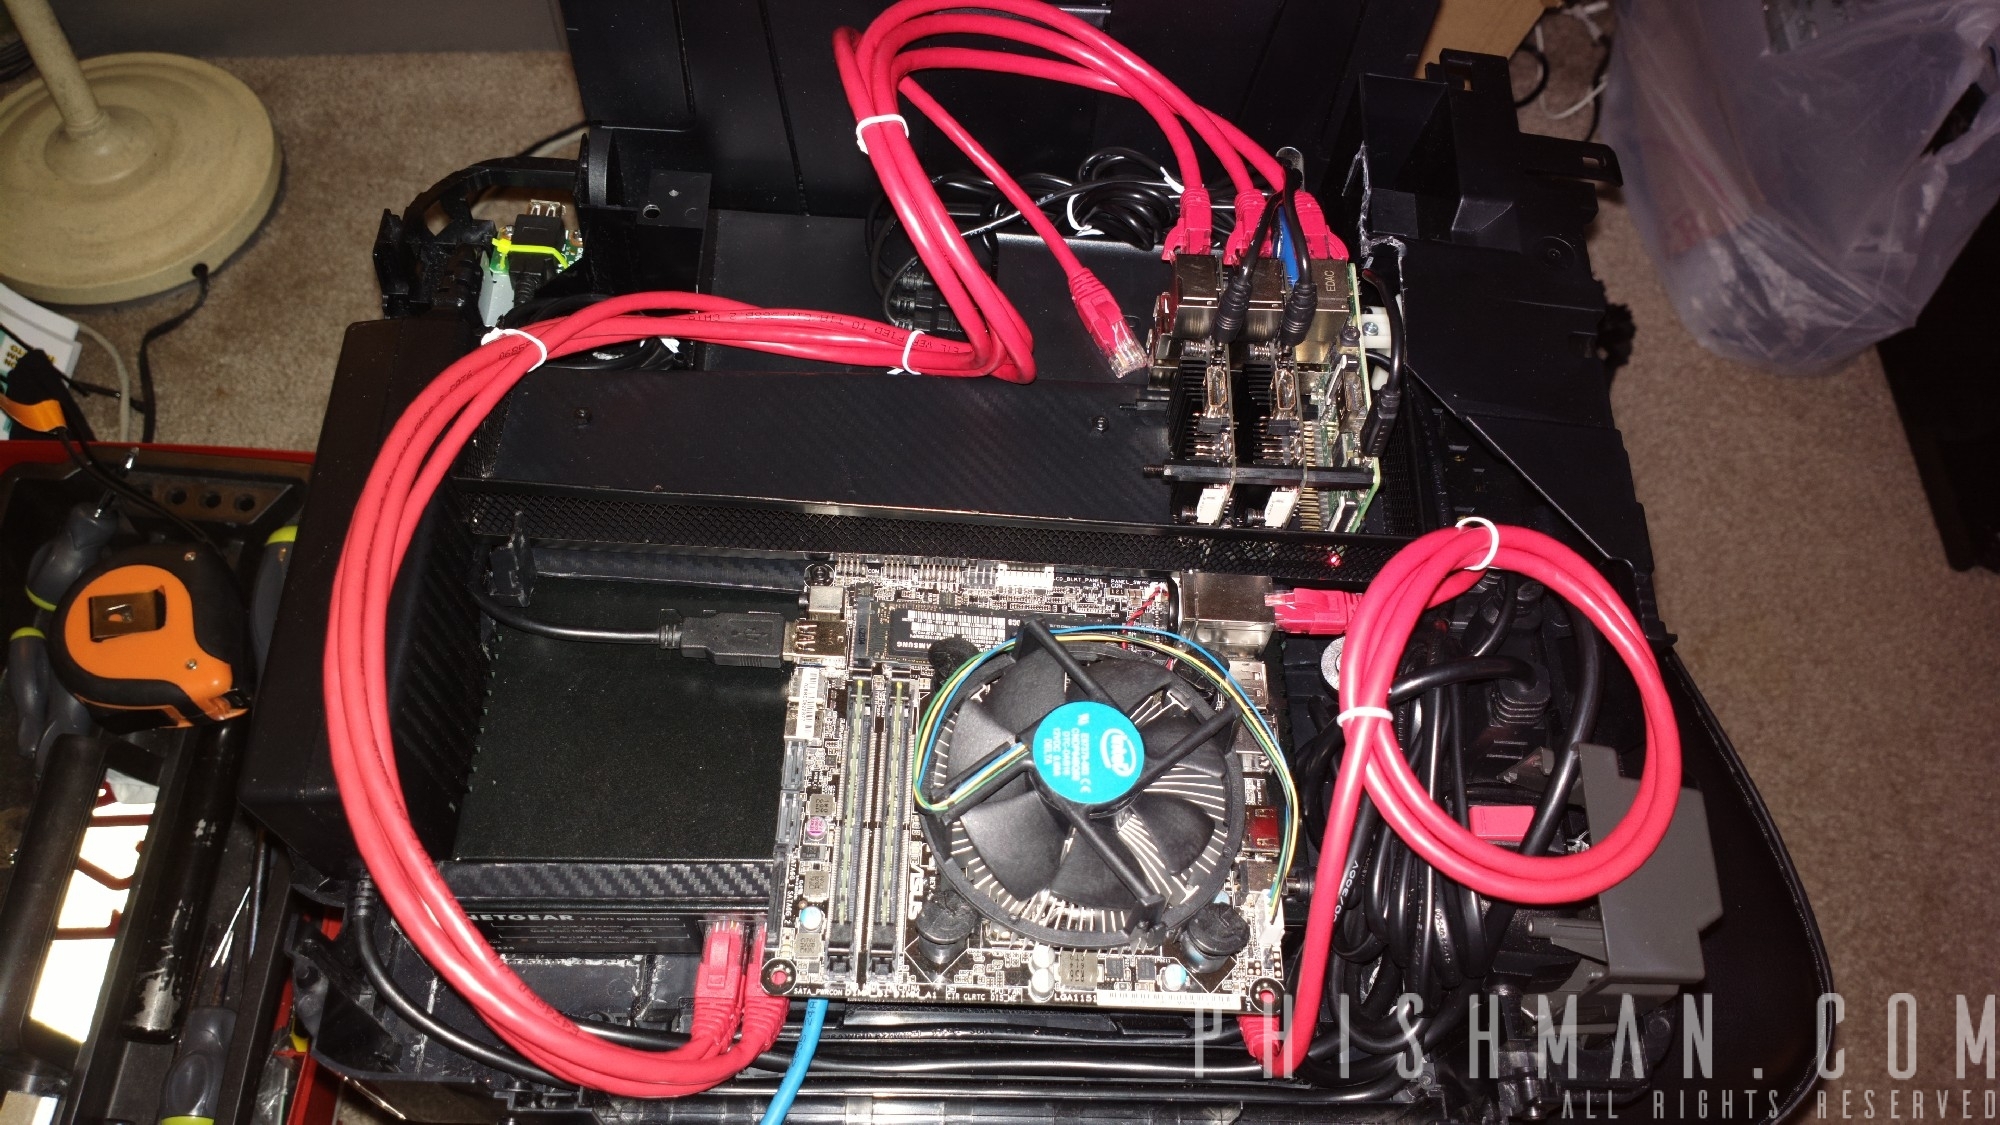
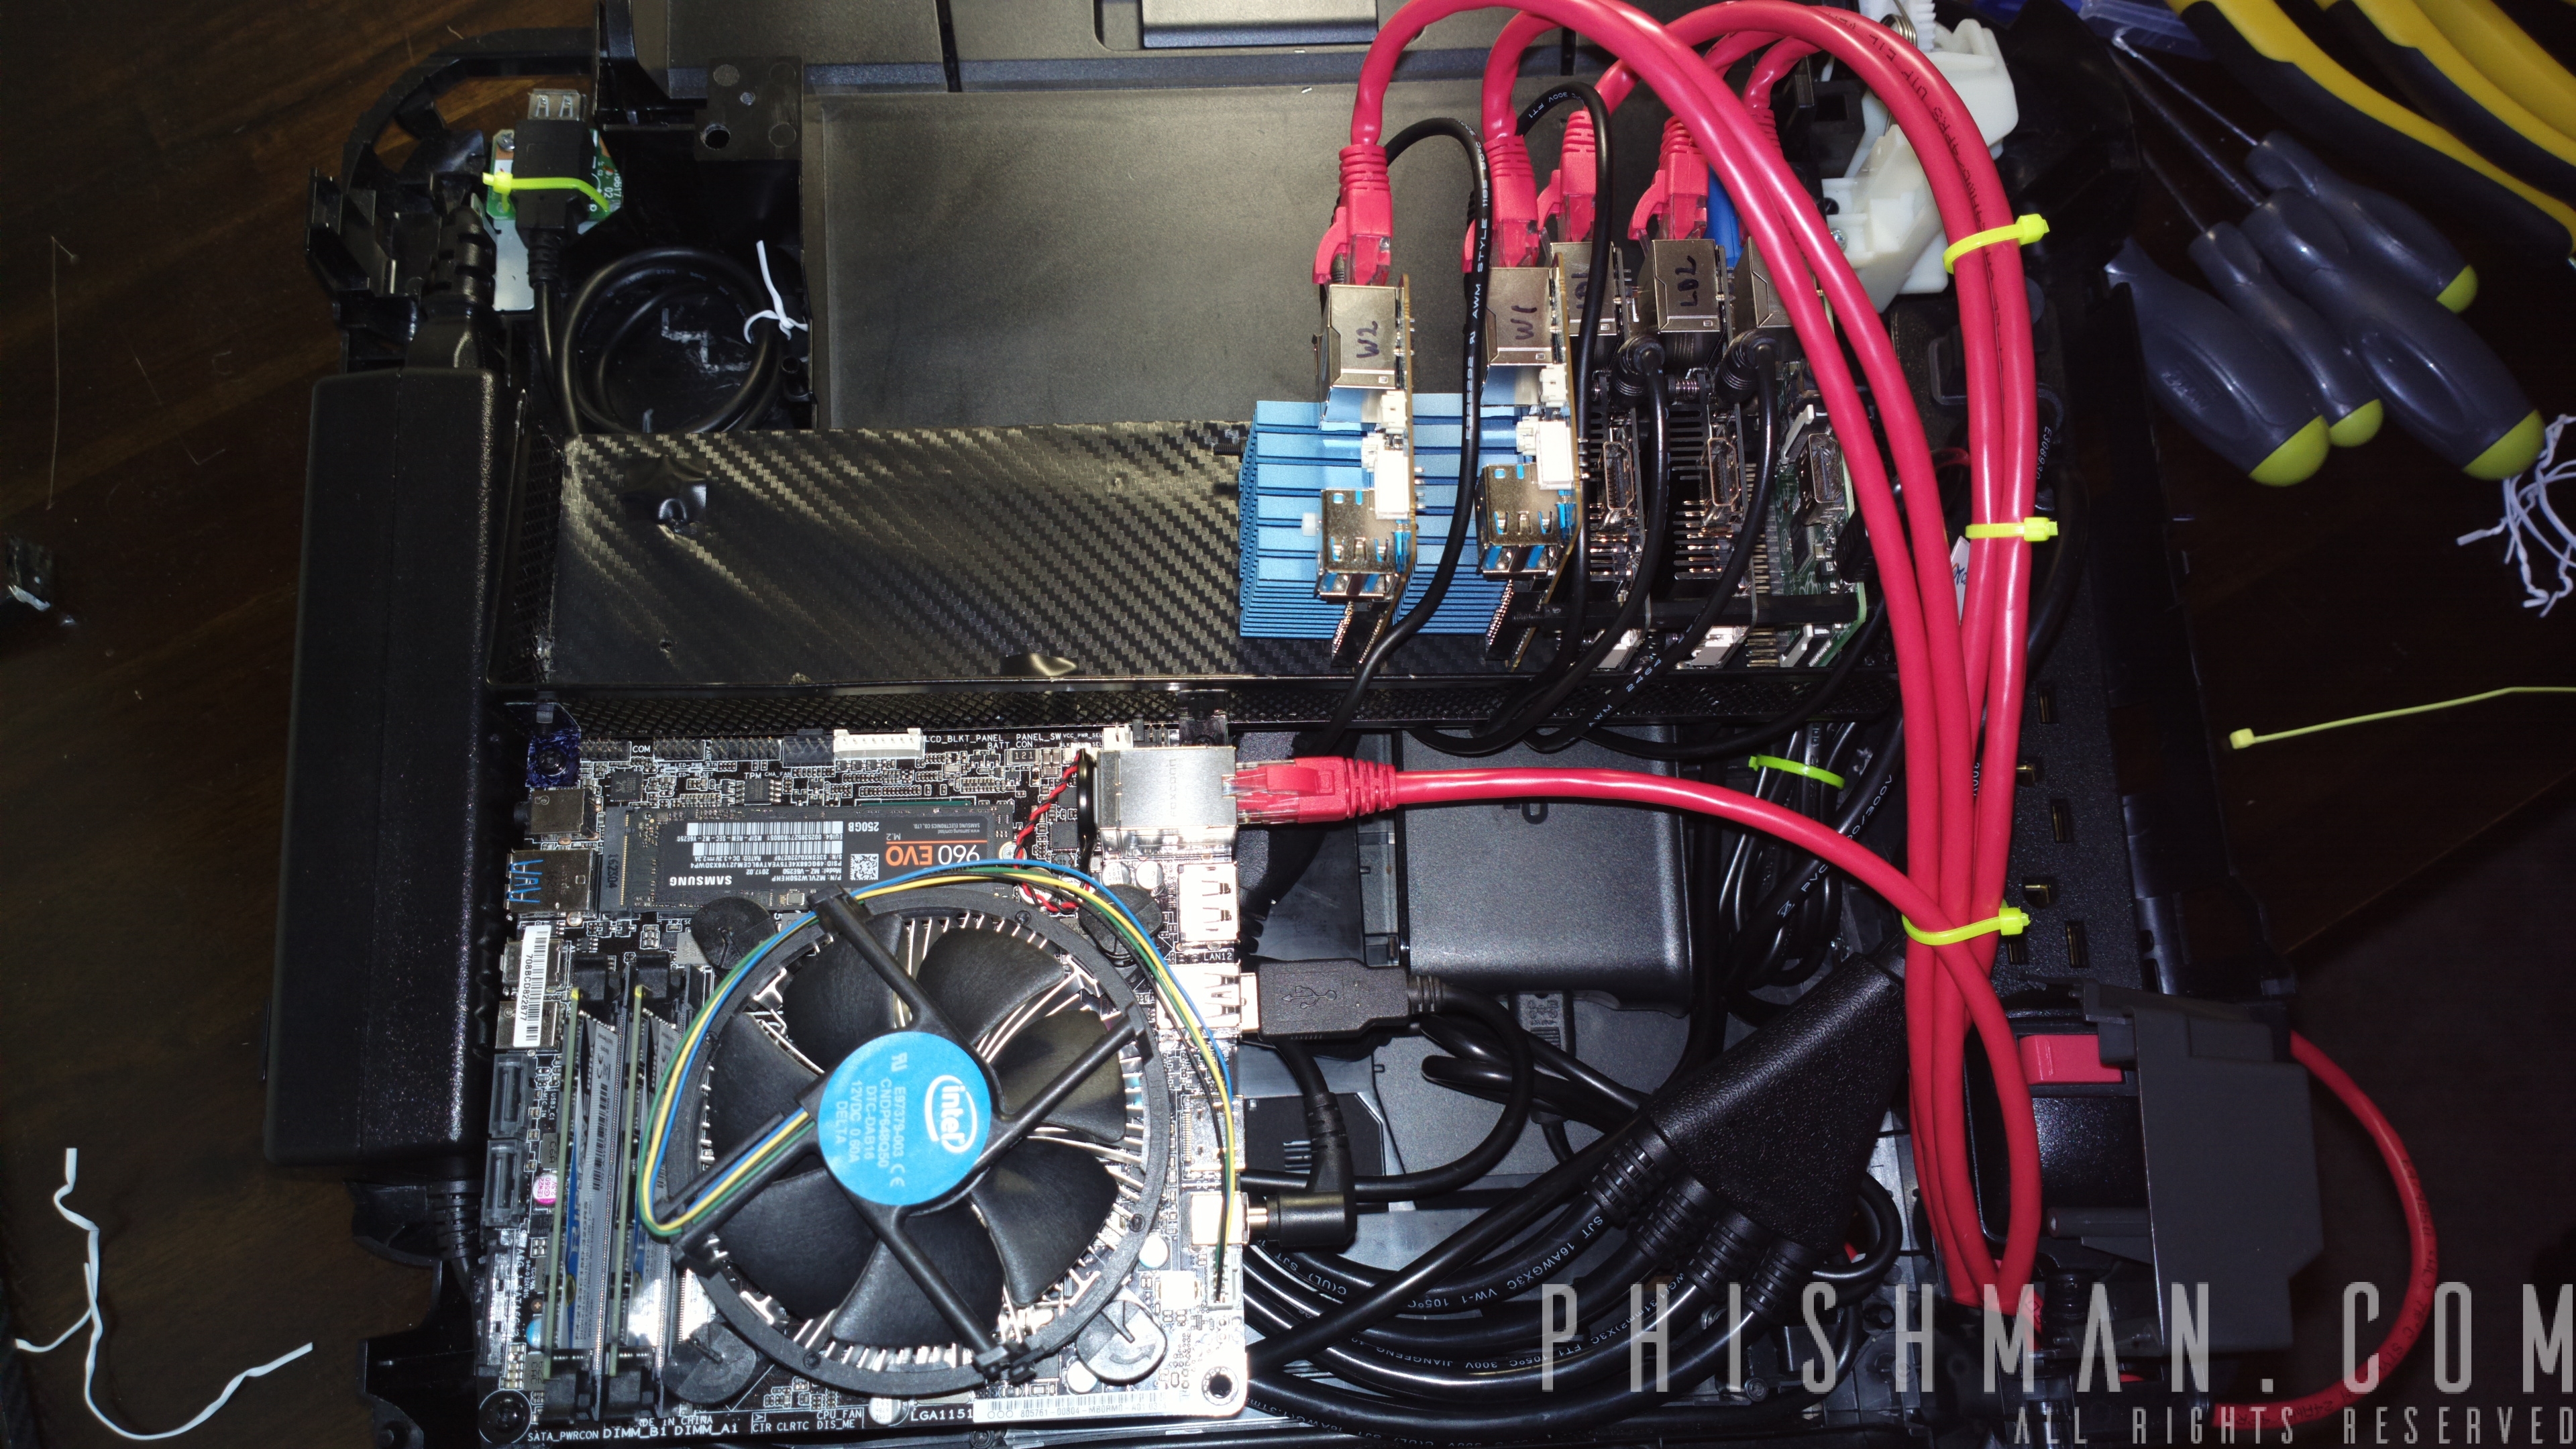
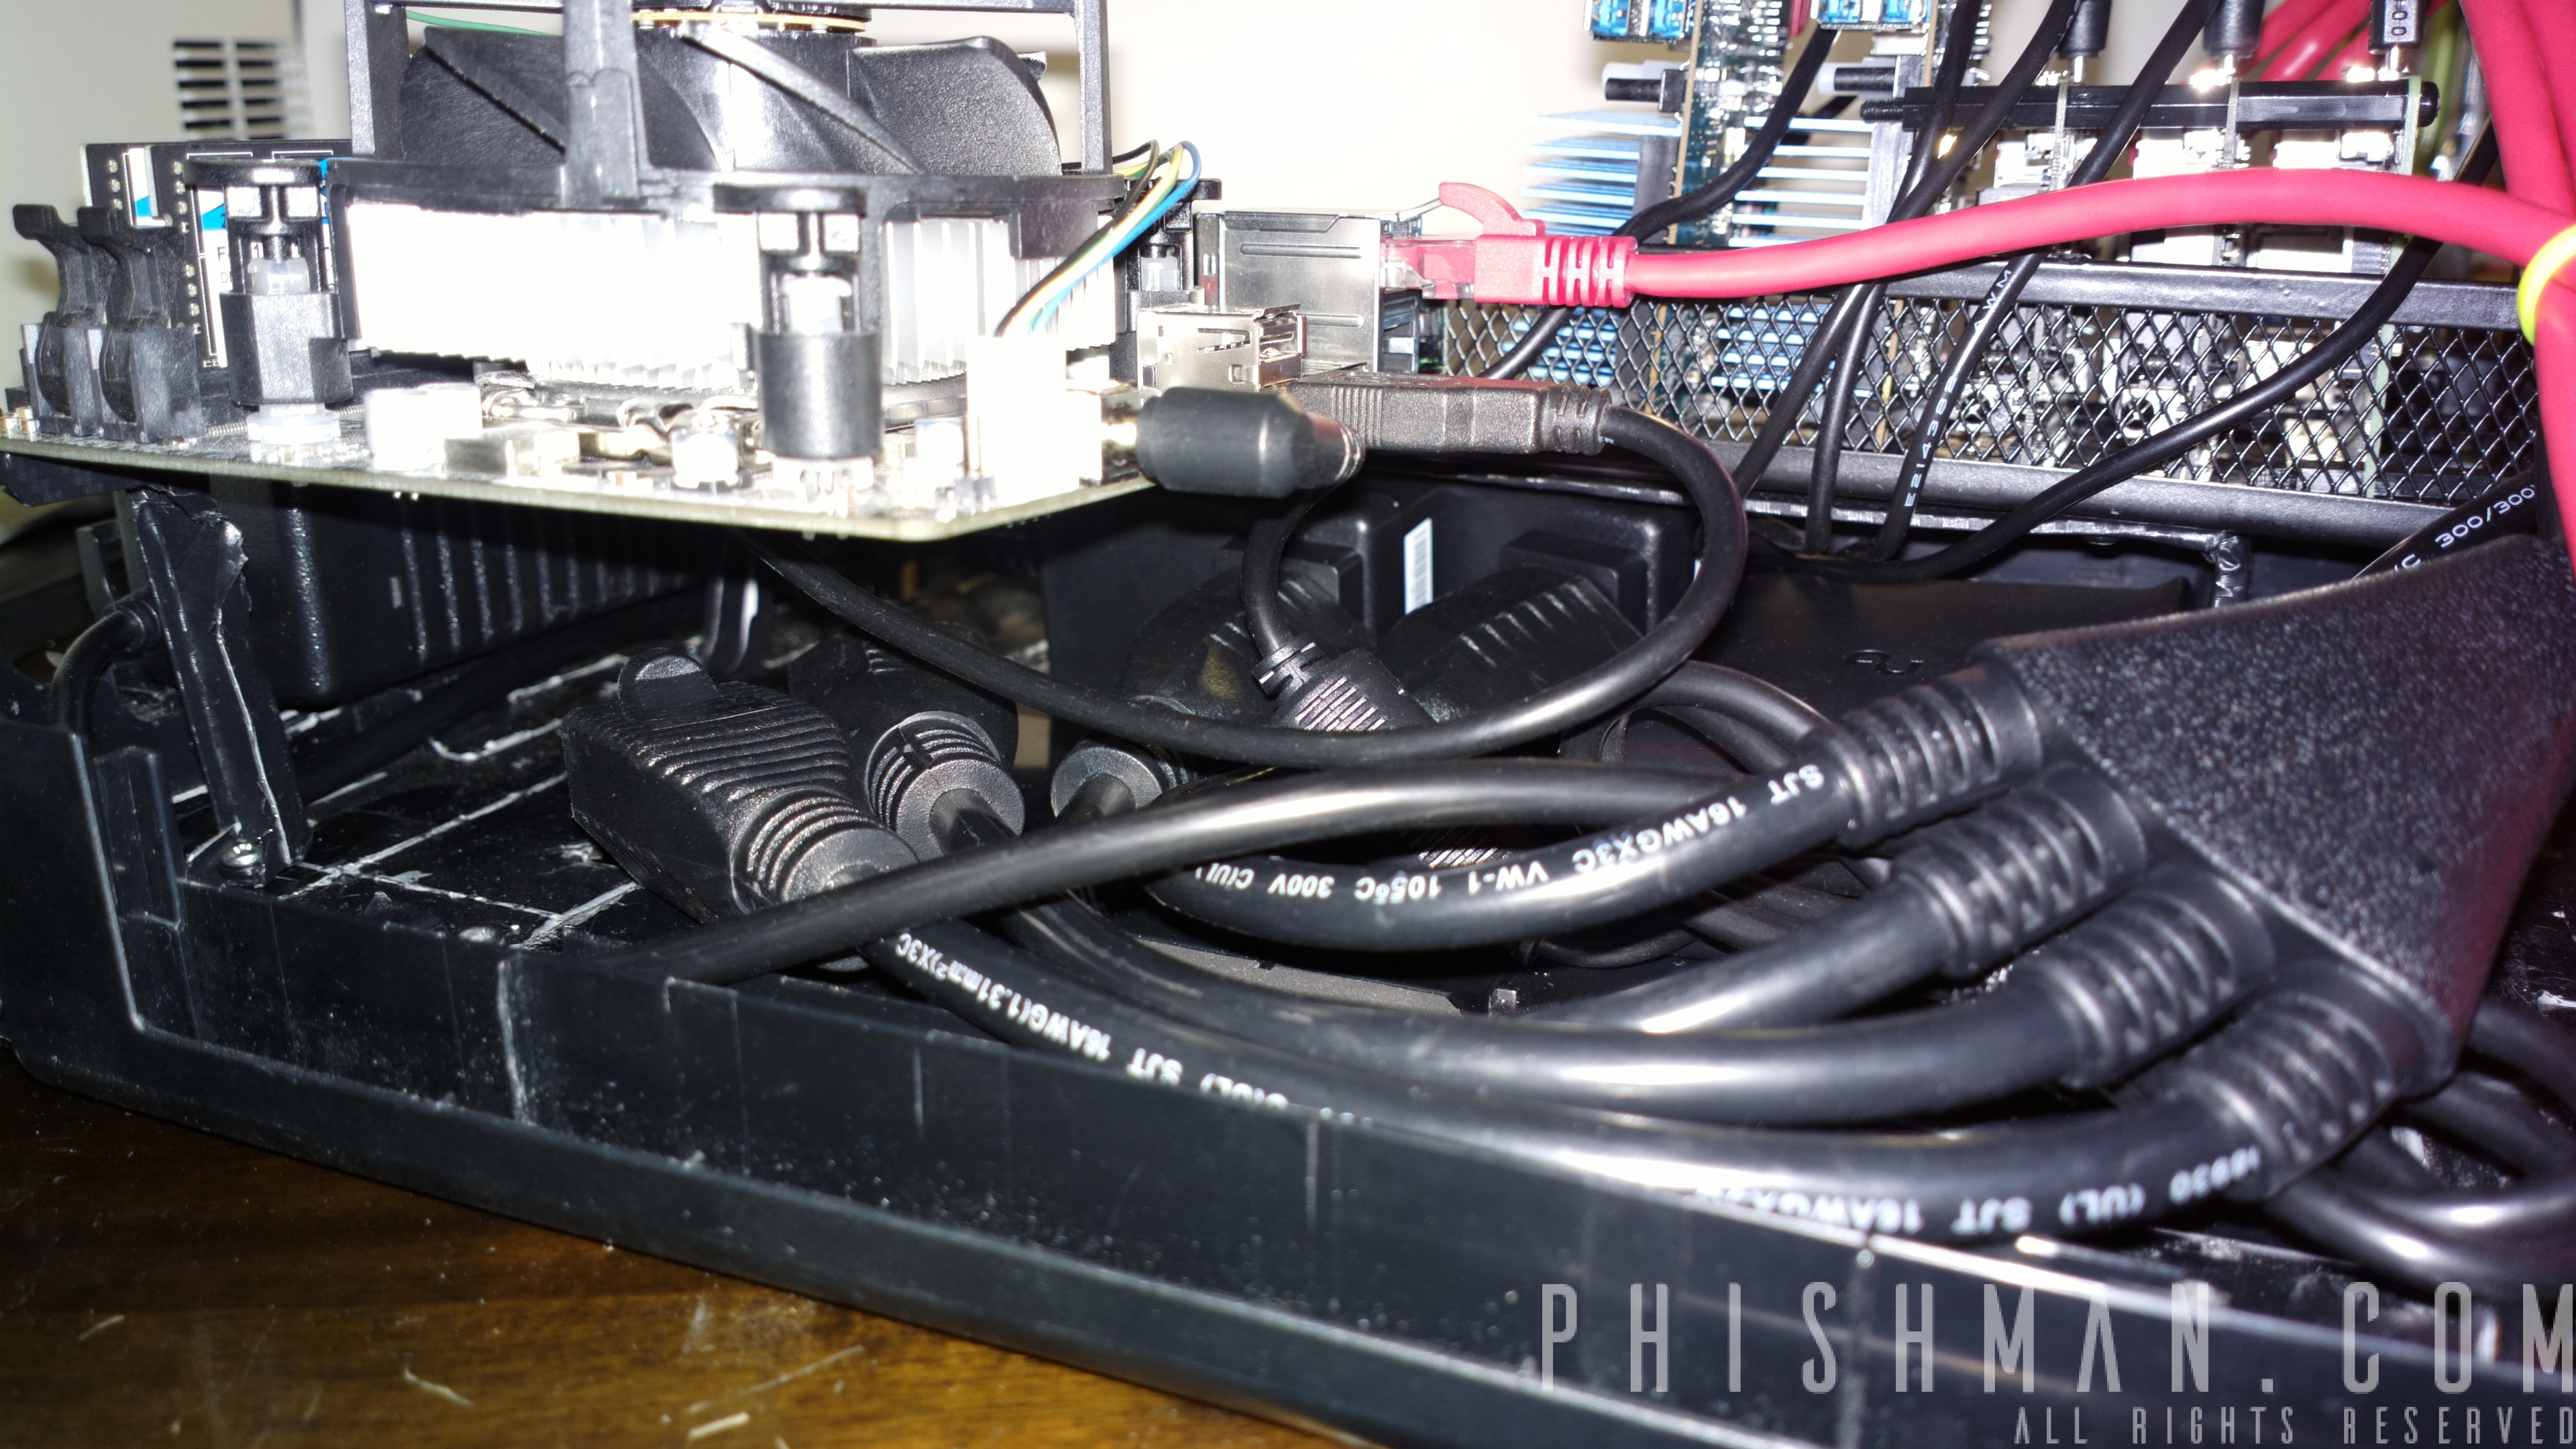
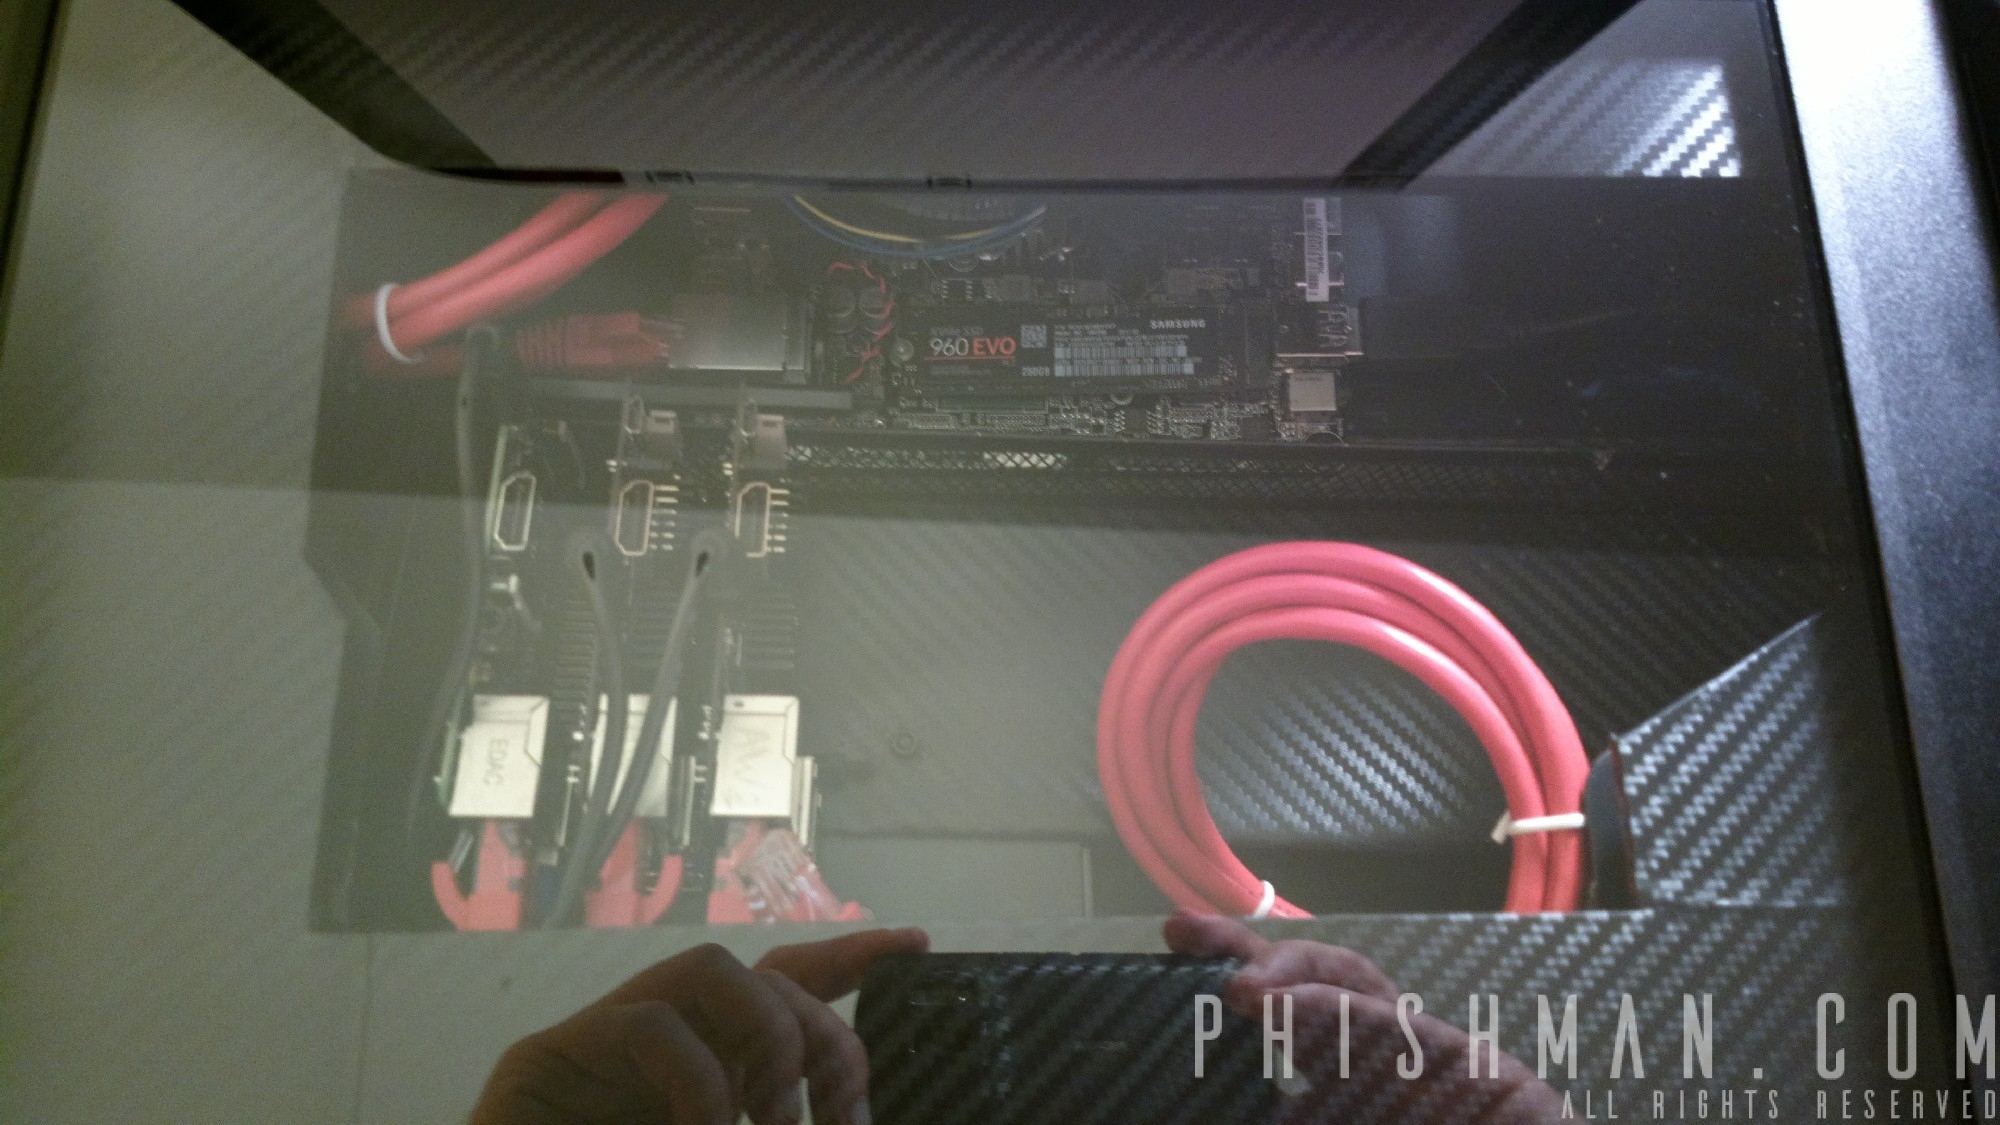
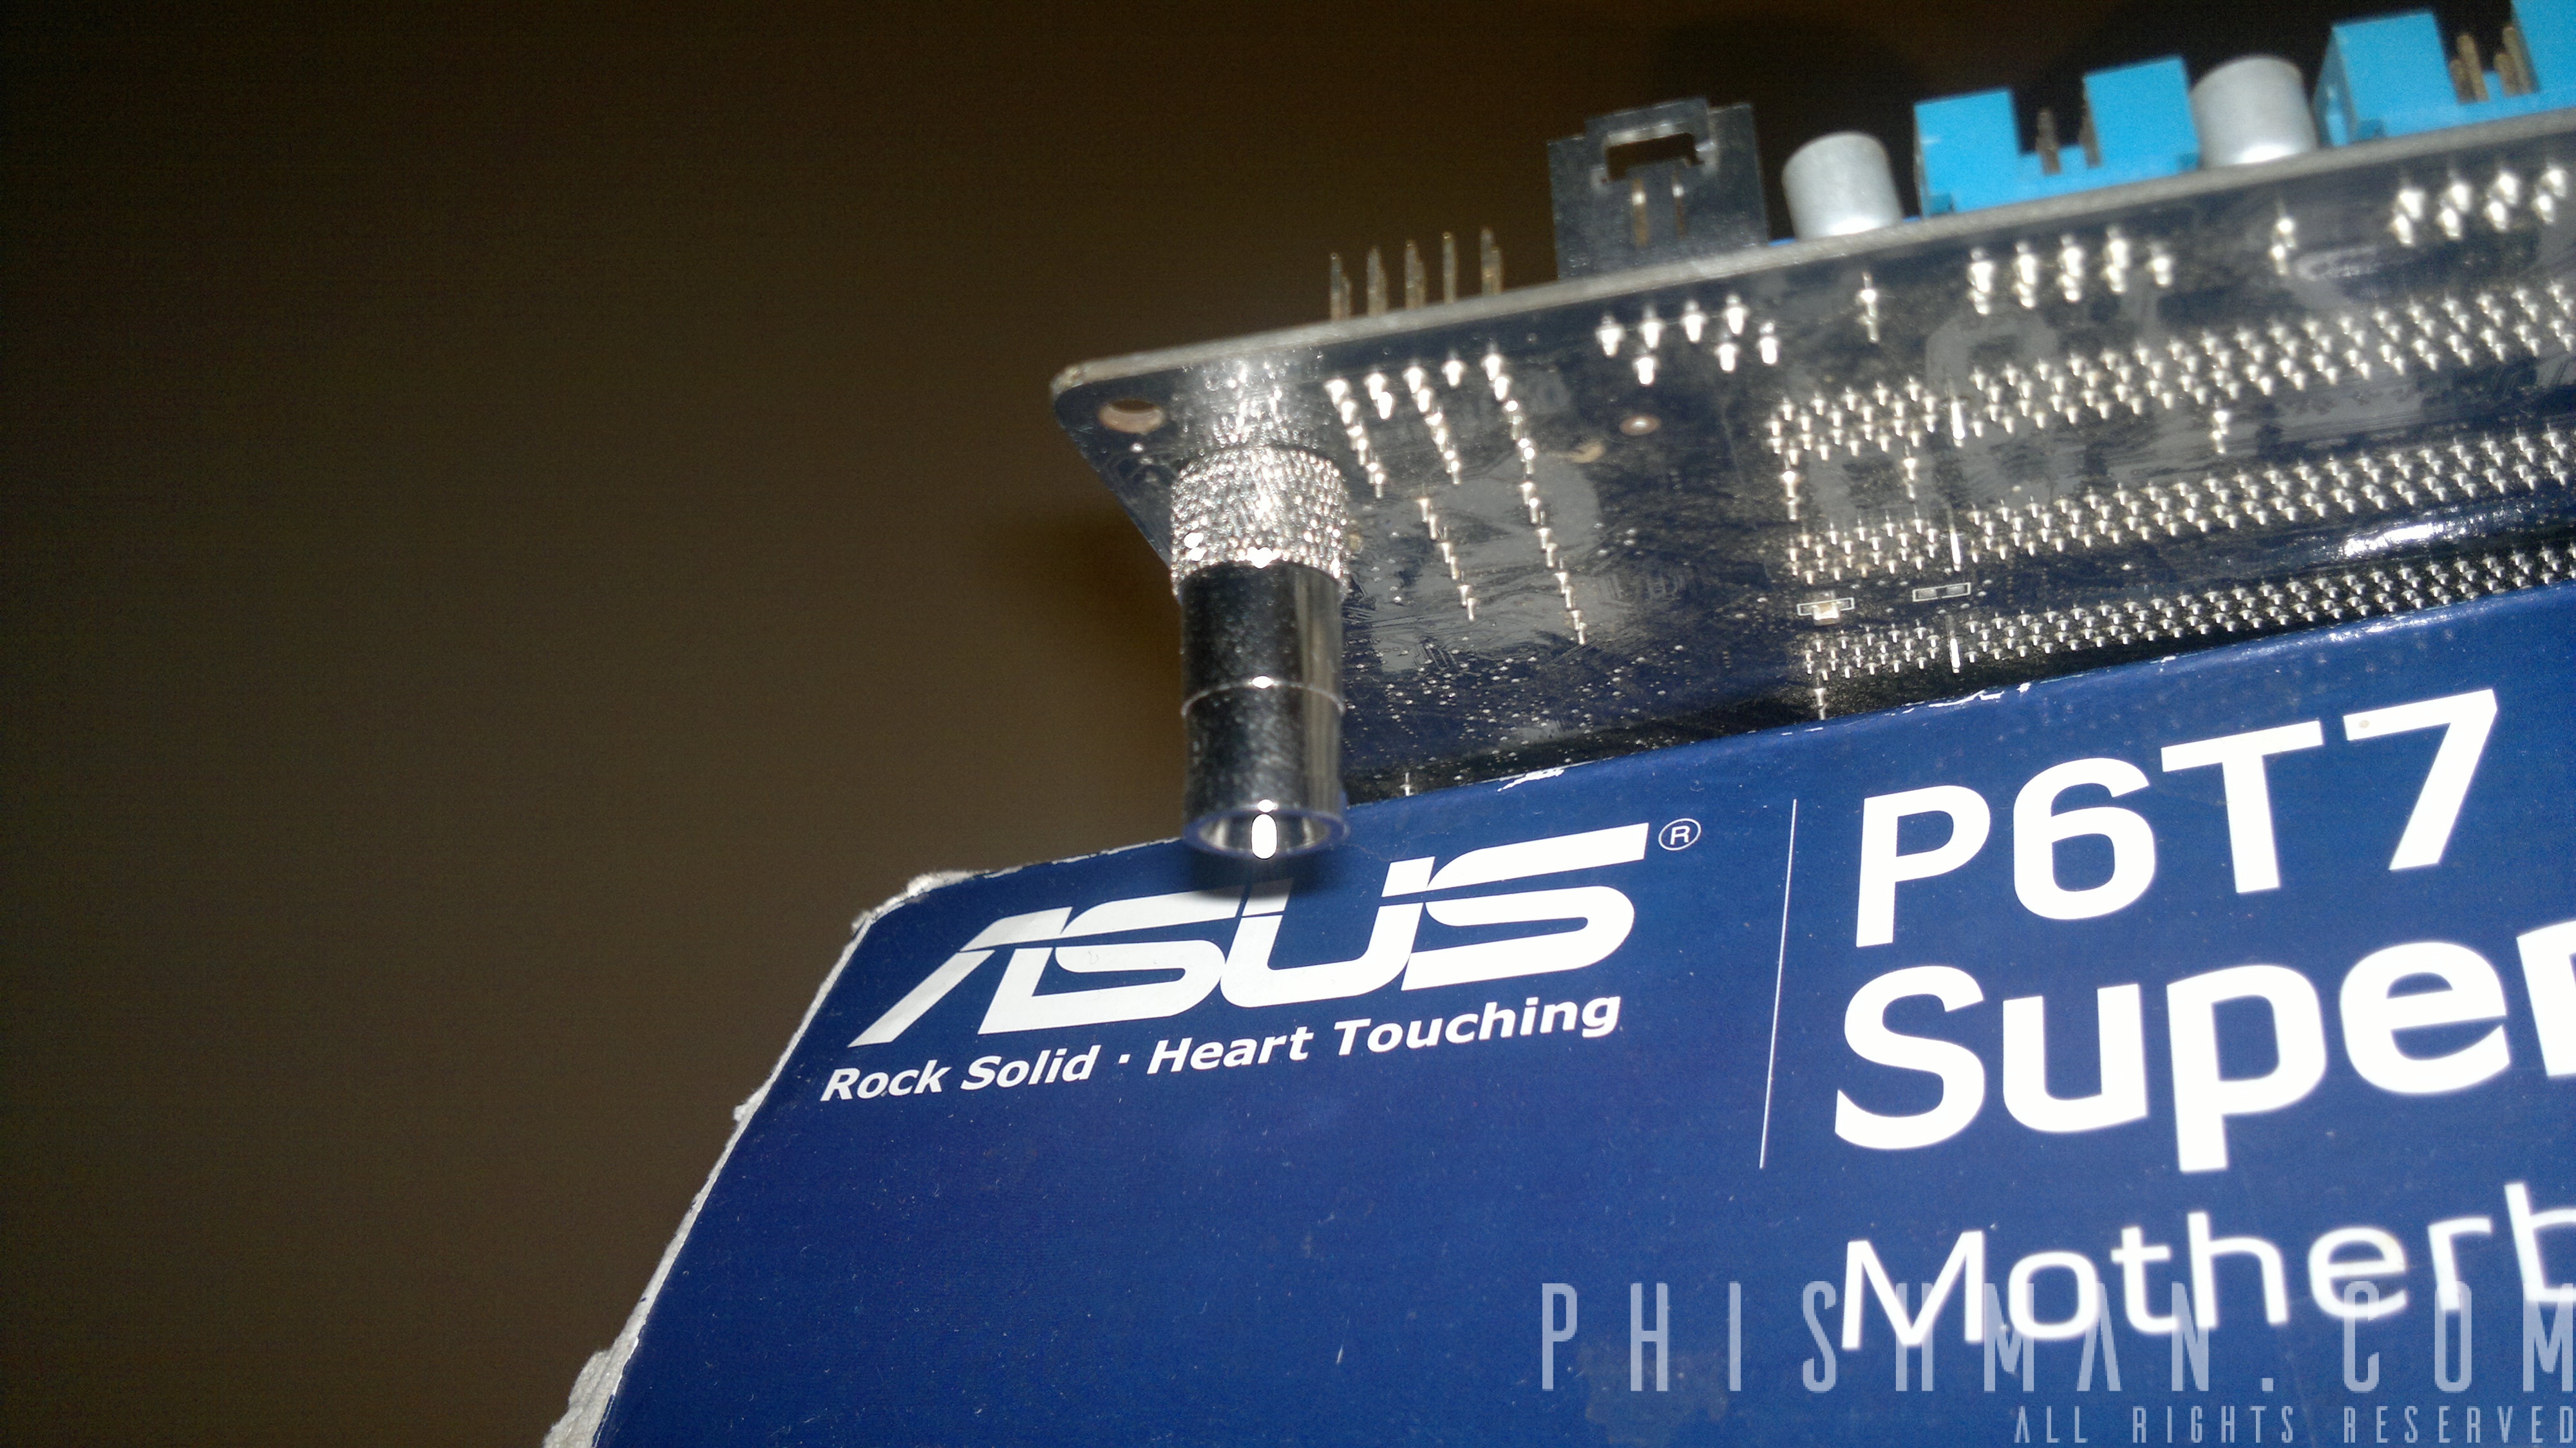
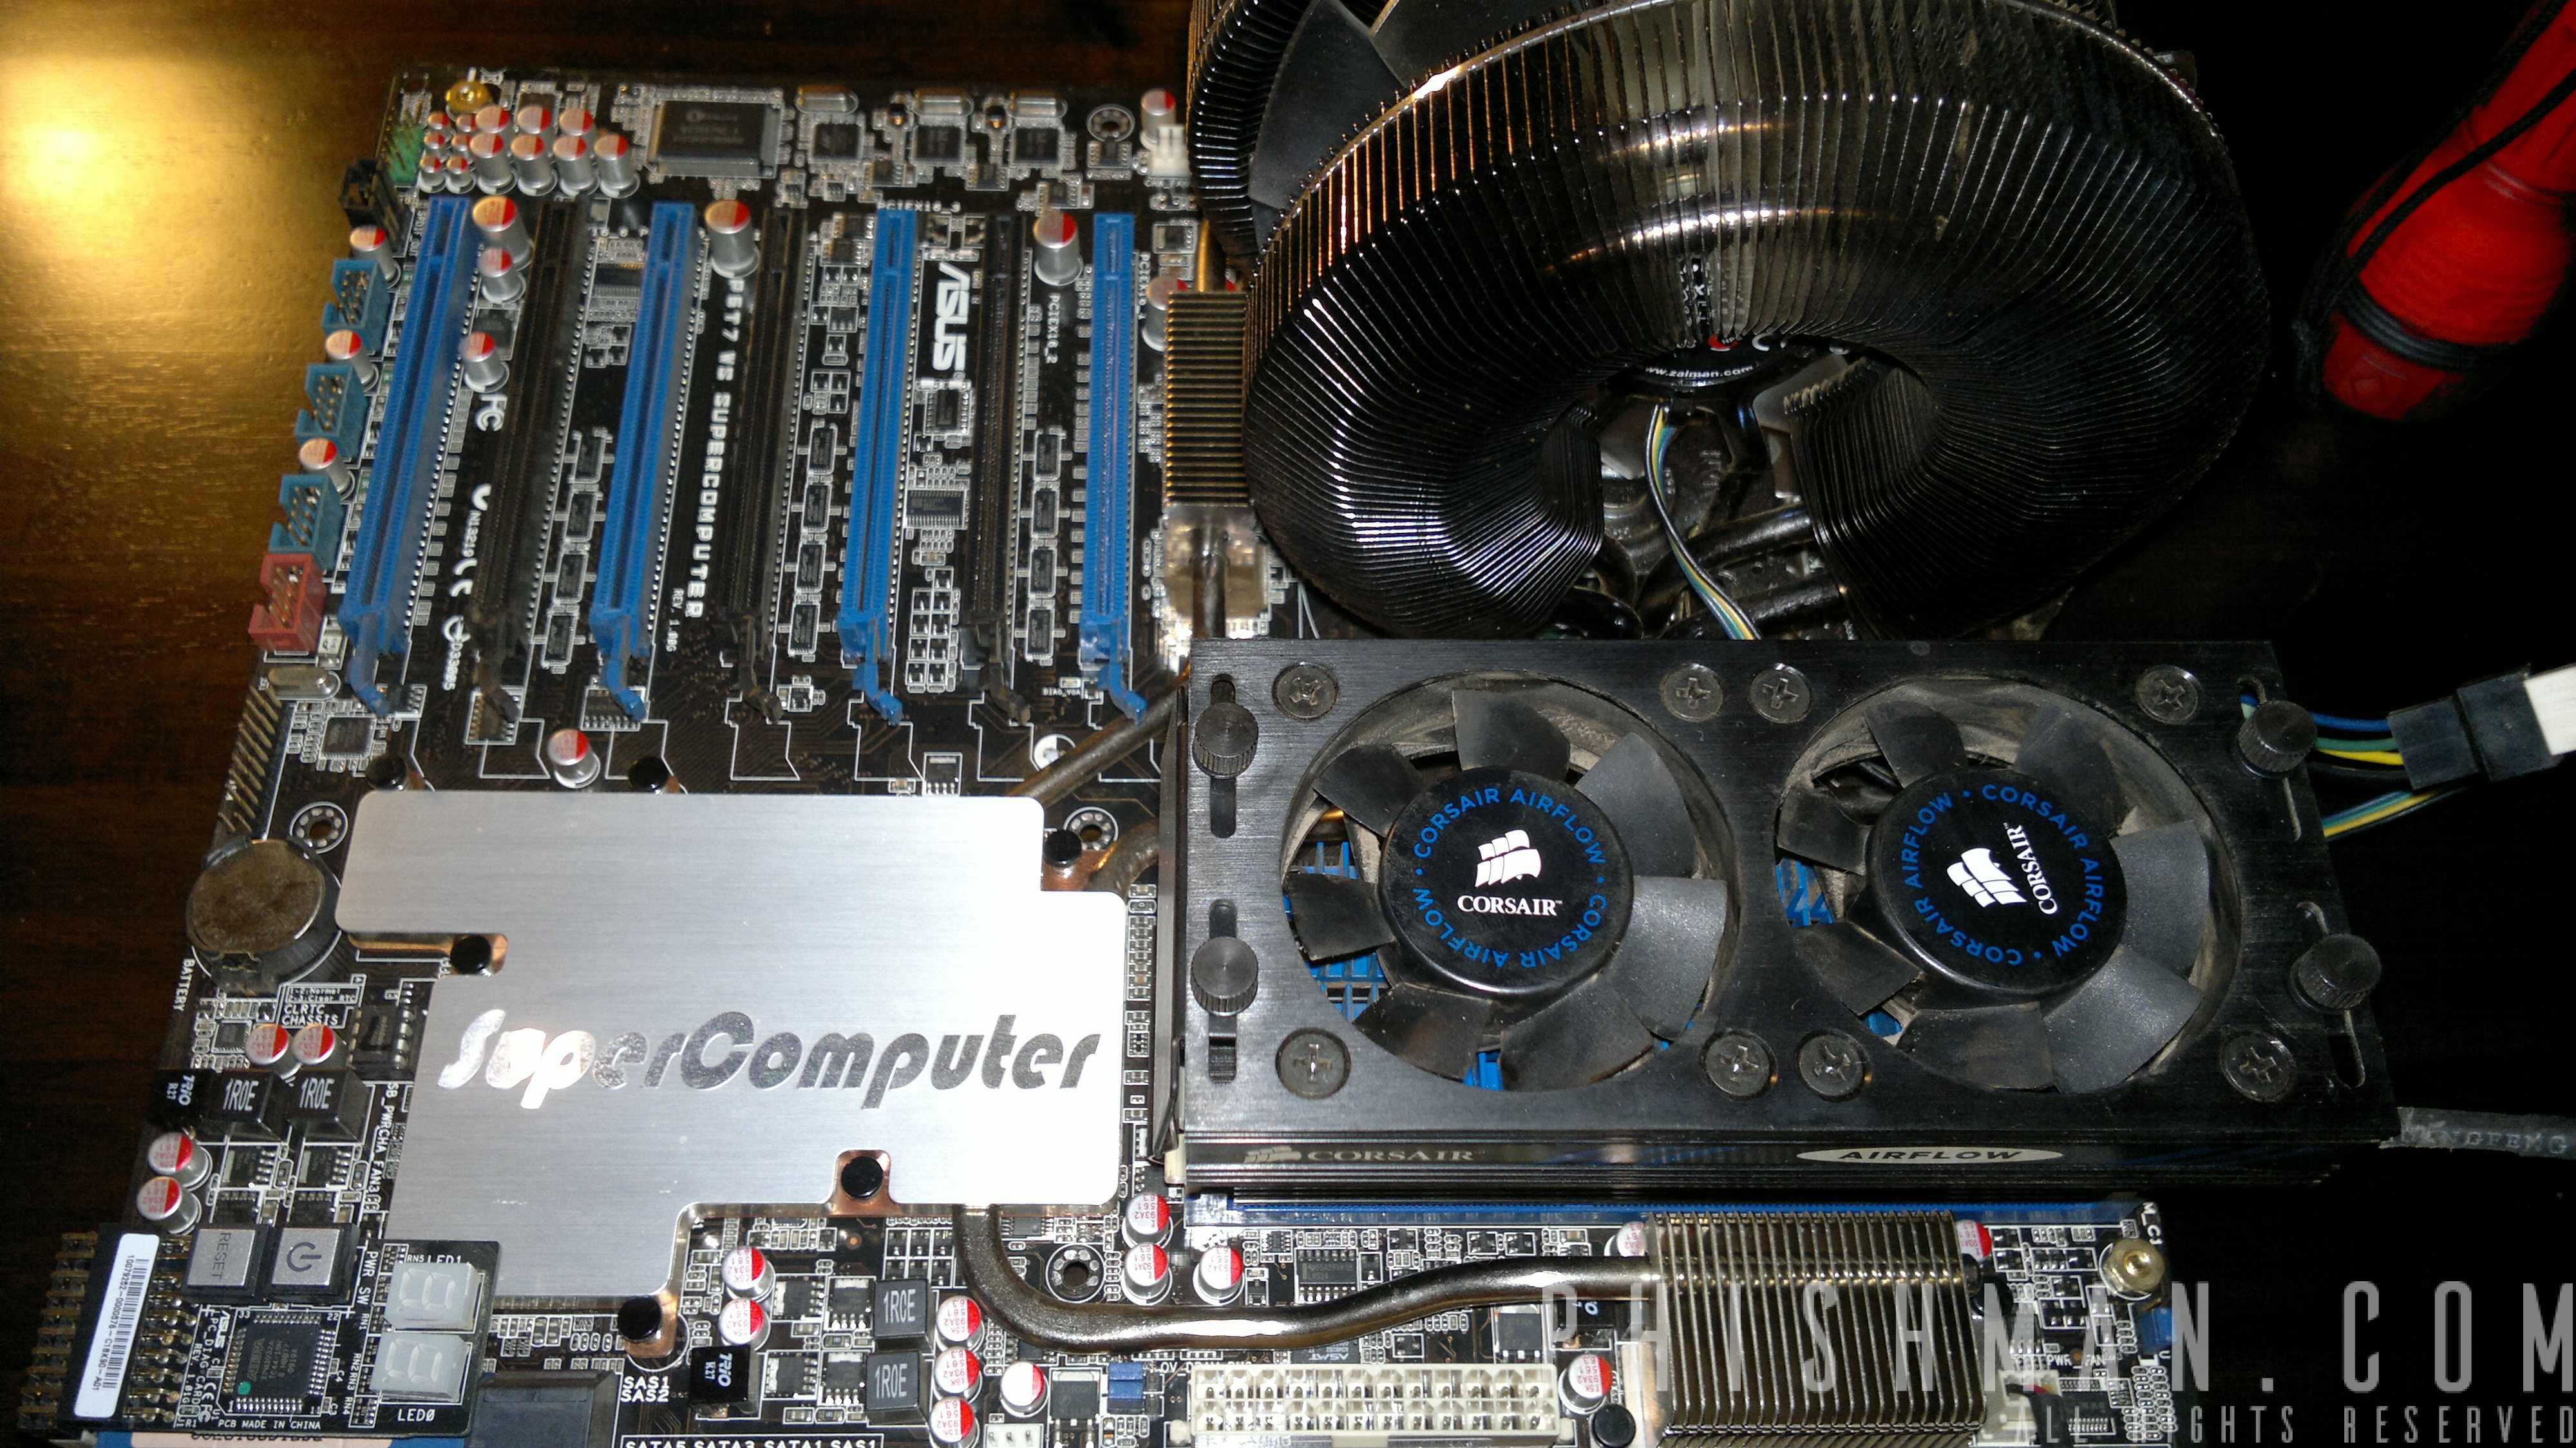
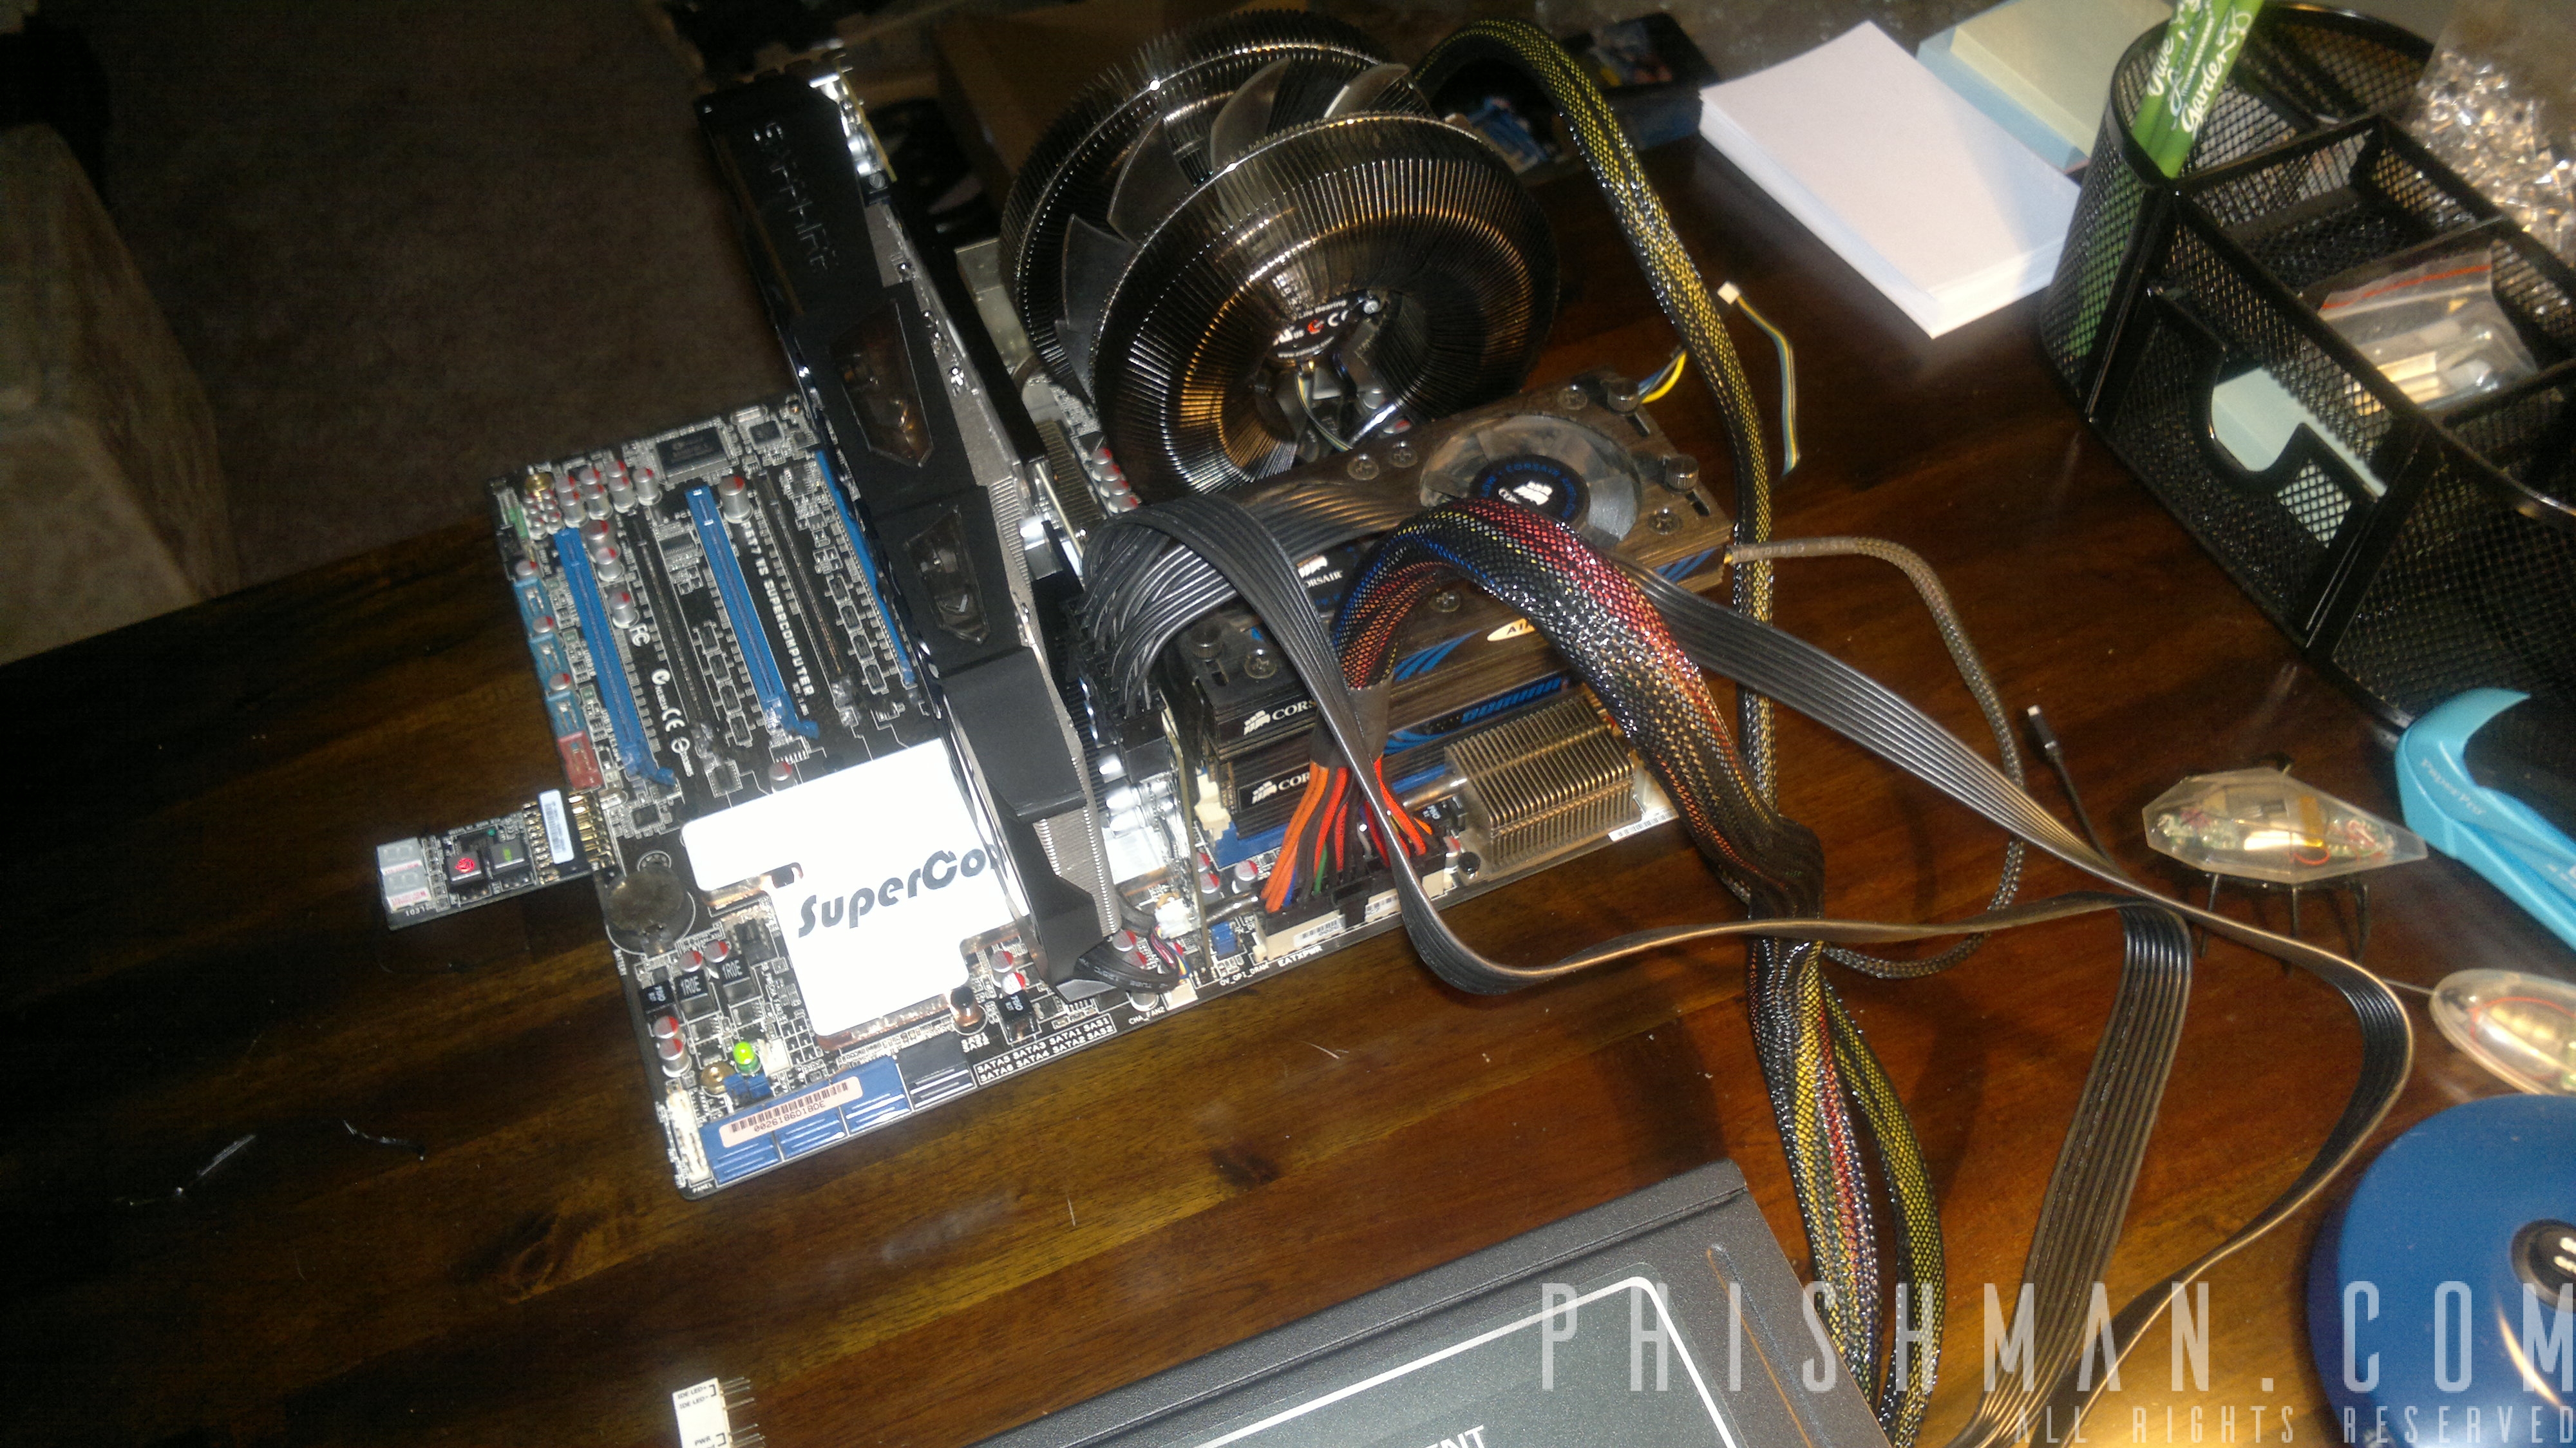
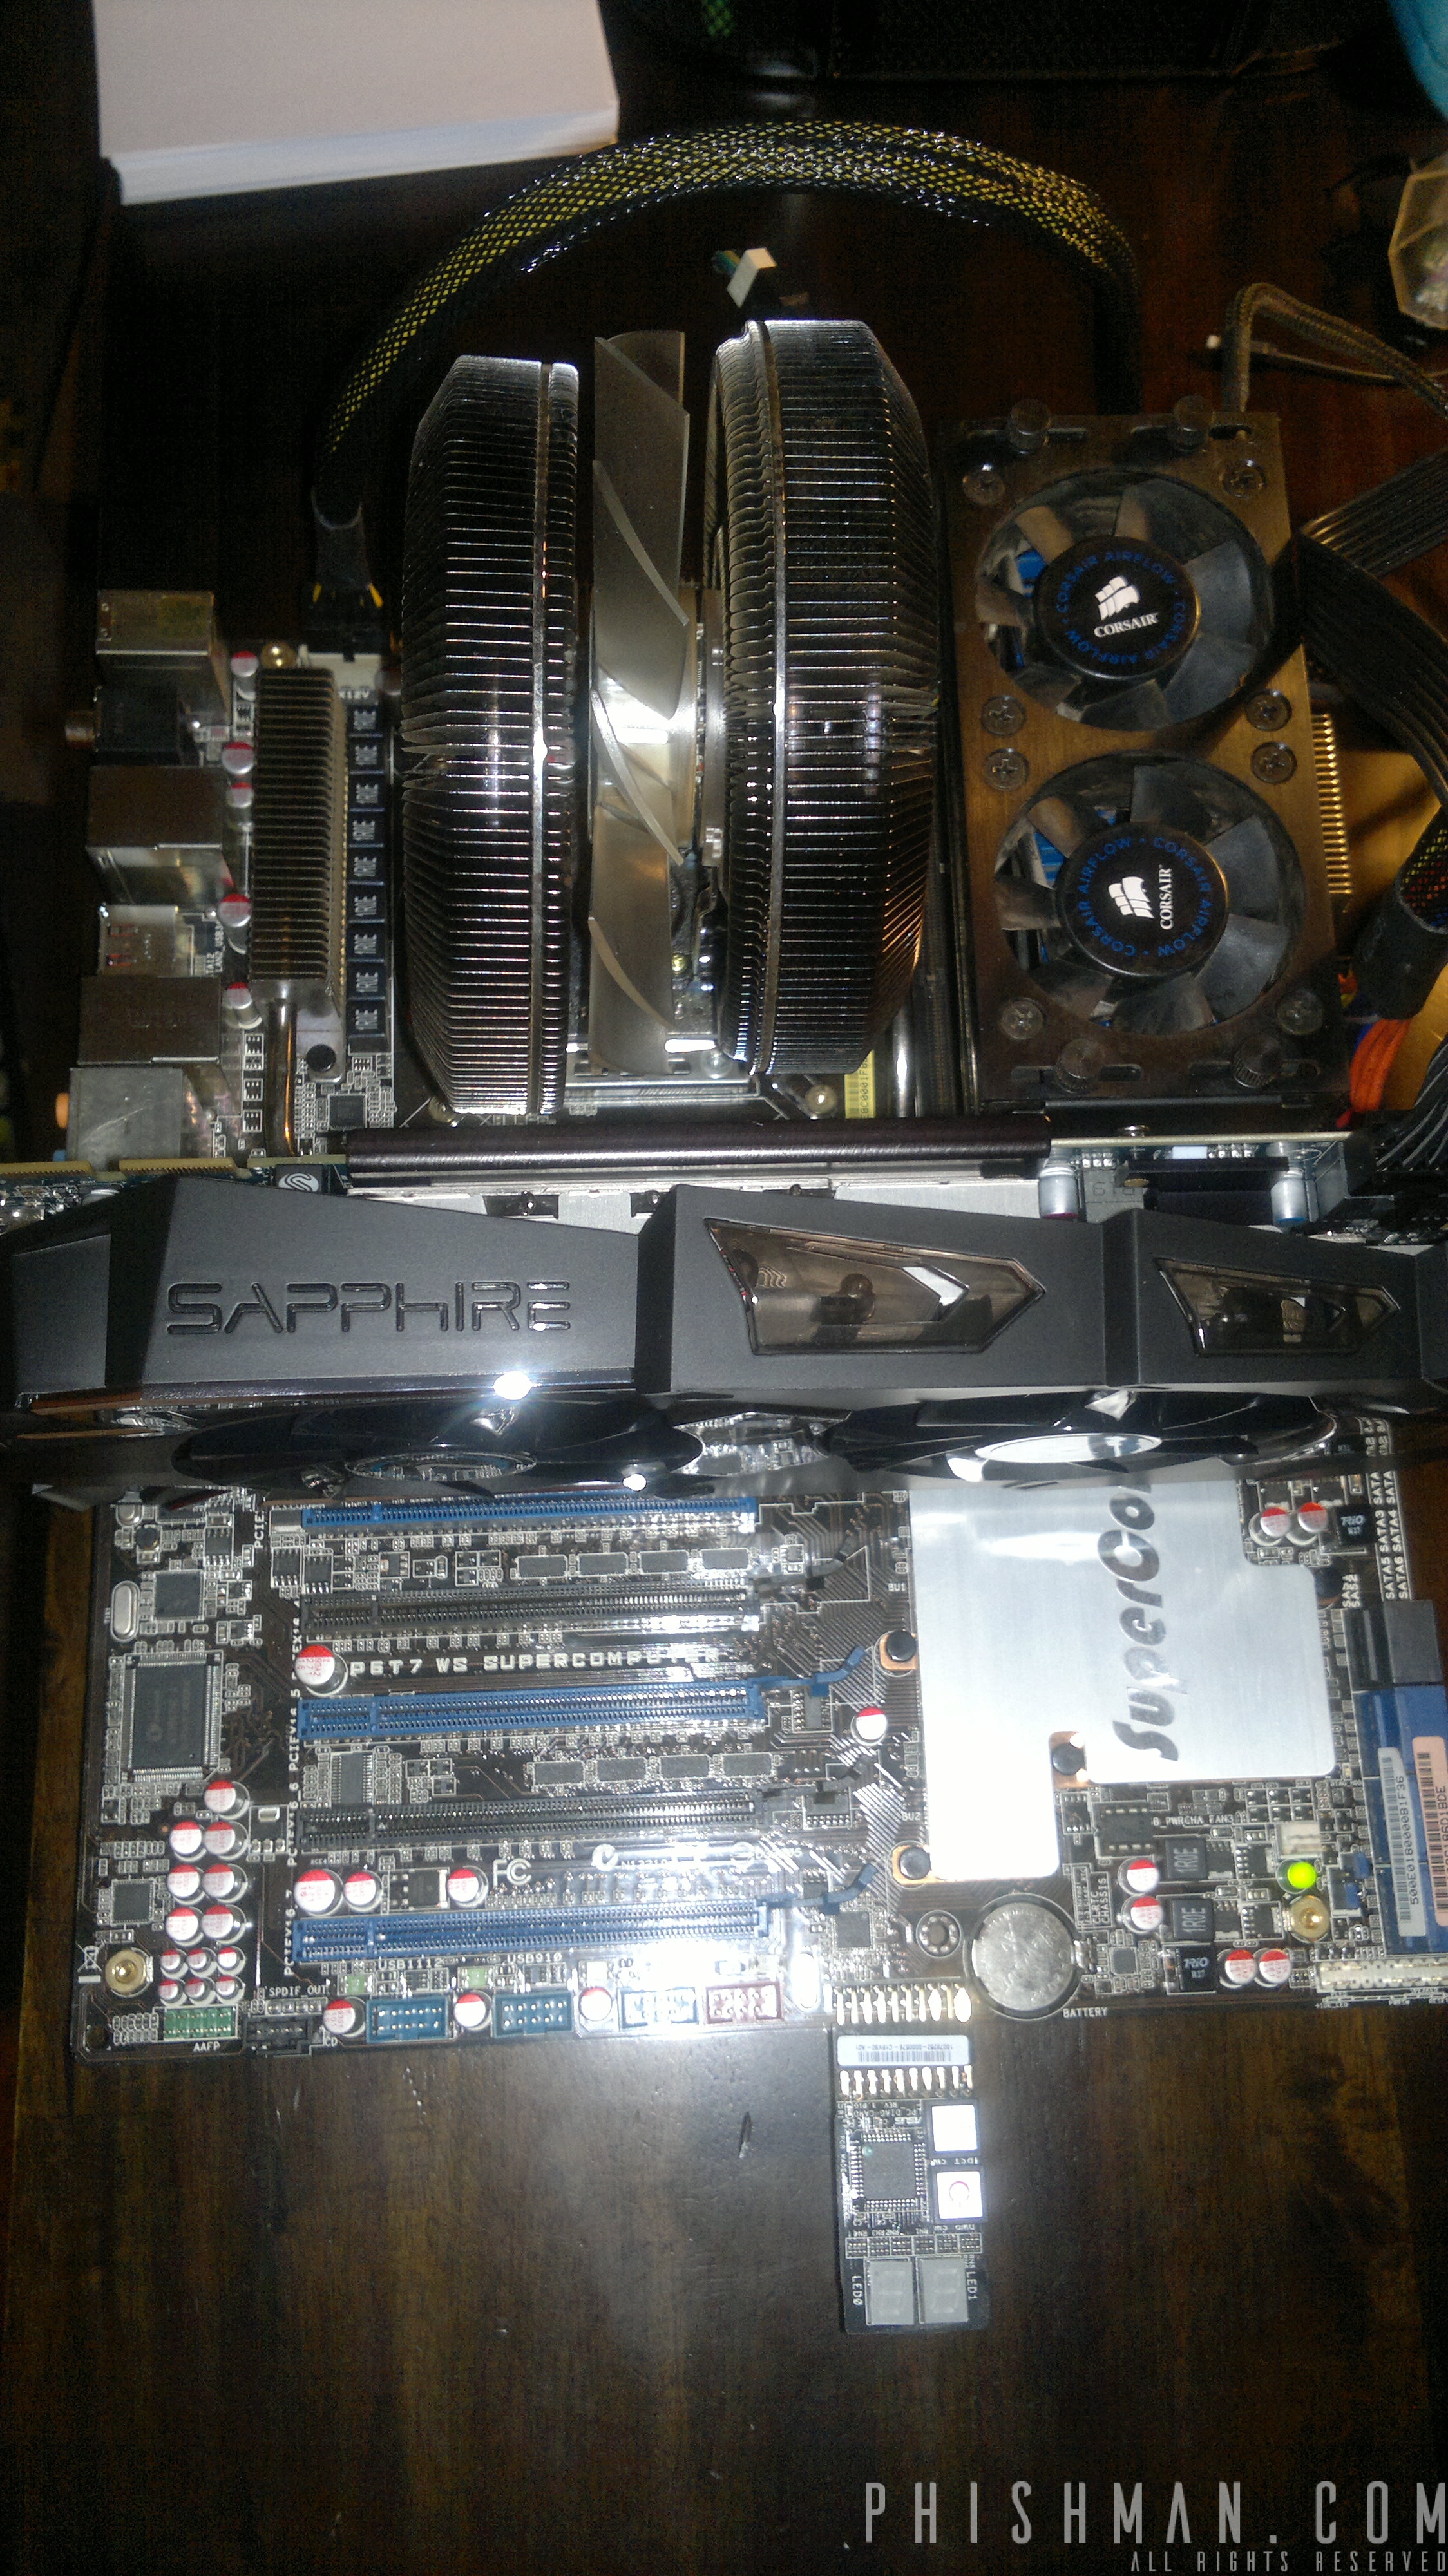
ASUS H110S2/CSM Mini-STX (Installing Percona With TokuDB MySQL Server)
|
1 2 3 4 5 |
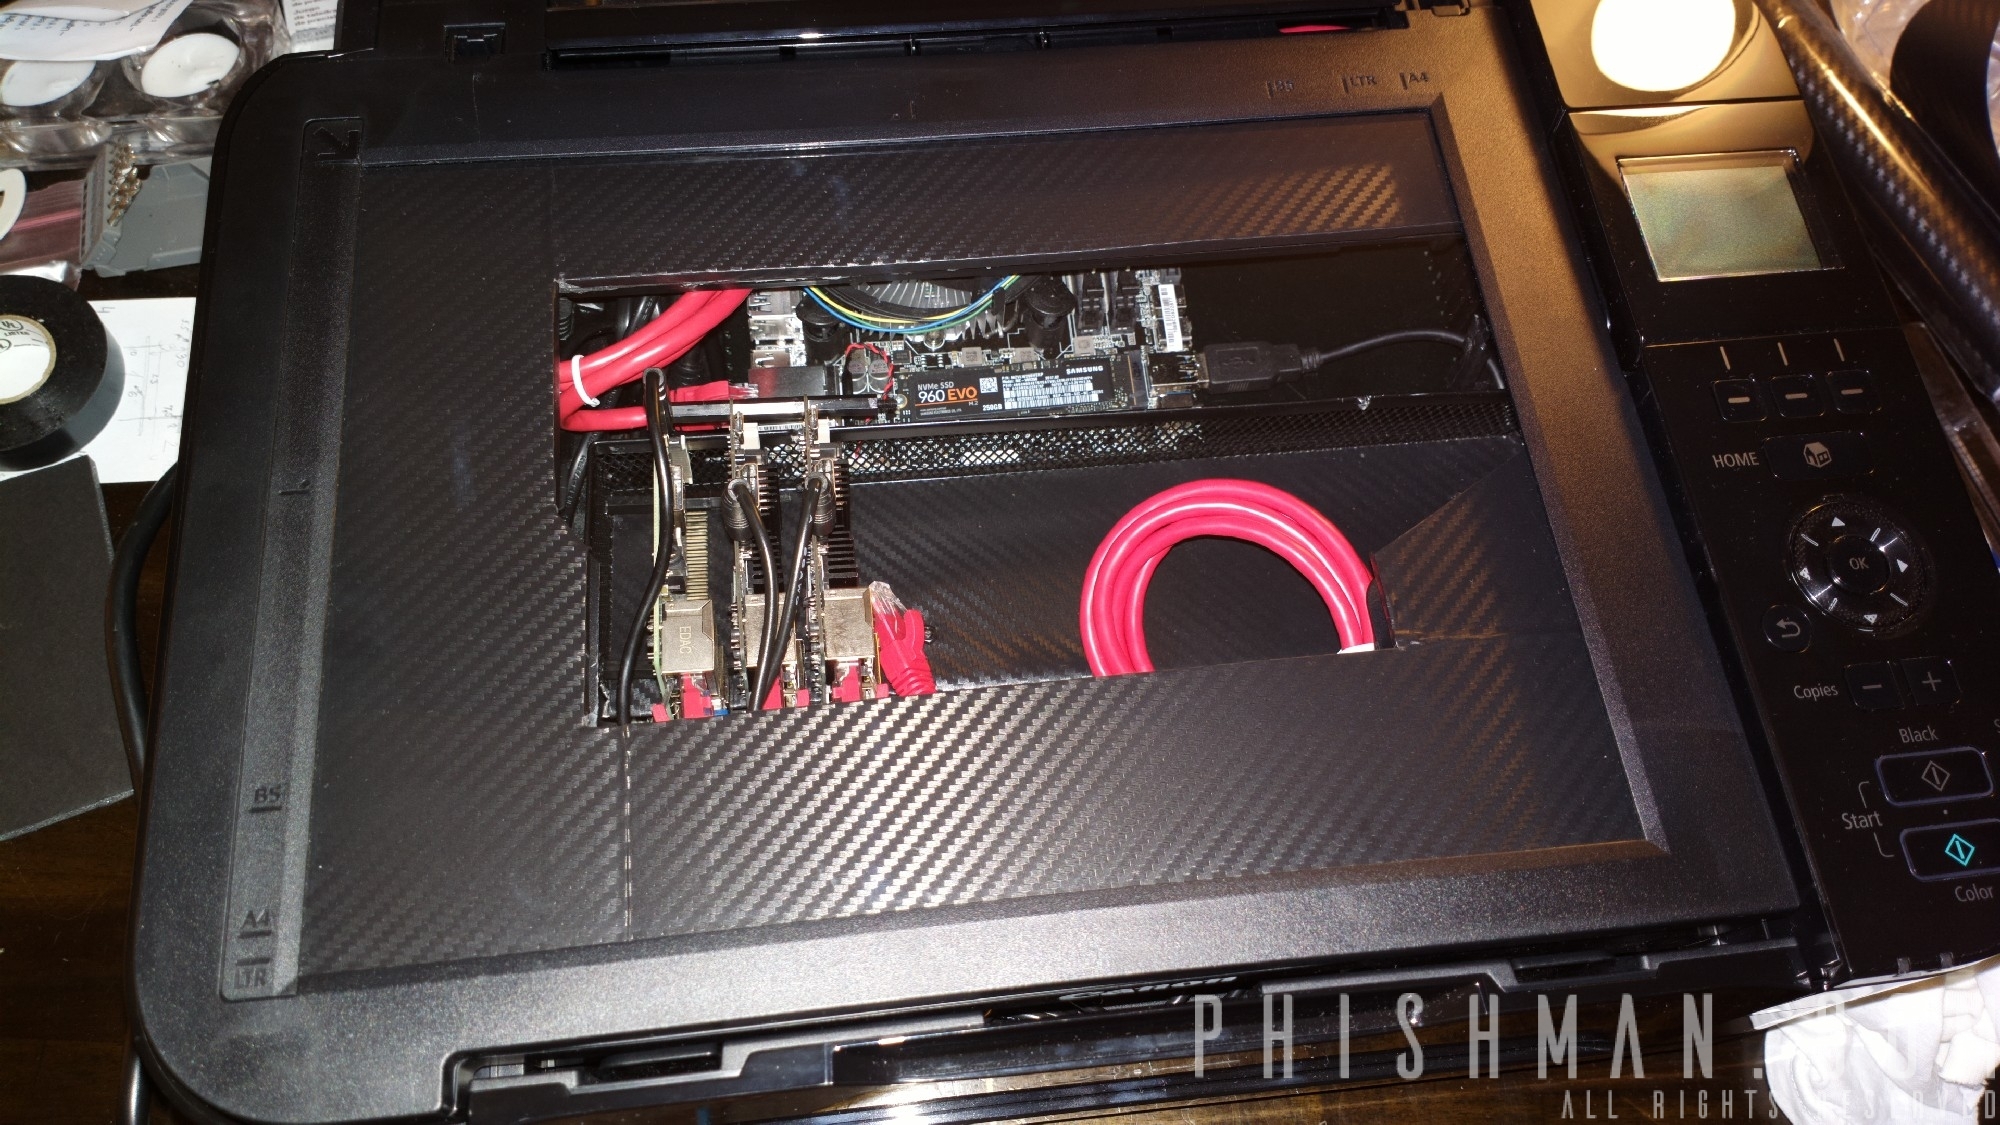
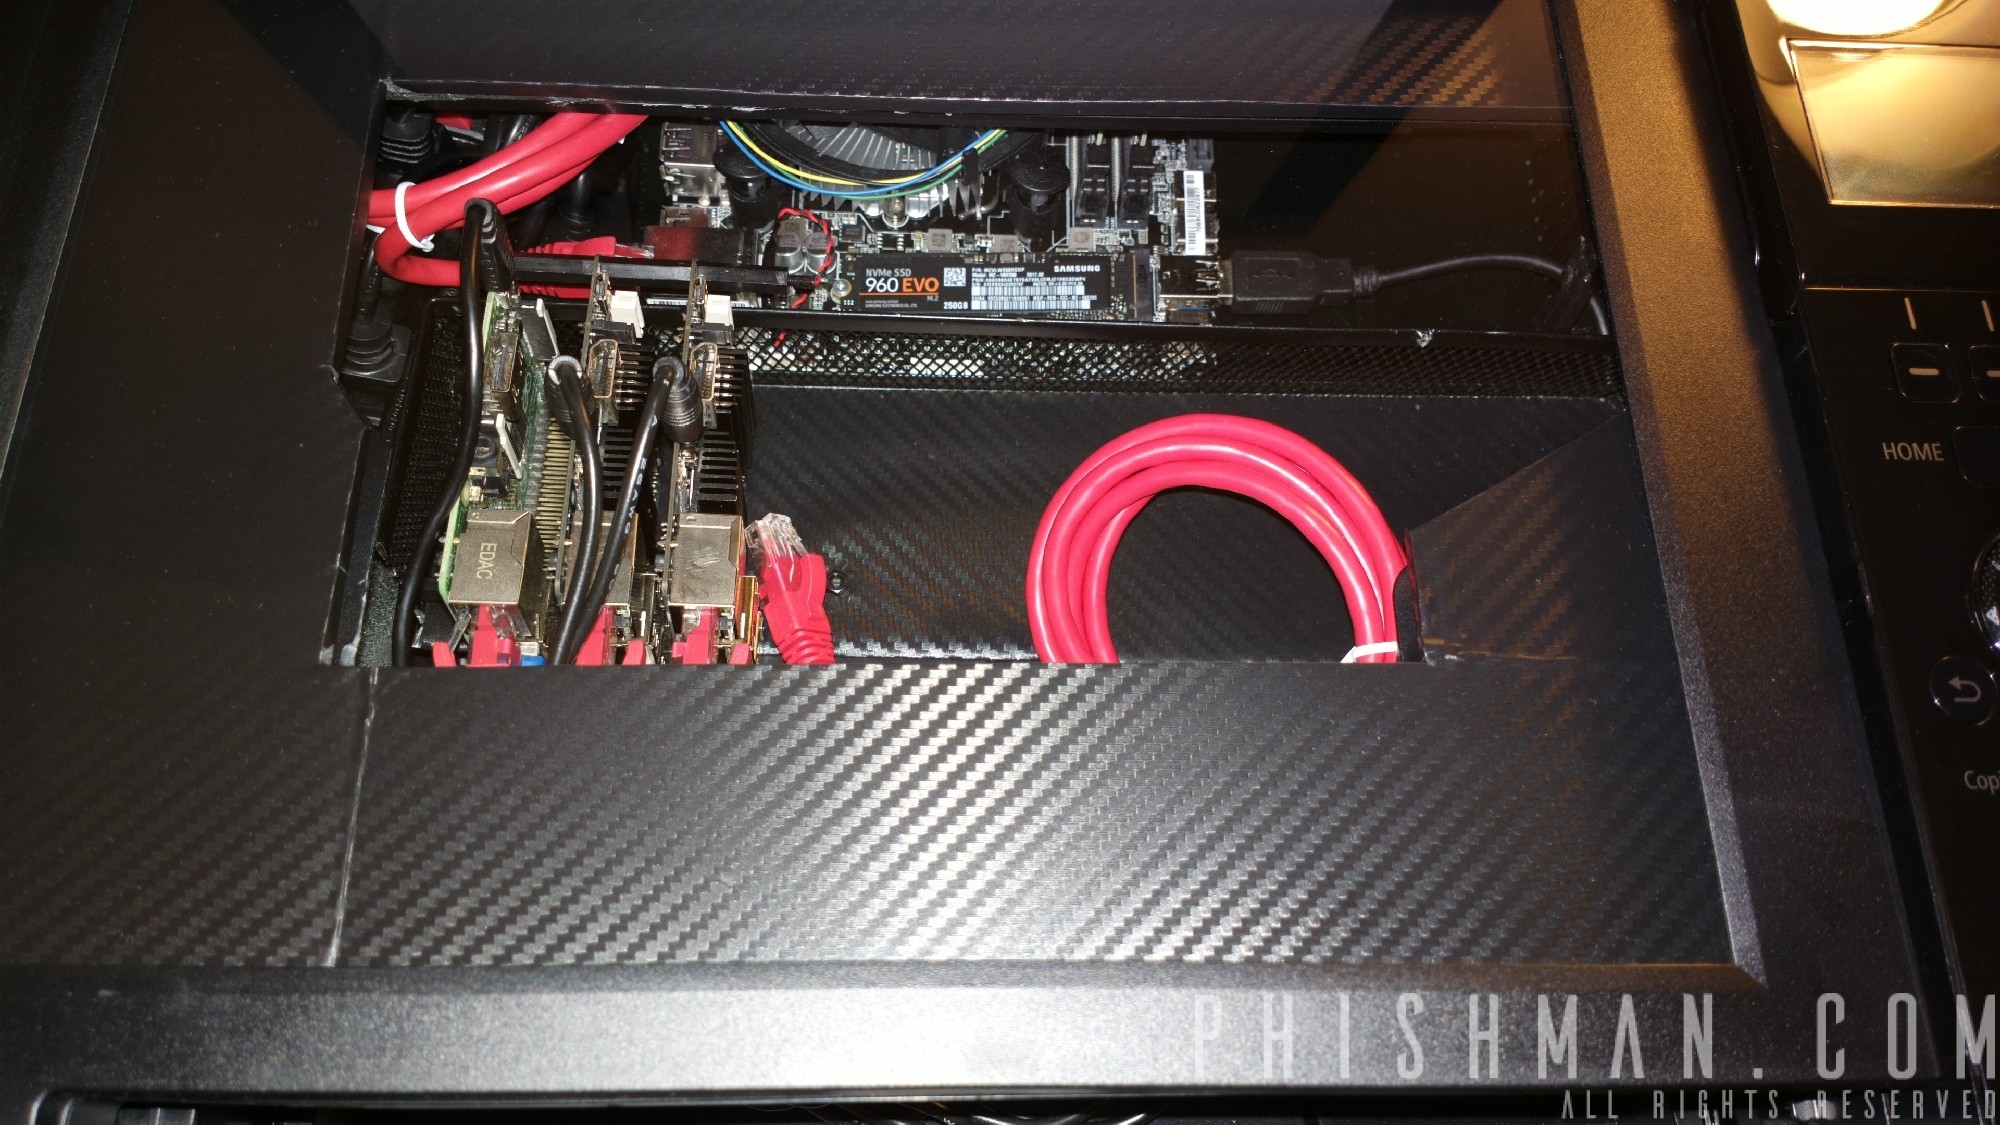
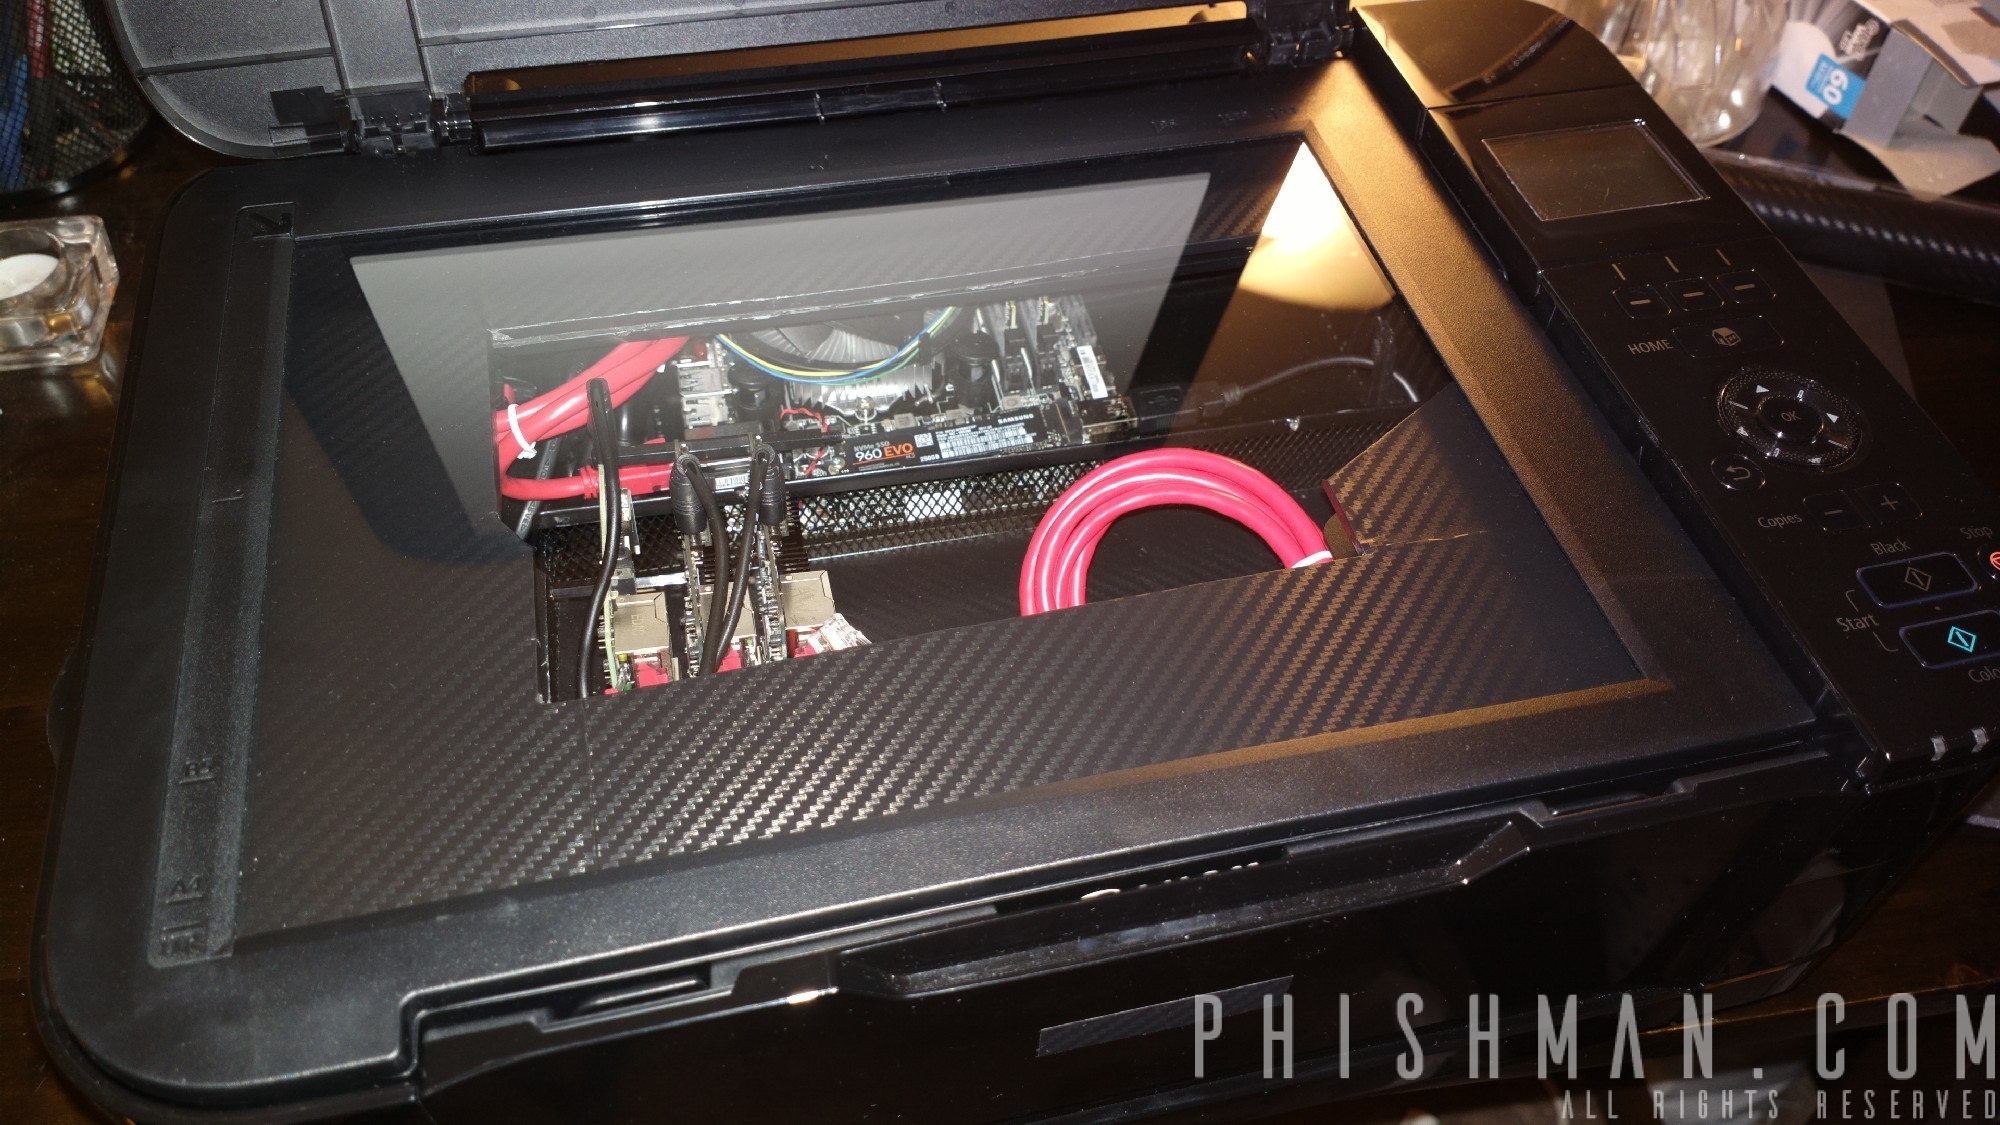
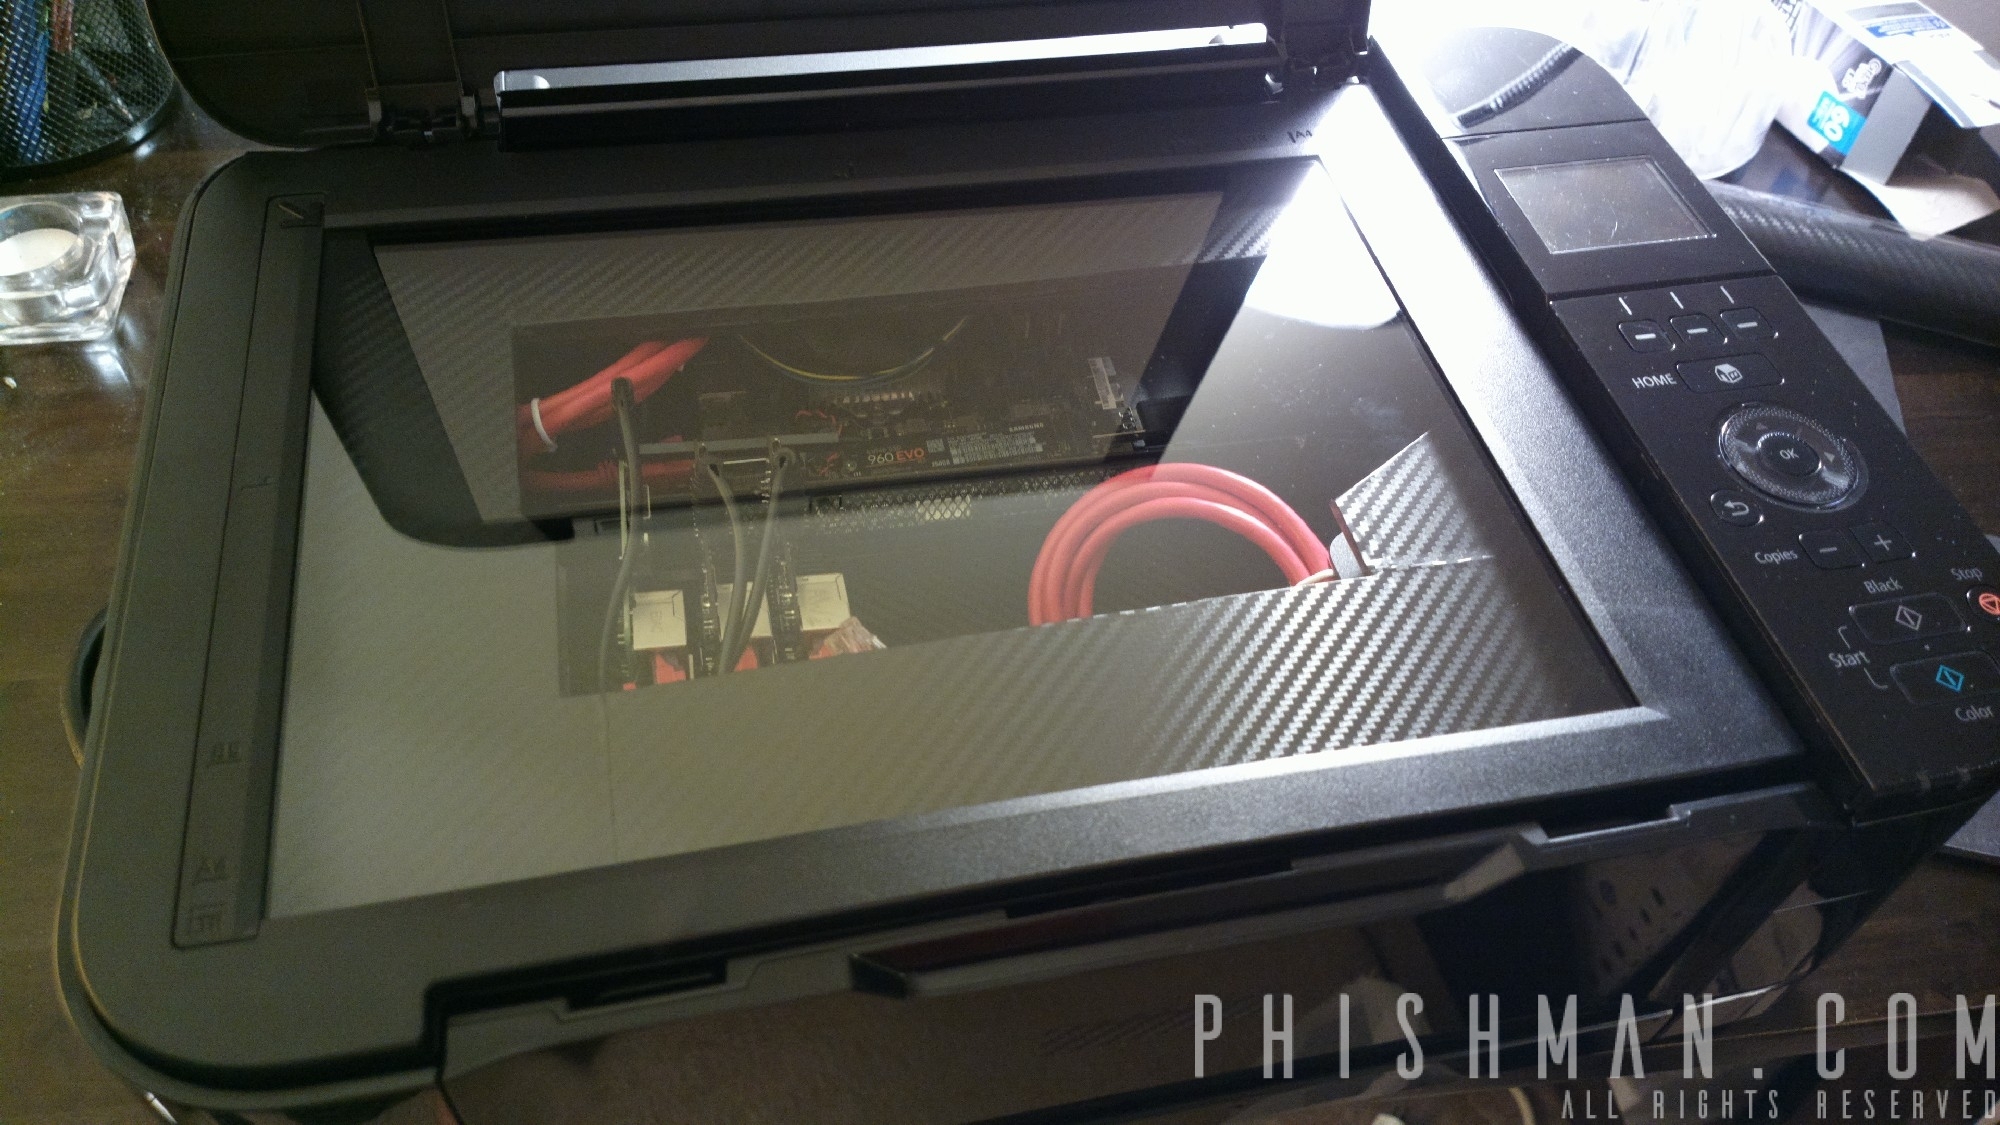
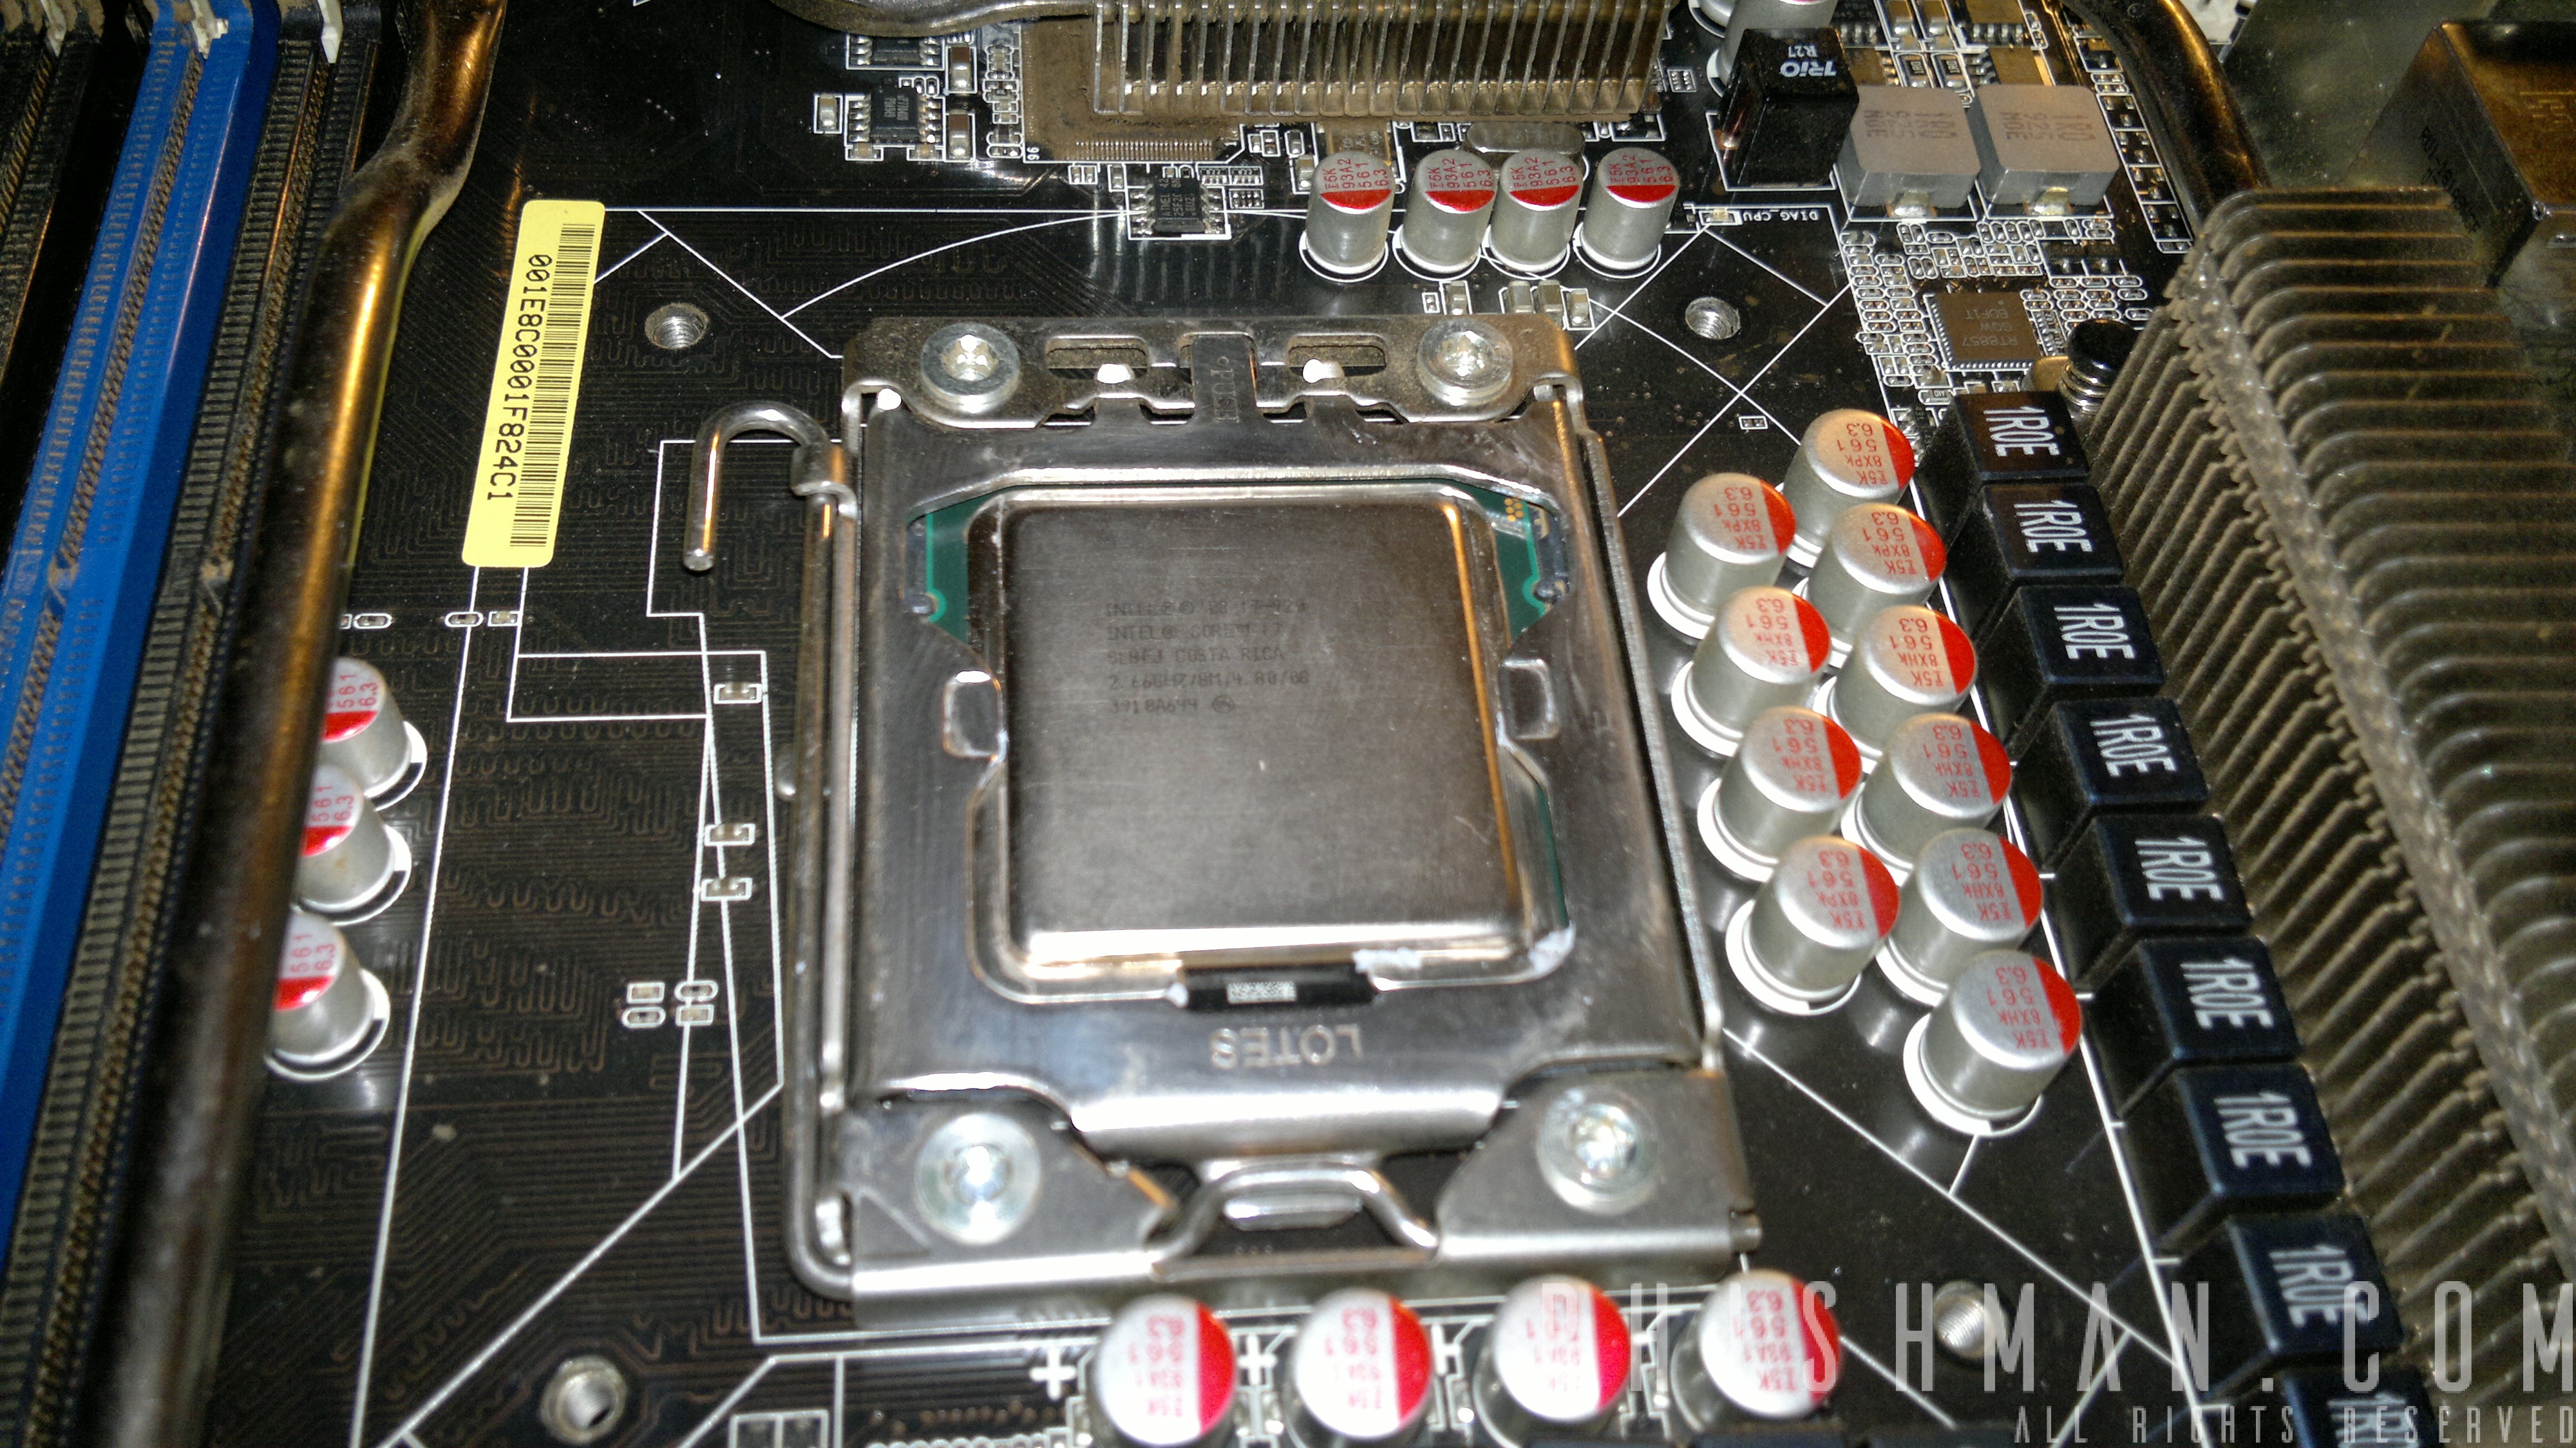
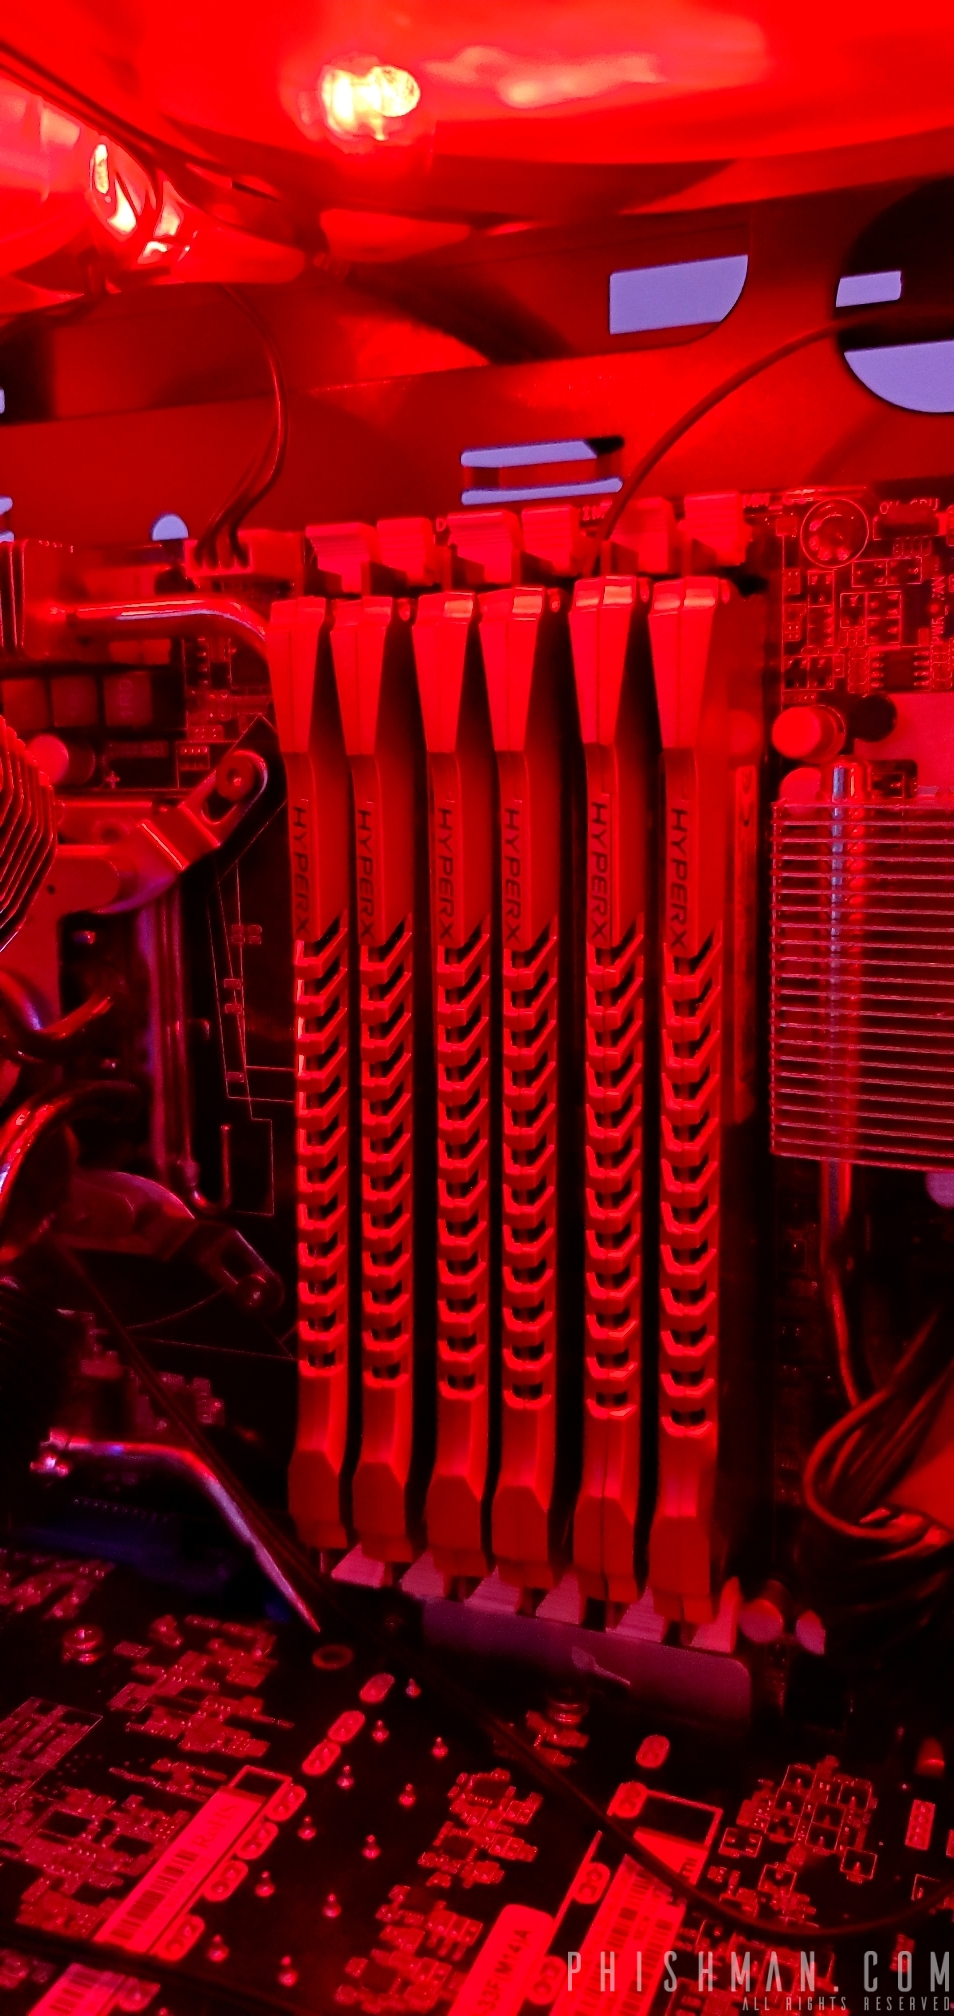
Motherboard: ASUS H110S2/CSM LGA1151 DDR4 Dual GB LAN DP HDMI LVDS Mini-STX CPU: Intel Pentium G4560 Kaby Lake 3.50GHz LGA 1151 RAM: G.SKILL 32GB (2 x 16G) Ripjaws Series DDR4 PC4-17000 2133MHz Laptop Memory Model F4-2133C15D-32GRS SSD: Samsung 960 EVO Series 250GB NVMe M.2 Internal SSD PSU: Oneda 120W 19V 6.32A AC Power Adapter Laptop Charger for Asus |
For our cluster we will start with:
- 1 proxy node
- 2 load balancer nodes
- 2 web server nodes
- 1 database server node
Our final goal is a cluster with:
- 1 proxy node
- 2 cache nodes
- 8 nodes in web cluster
- 10 nodes in MySQL cluster and 2 nodes in NAS cluster. Total 23 nodes.
We may not be able to fit that many nodes in this printer case, because the power supplies needed to power all the nodes will require a lot of space.
Hardware Prices:
$90.75 – 2 x ODROID C2
$53.90 – 2 x 16GB eMMC Black Module C2 Linux
$133.05- 2 x ODROID-XU4Q with Passive Heatsink
$54.90 – 2 x 16GB eMMC 5.0 Module XU3/XU4 Linux (Blue Dot)
$20.15 – 2 x 5V/4A US Type Power Supply
$30.00 – 1 x Raspberry Pi B+
$39.00 – 3 x MicroSD Sandisk 16 GB UHS-I
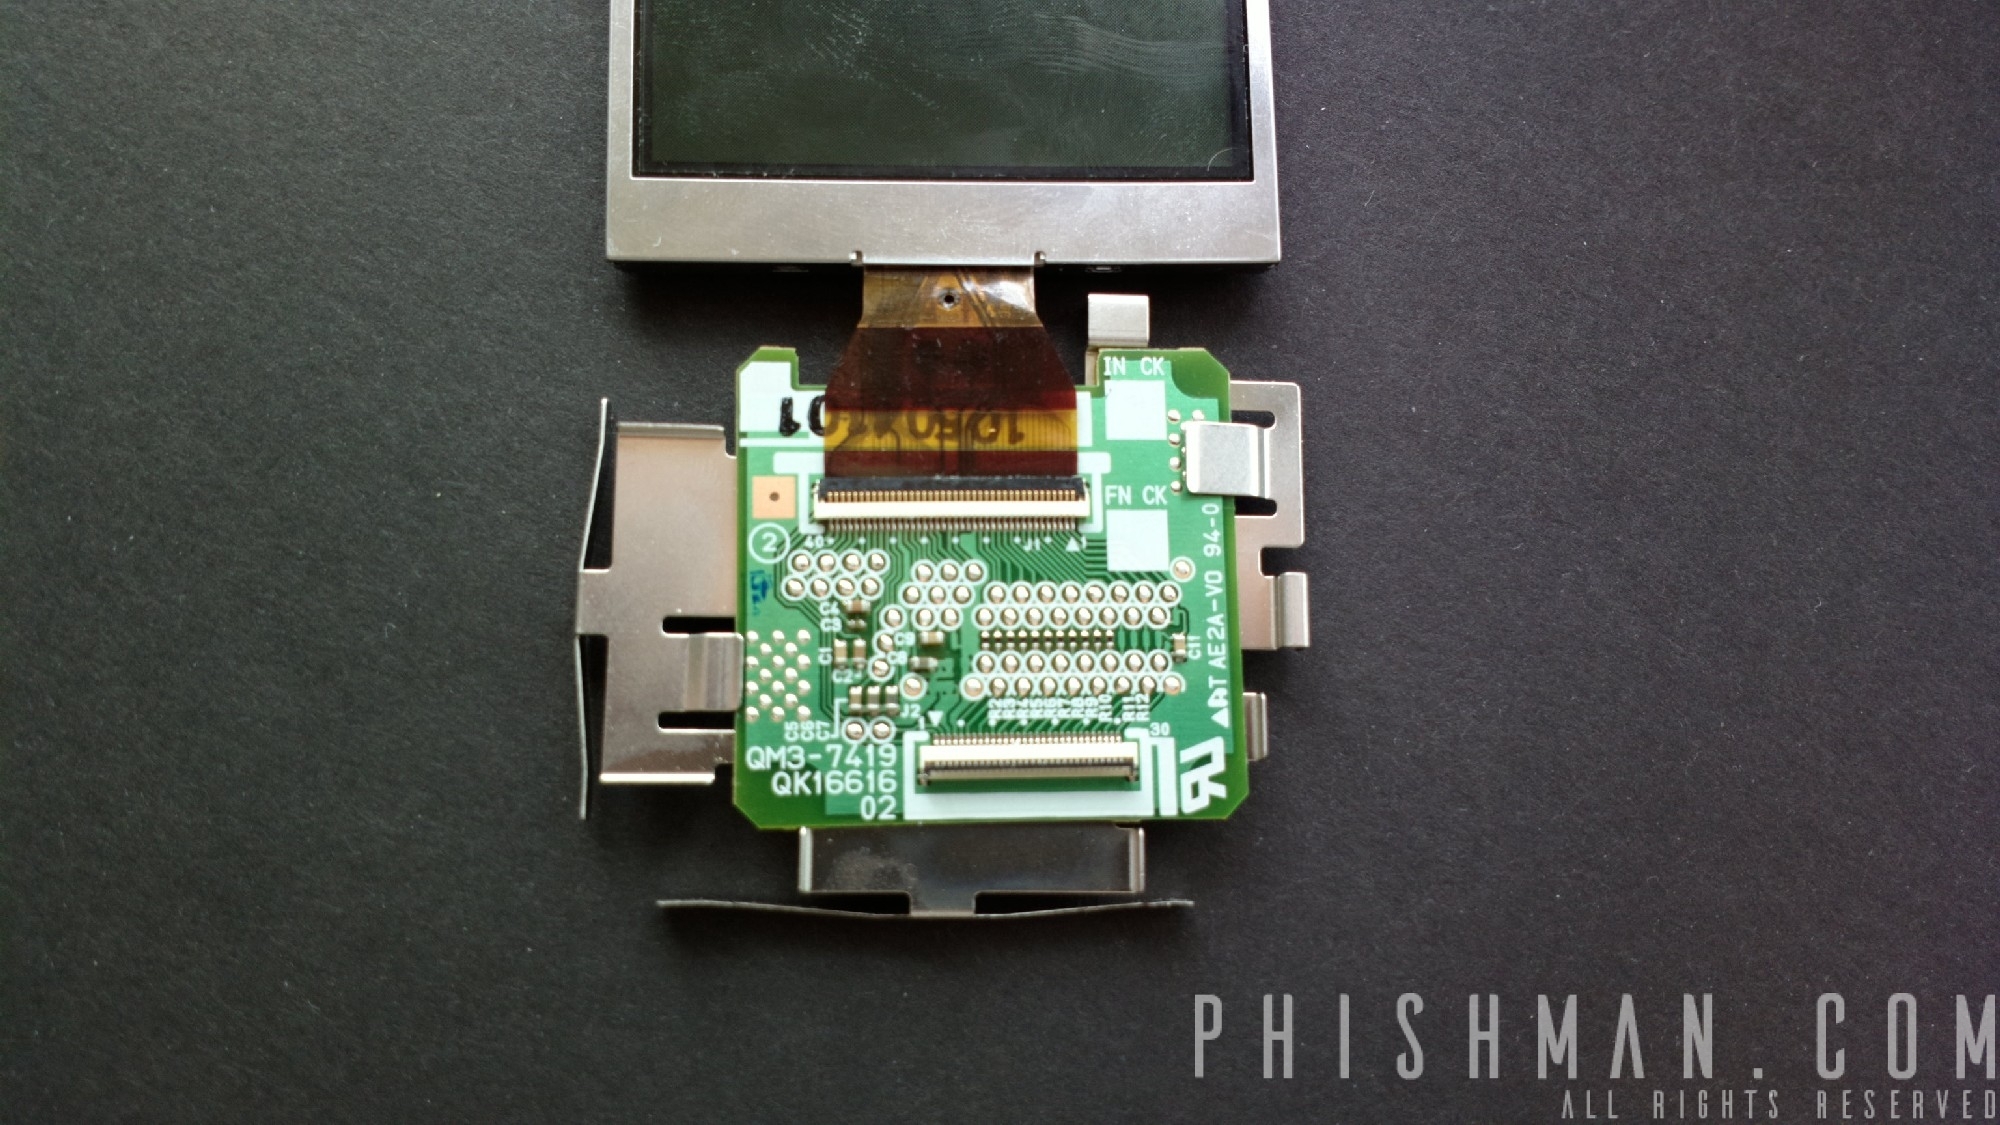
$3 – 1 x Display flat cable 22 pin to 15 pin Pi (China)
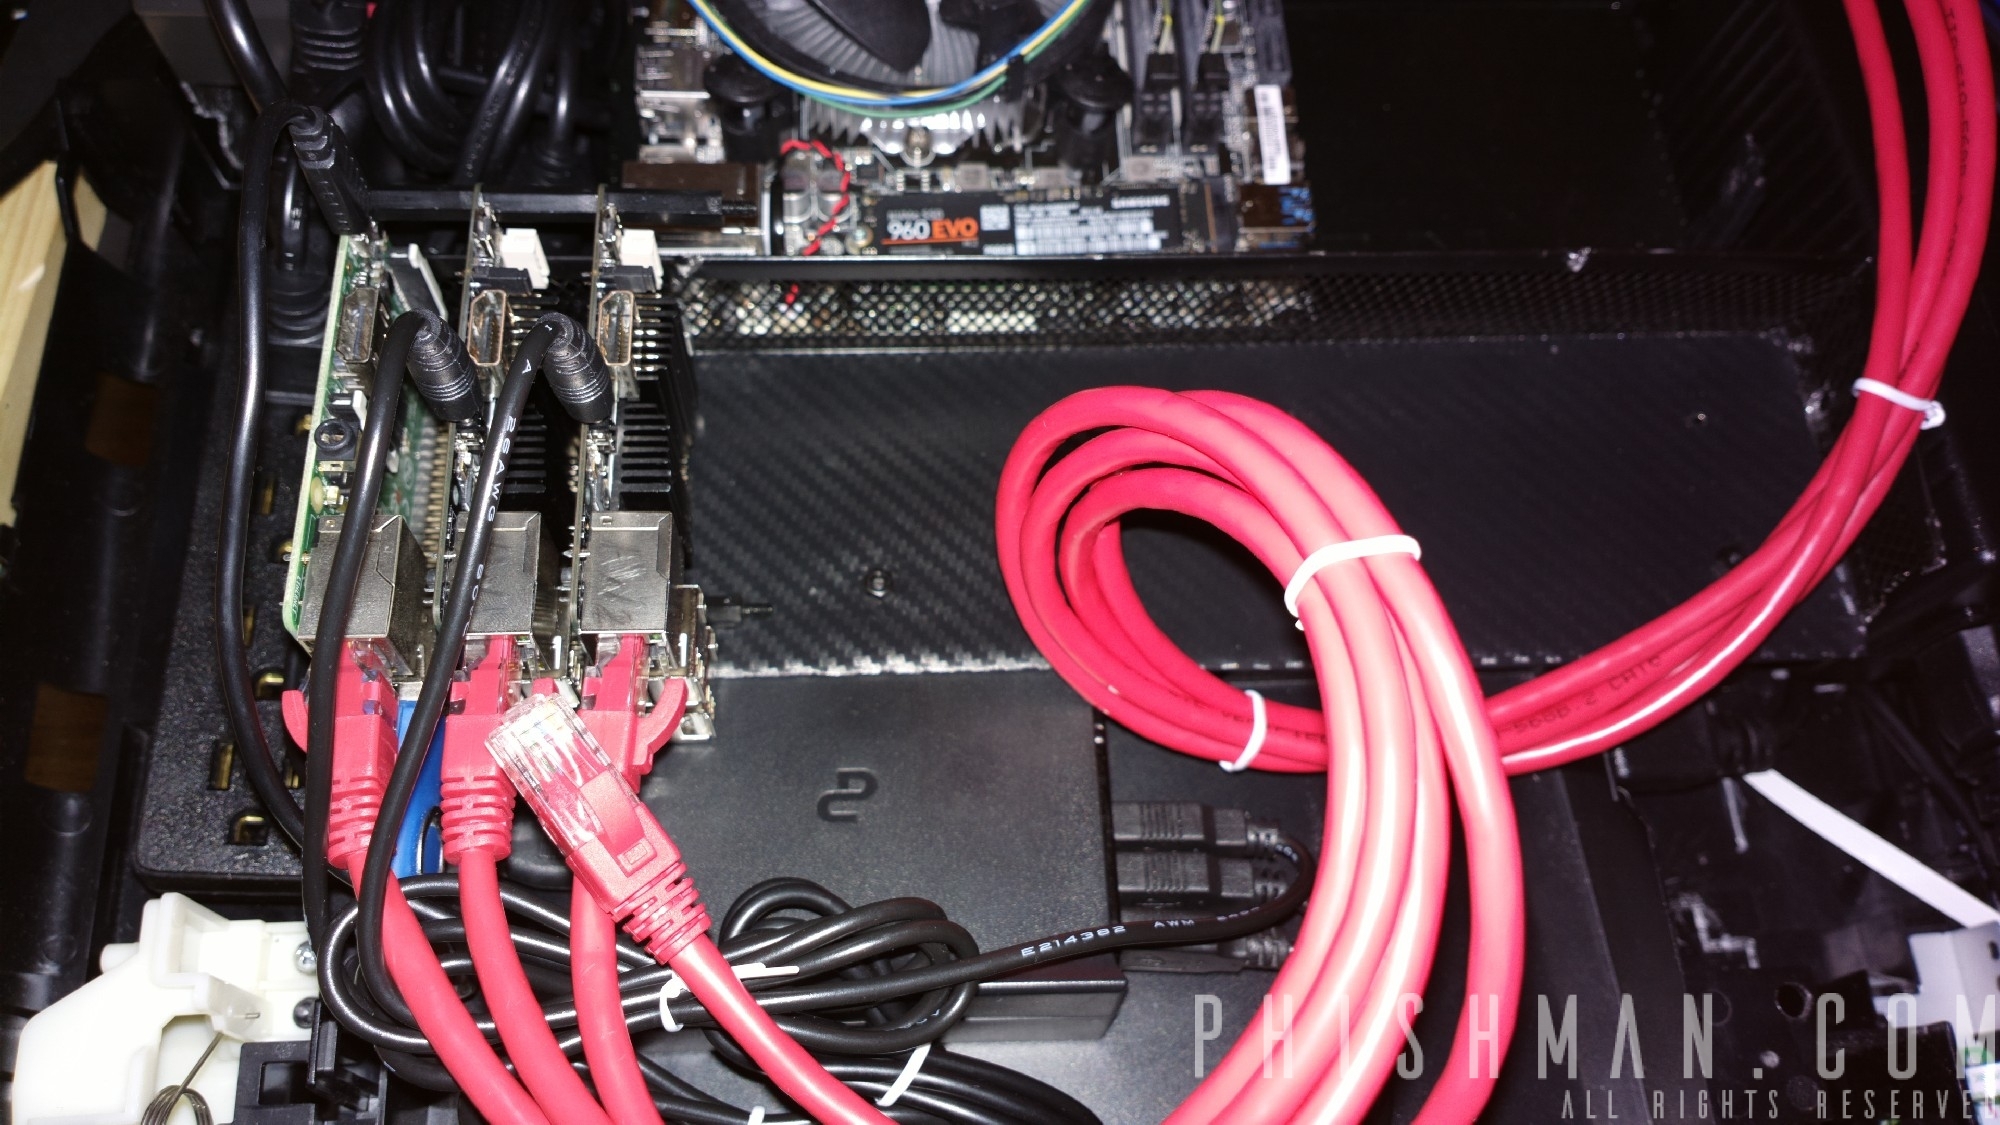
$29.99 – 20 x 3 ft CAT6 patch cable – MAXIMM 3 Feet |20 Pack | Red| Snagless Cat6 Ethernet Cable With Cable Ties
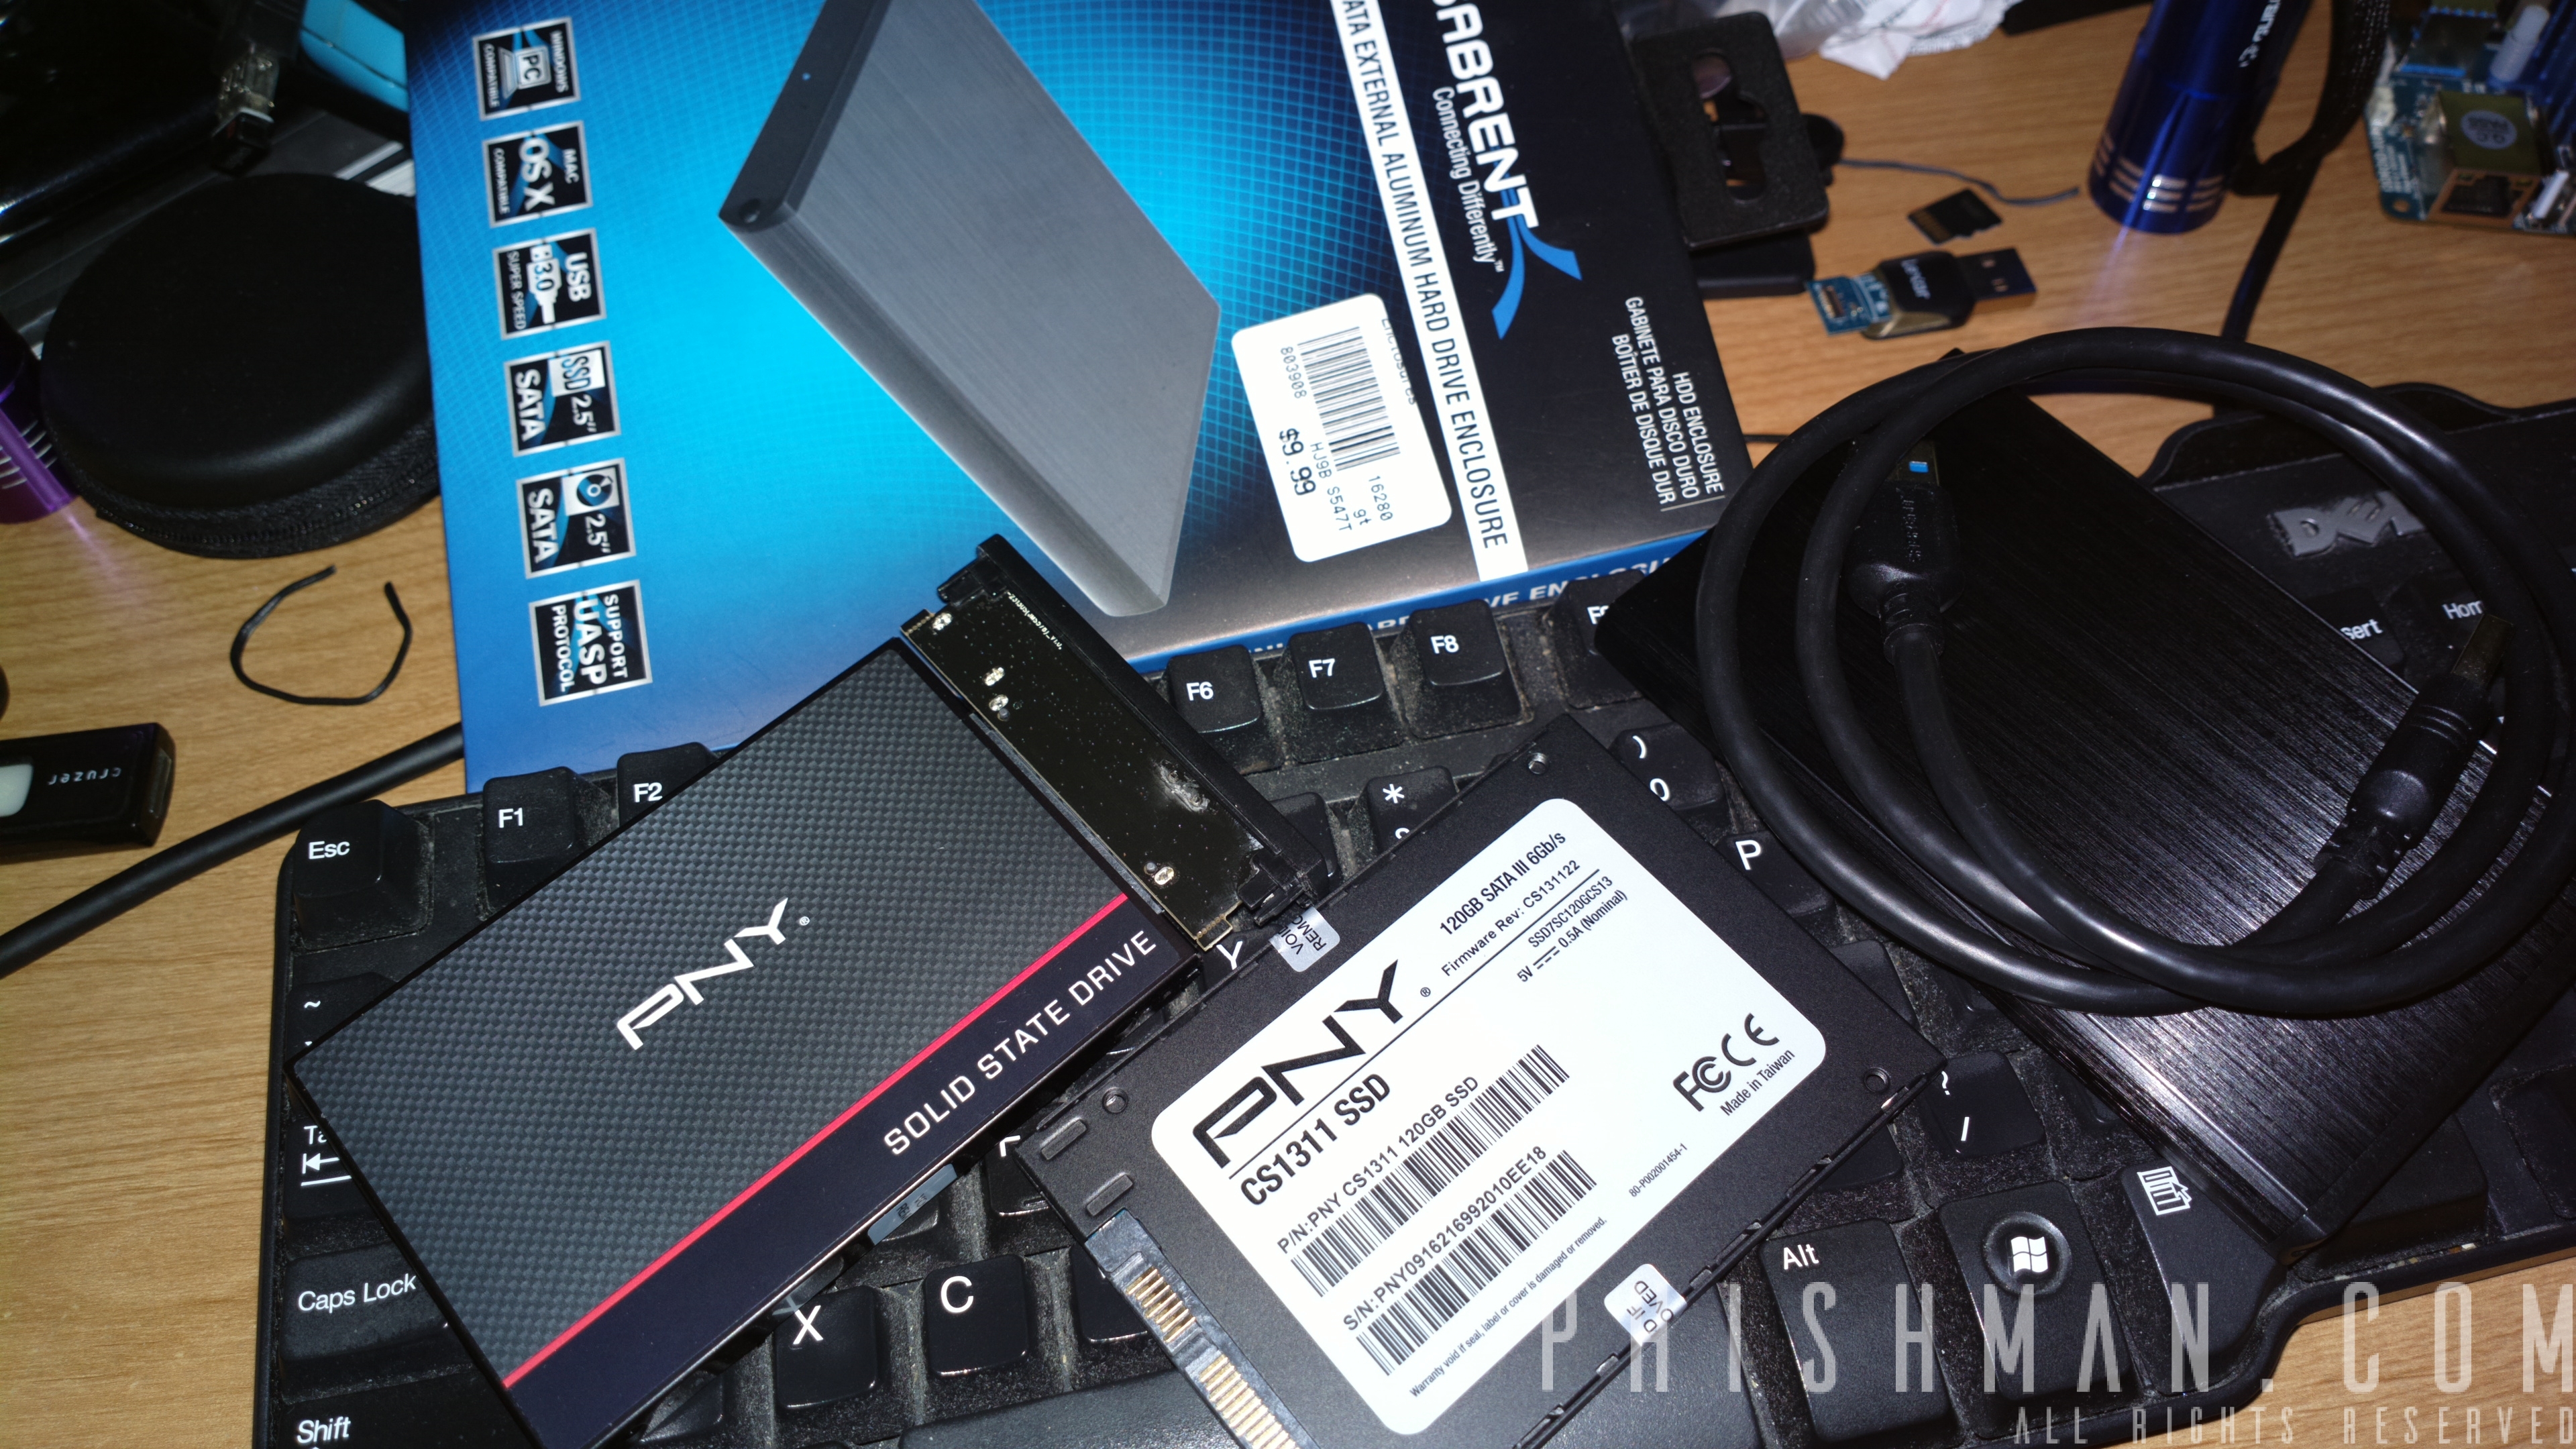
$15 – 1 x SABRENT SSD Enclosure USB 3.0 EC-UASP
$20 – 2 x SABRENT SSD Enclosure USB 3.0 EC-UK30
$14.99 – 1 x KEEPING 5V/12A 5-Port USB Hub 60W Wall Power Charger Sation for Tablet, iPhone,Samsung Galaxy, Amazon Kindles, HTC, LG
$100 – 2 x SSD PNY 120 GB
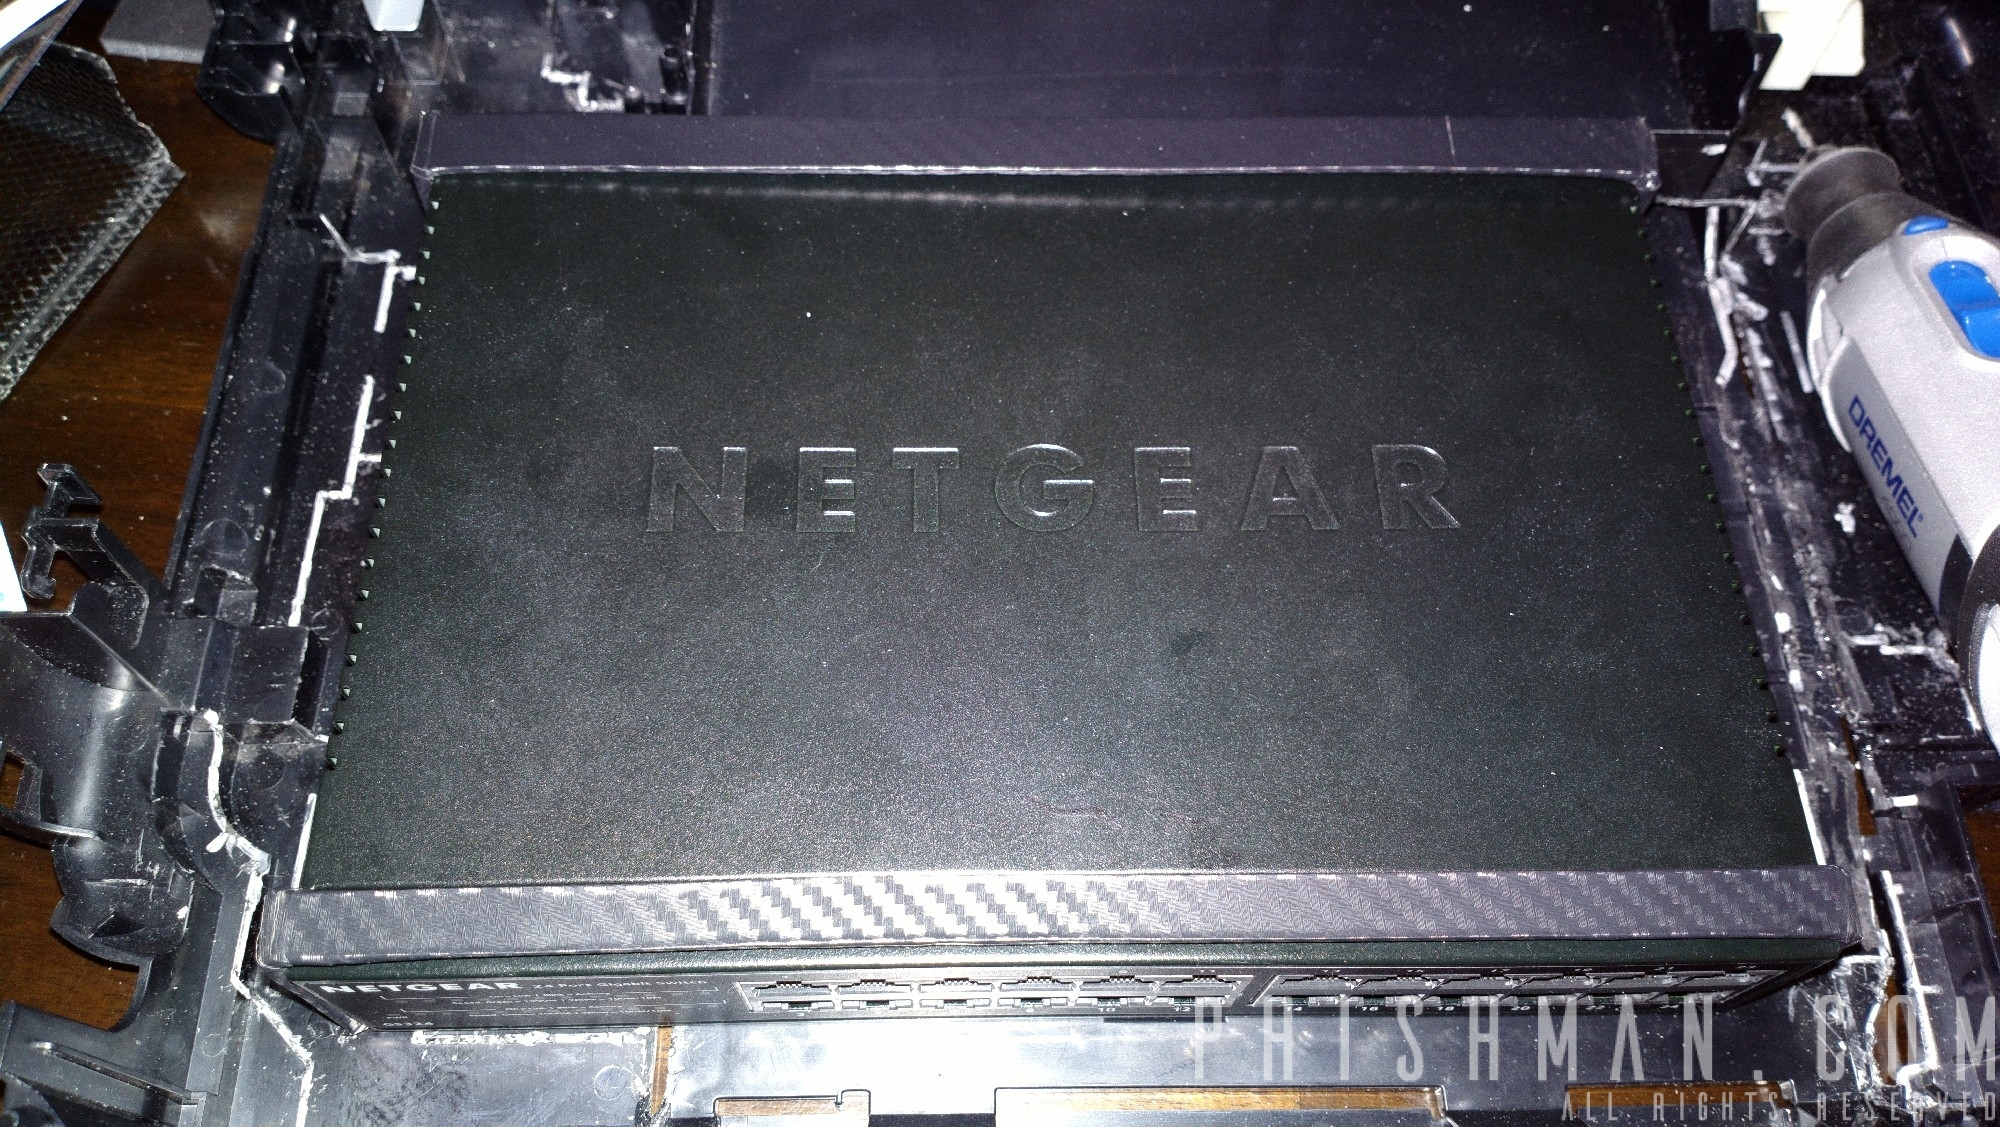
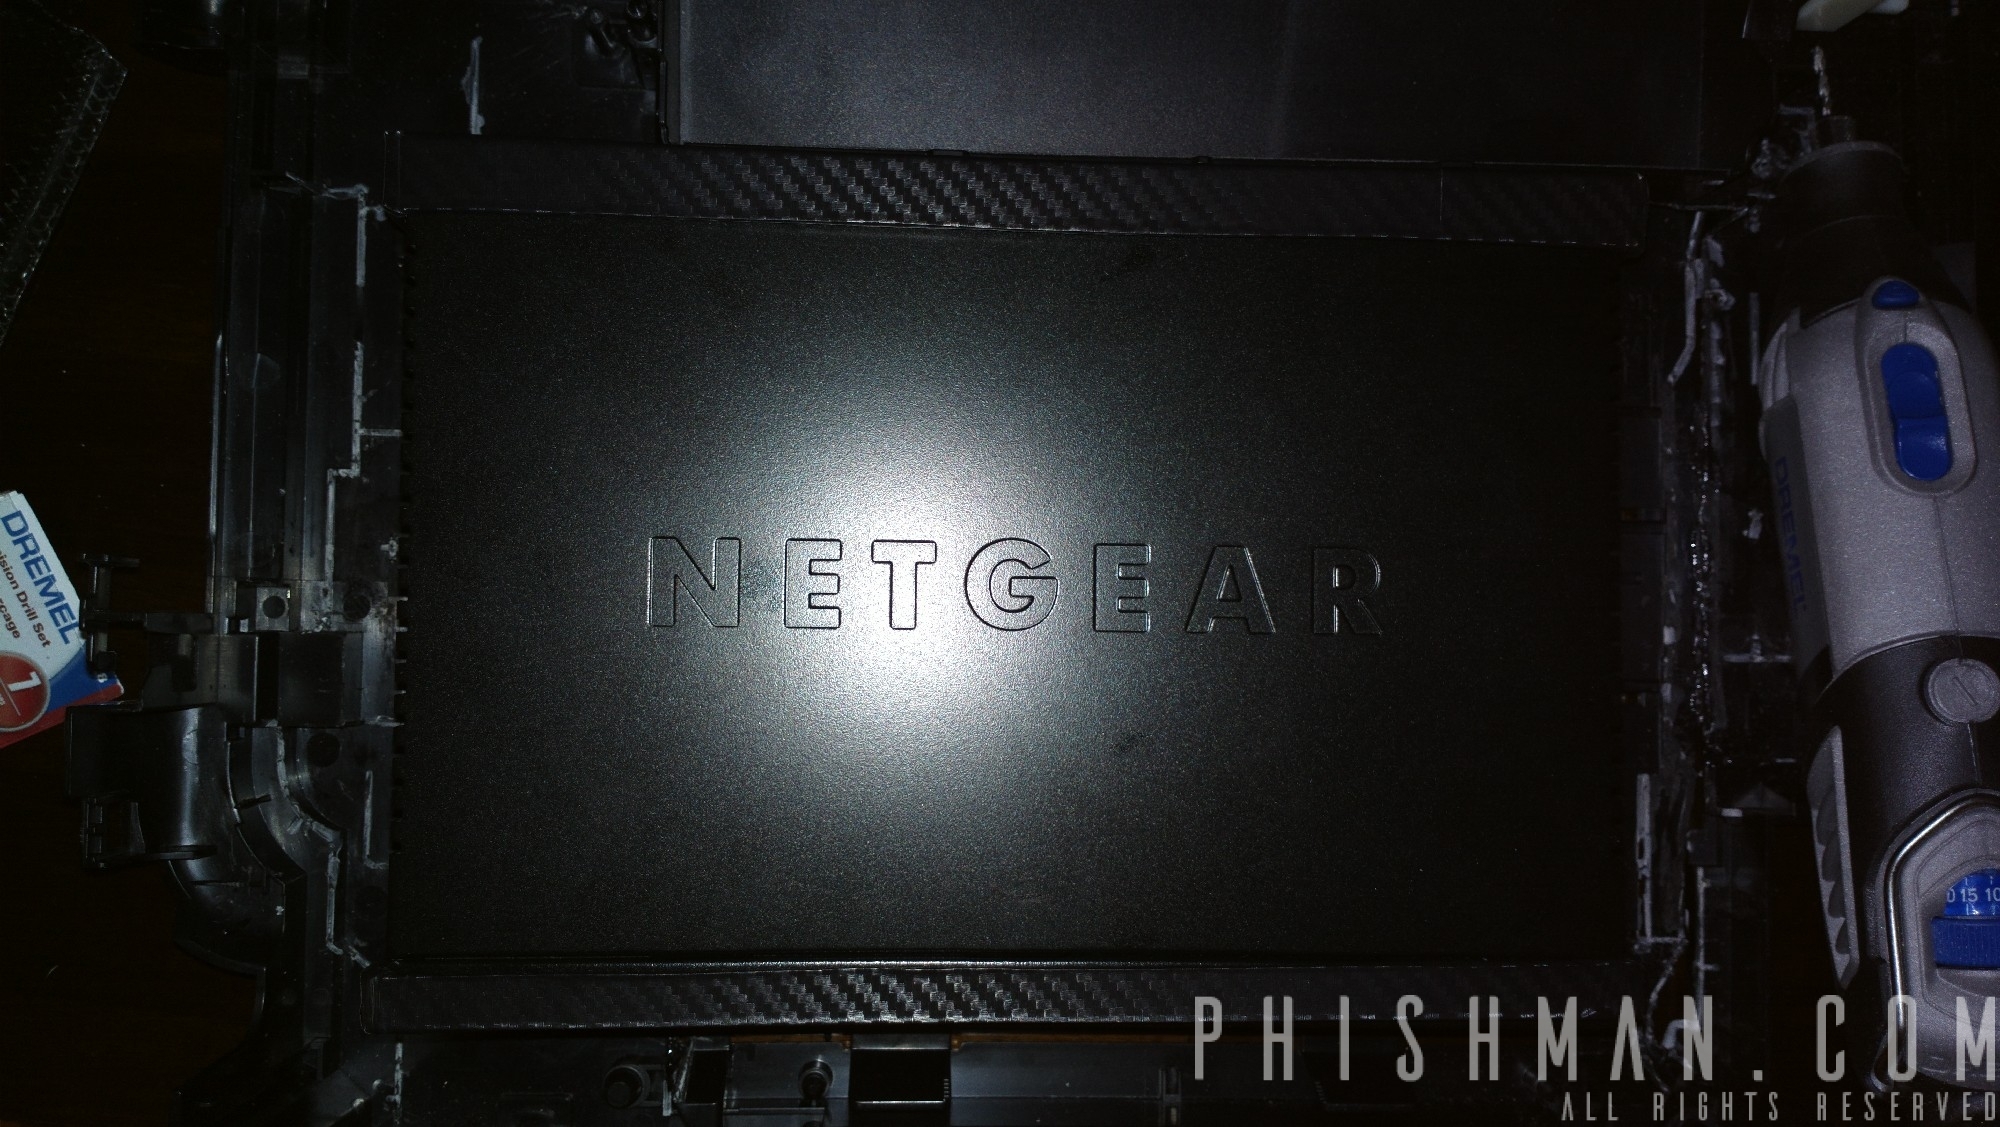
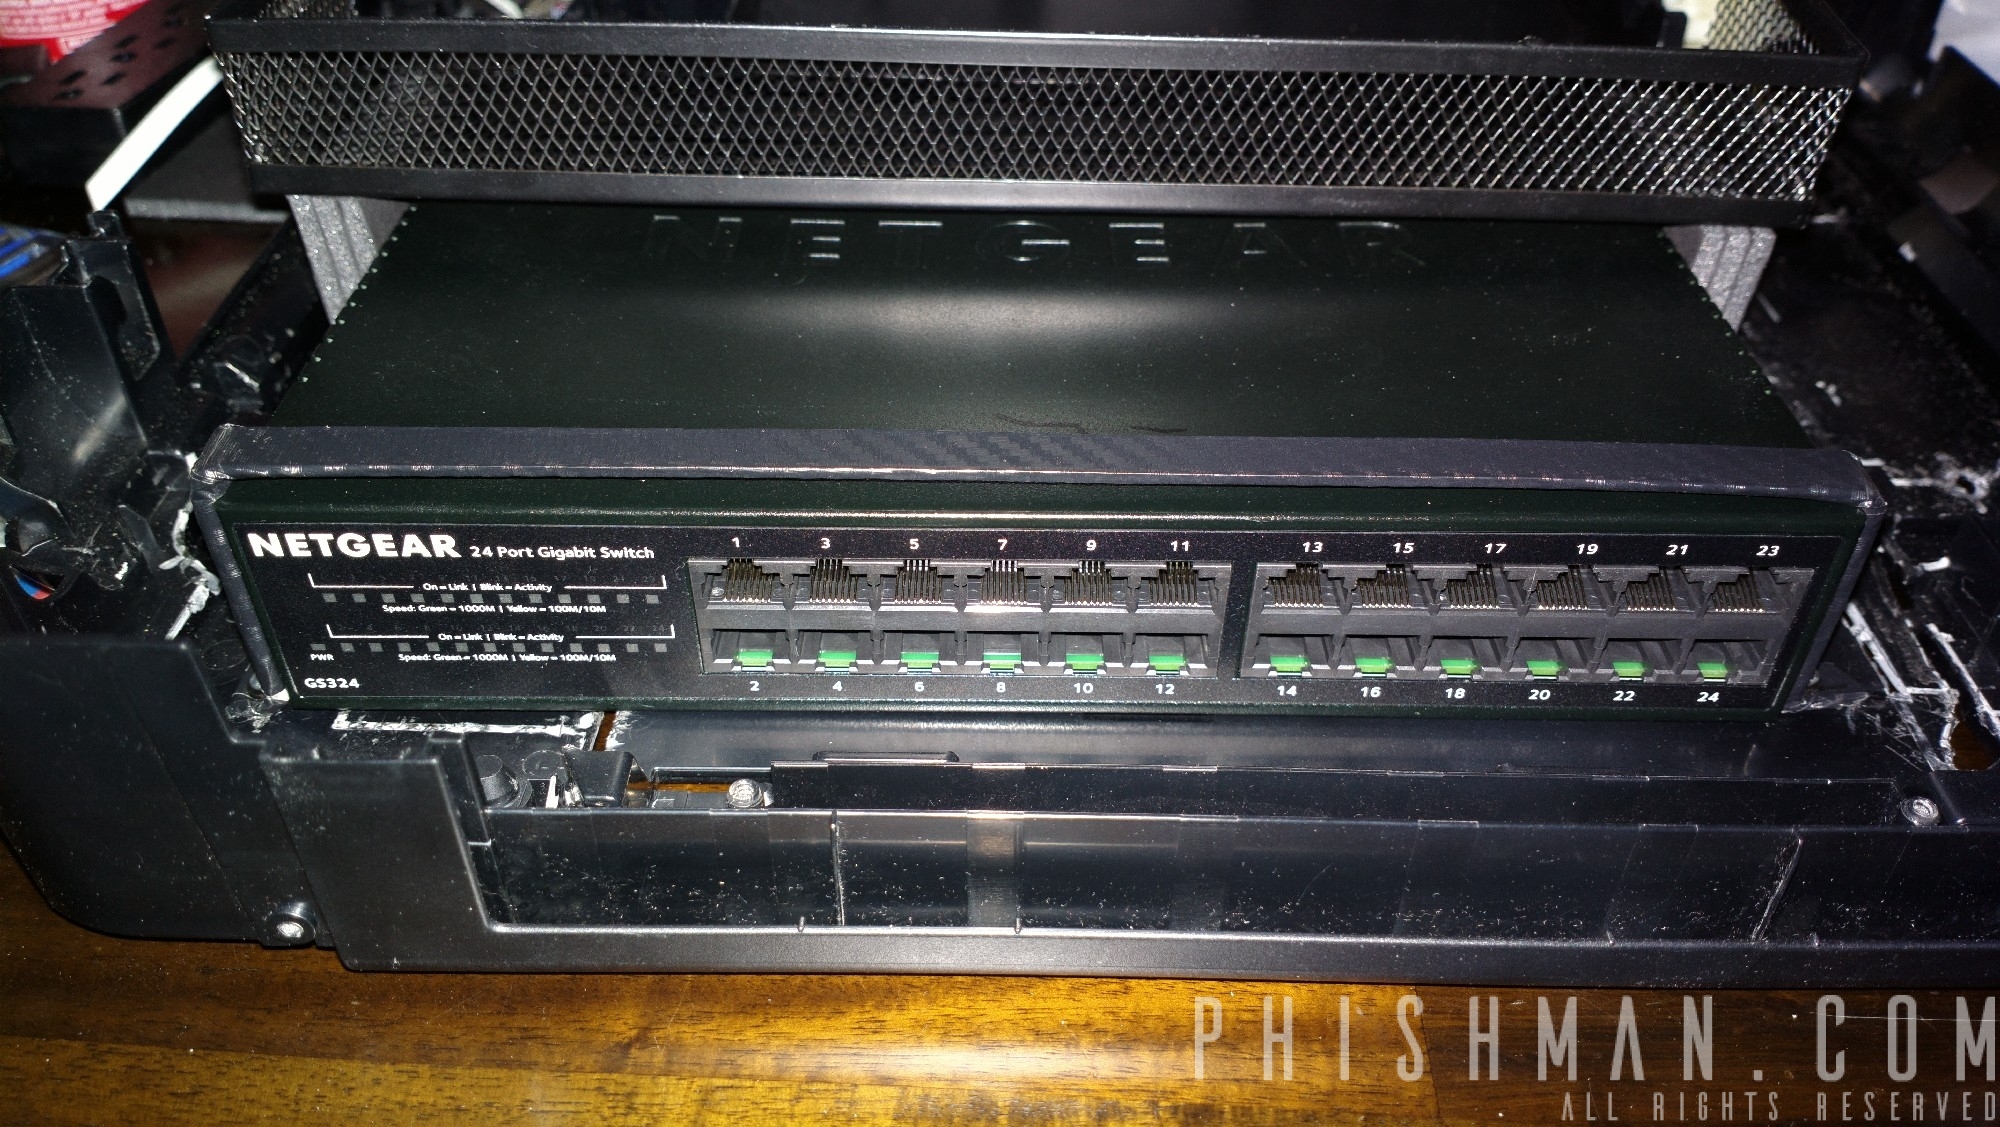
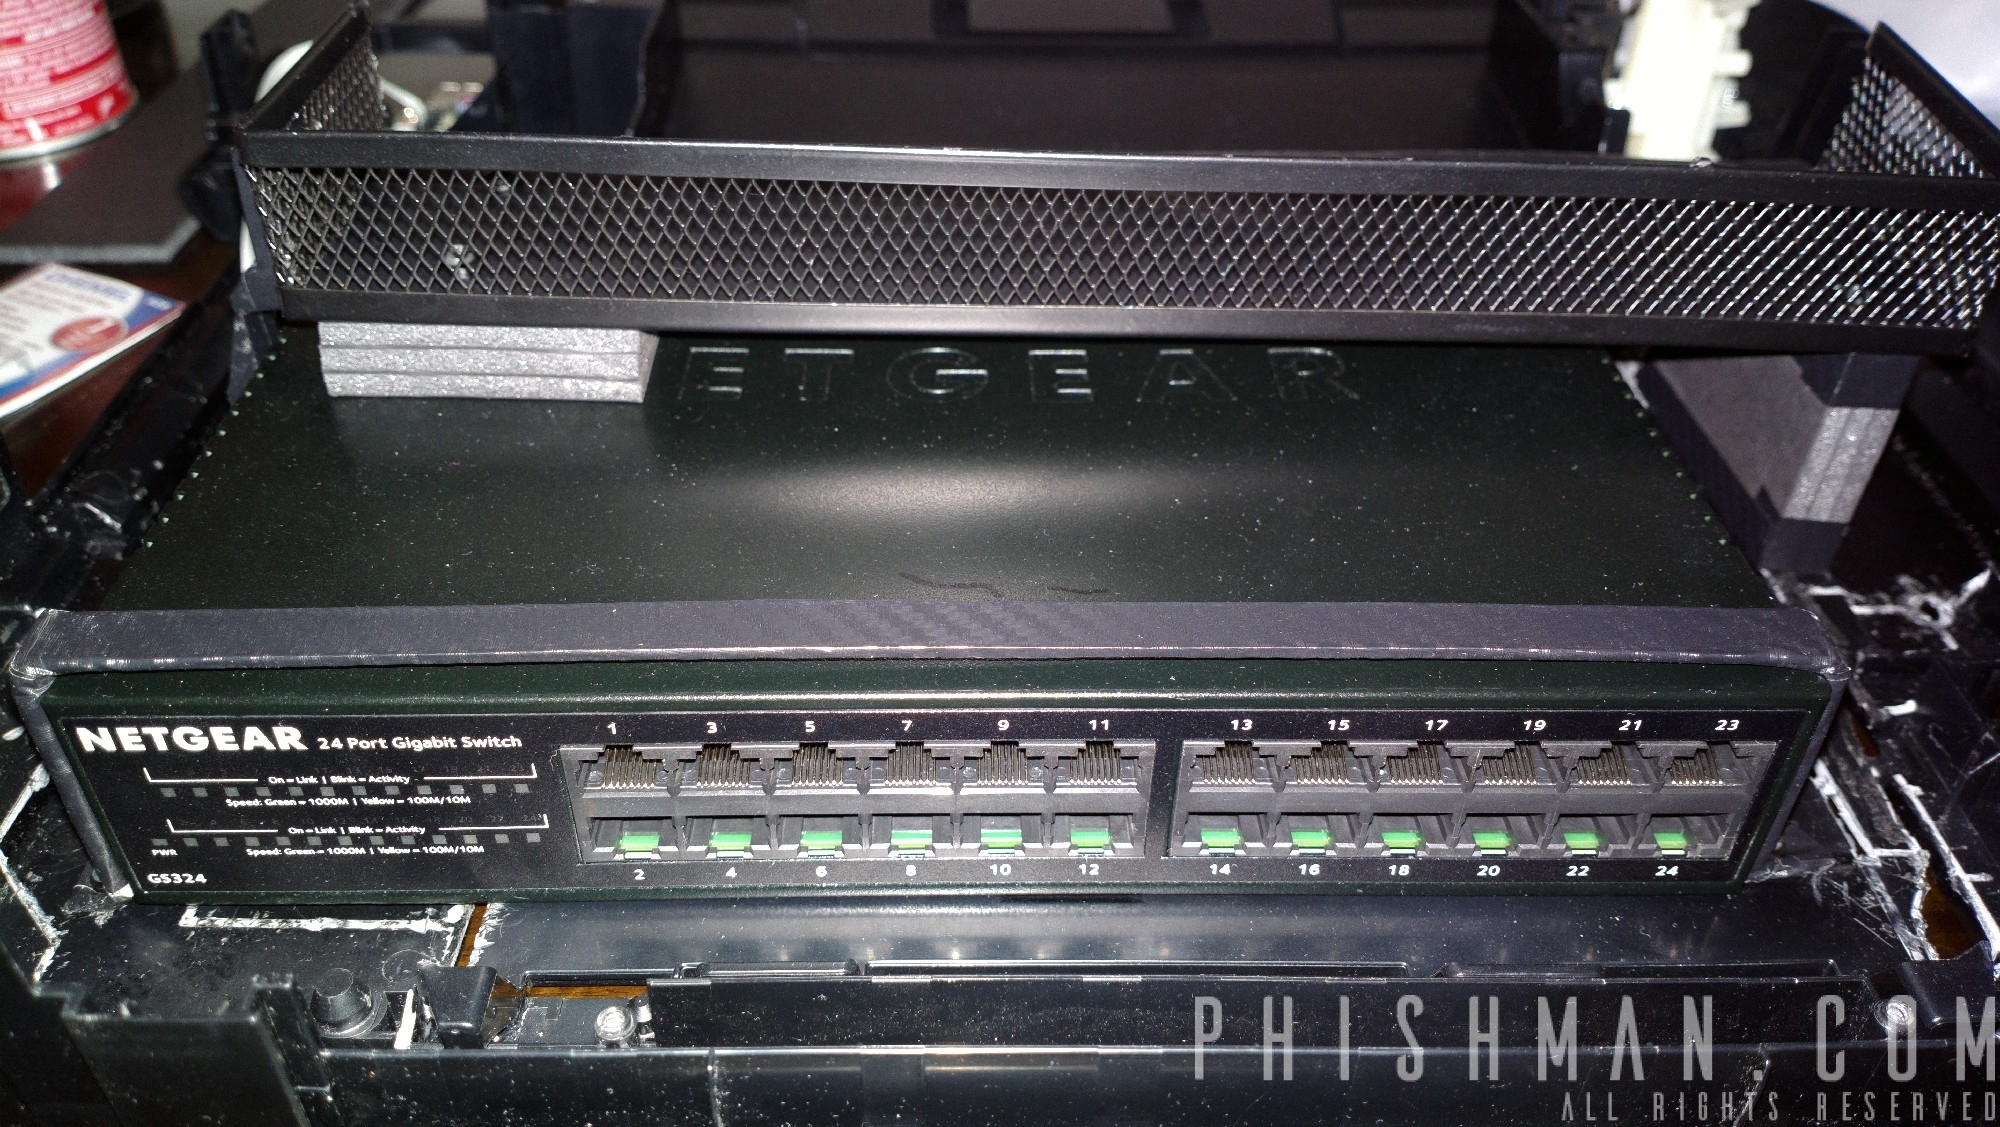
$74.36 – 1 x NETGEAR 24-Port Gigabit Ethernet Desktop/Rackmount Switch (GS324)
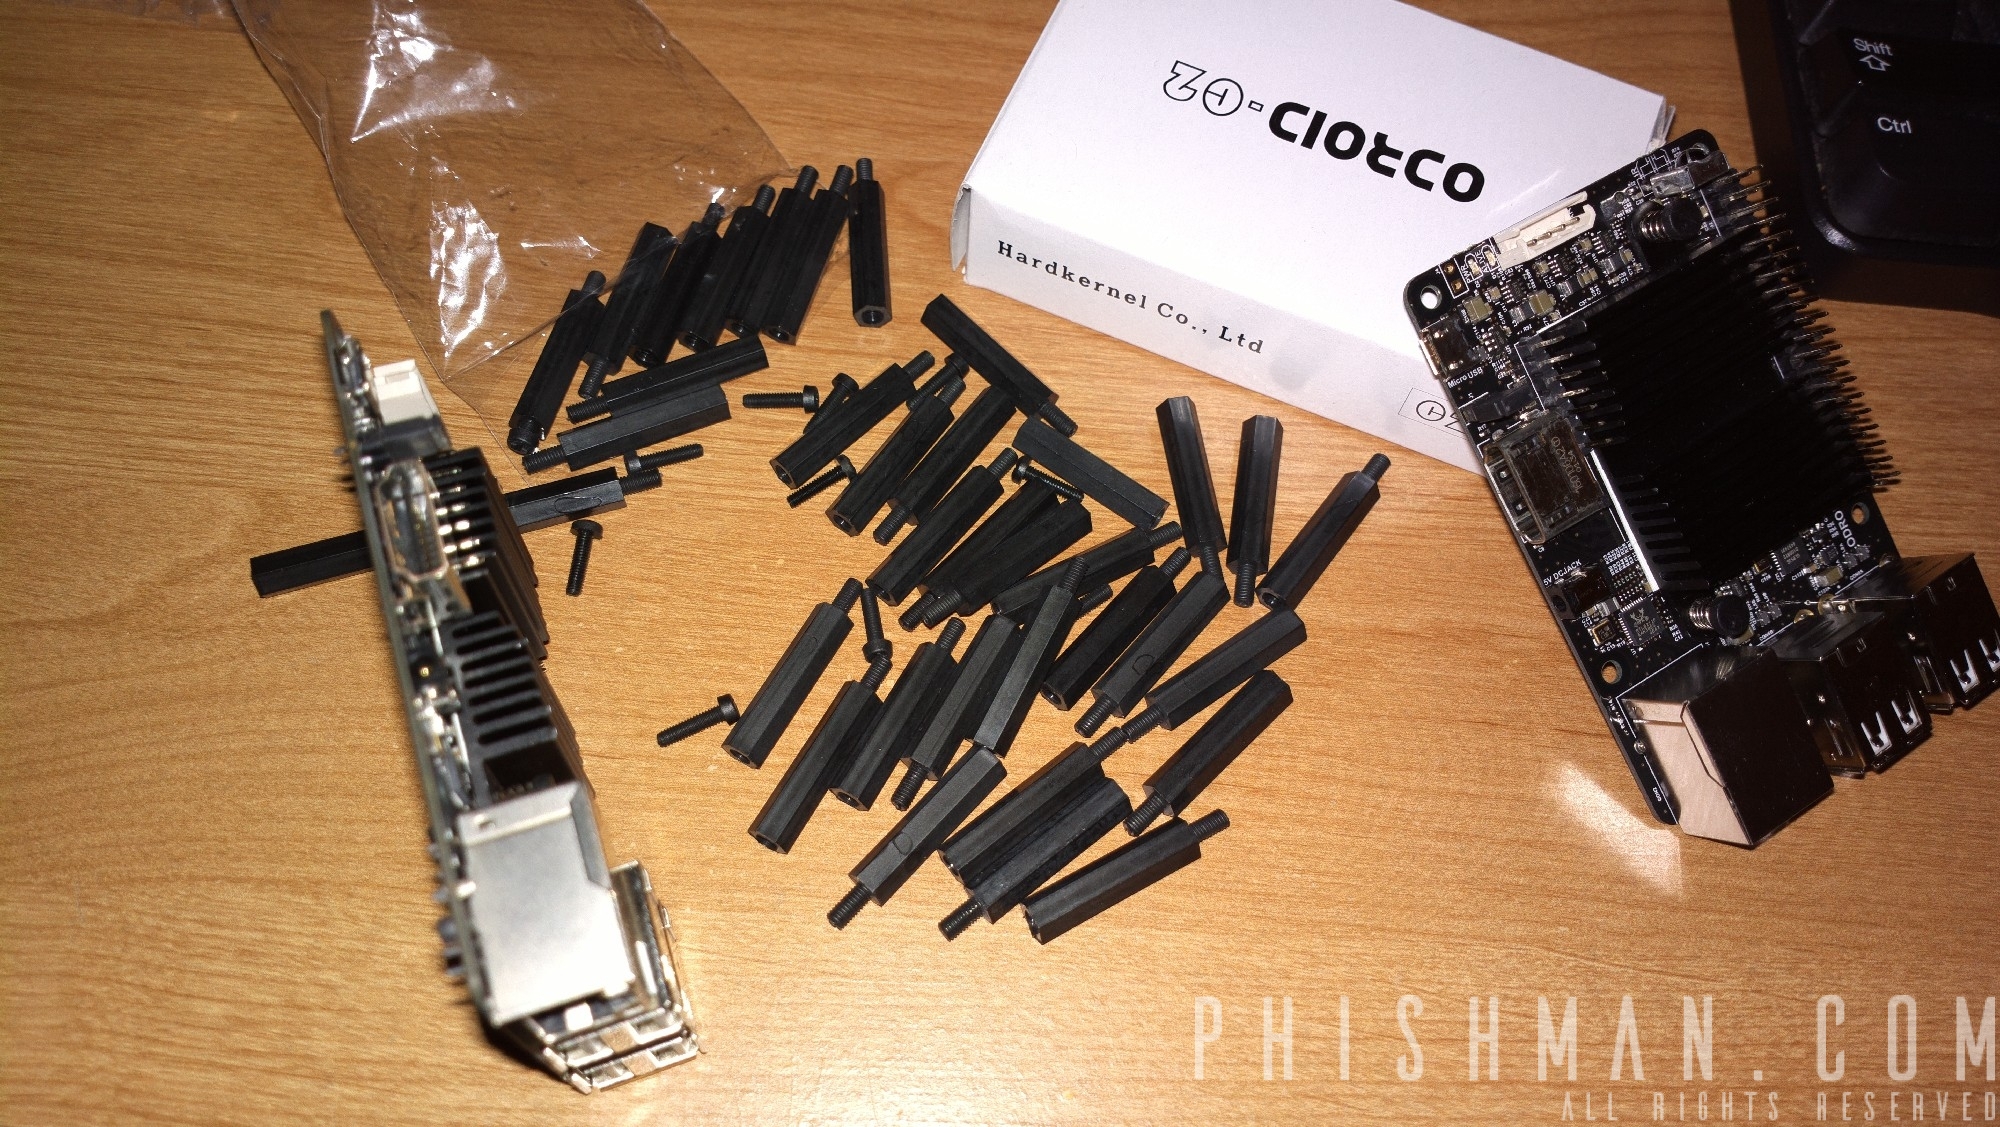
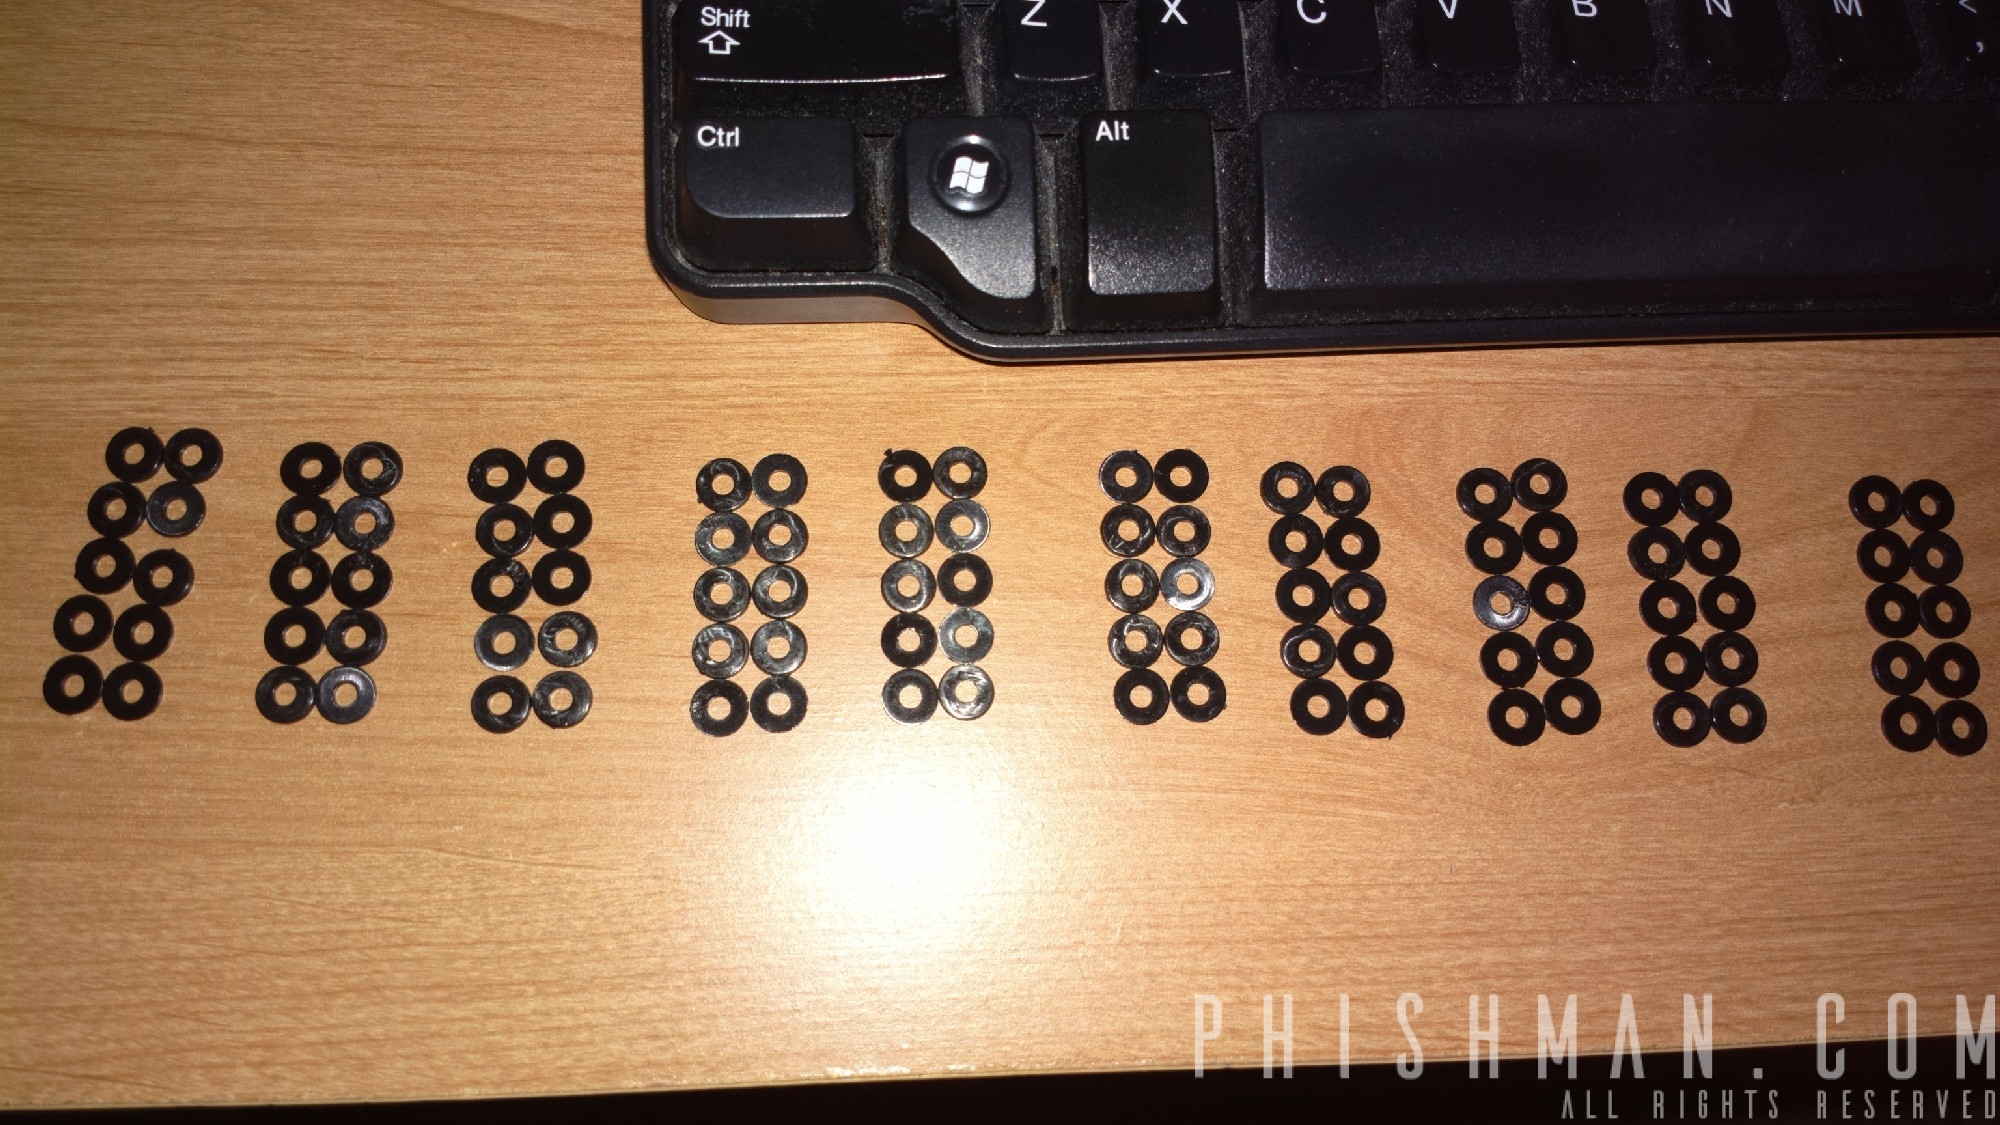
$8.63 – 1 x M3 25+6mm Male Female Thread Nylon Hex Standoff Spacer Pillar 50pcs
$8.90 – 1 x HOBBYMATE 180Pcs Assorted M3 Nylon Screws Nut Standoffs Spacers for DIY
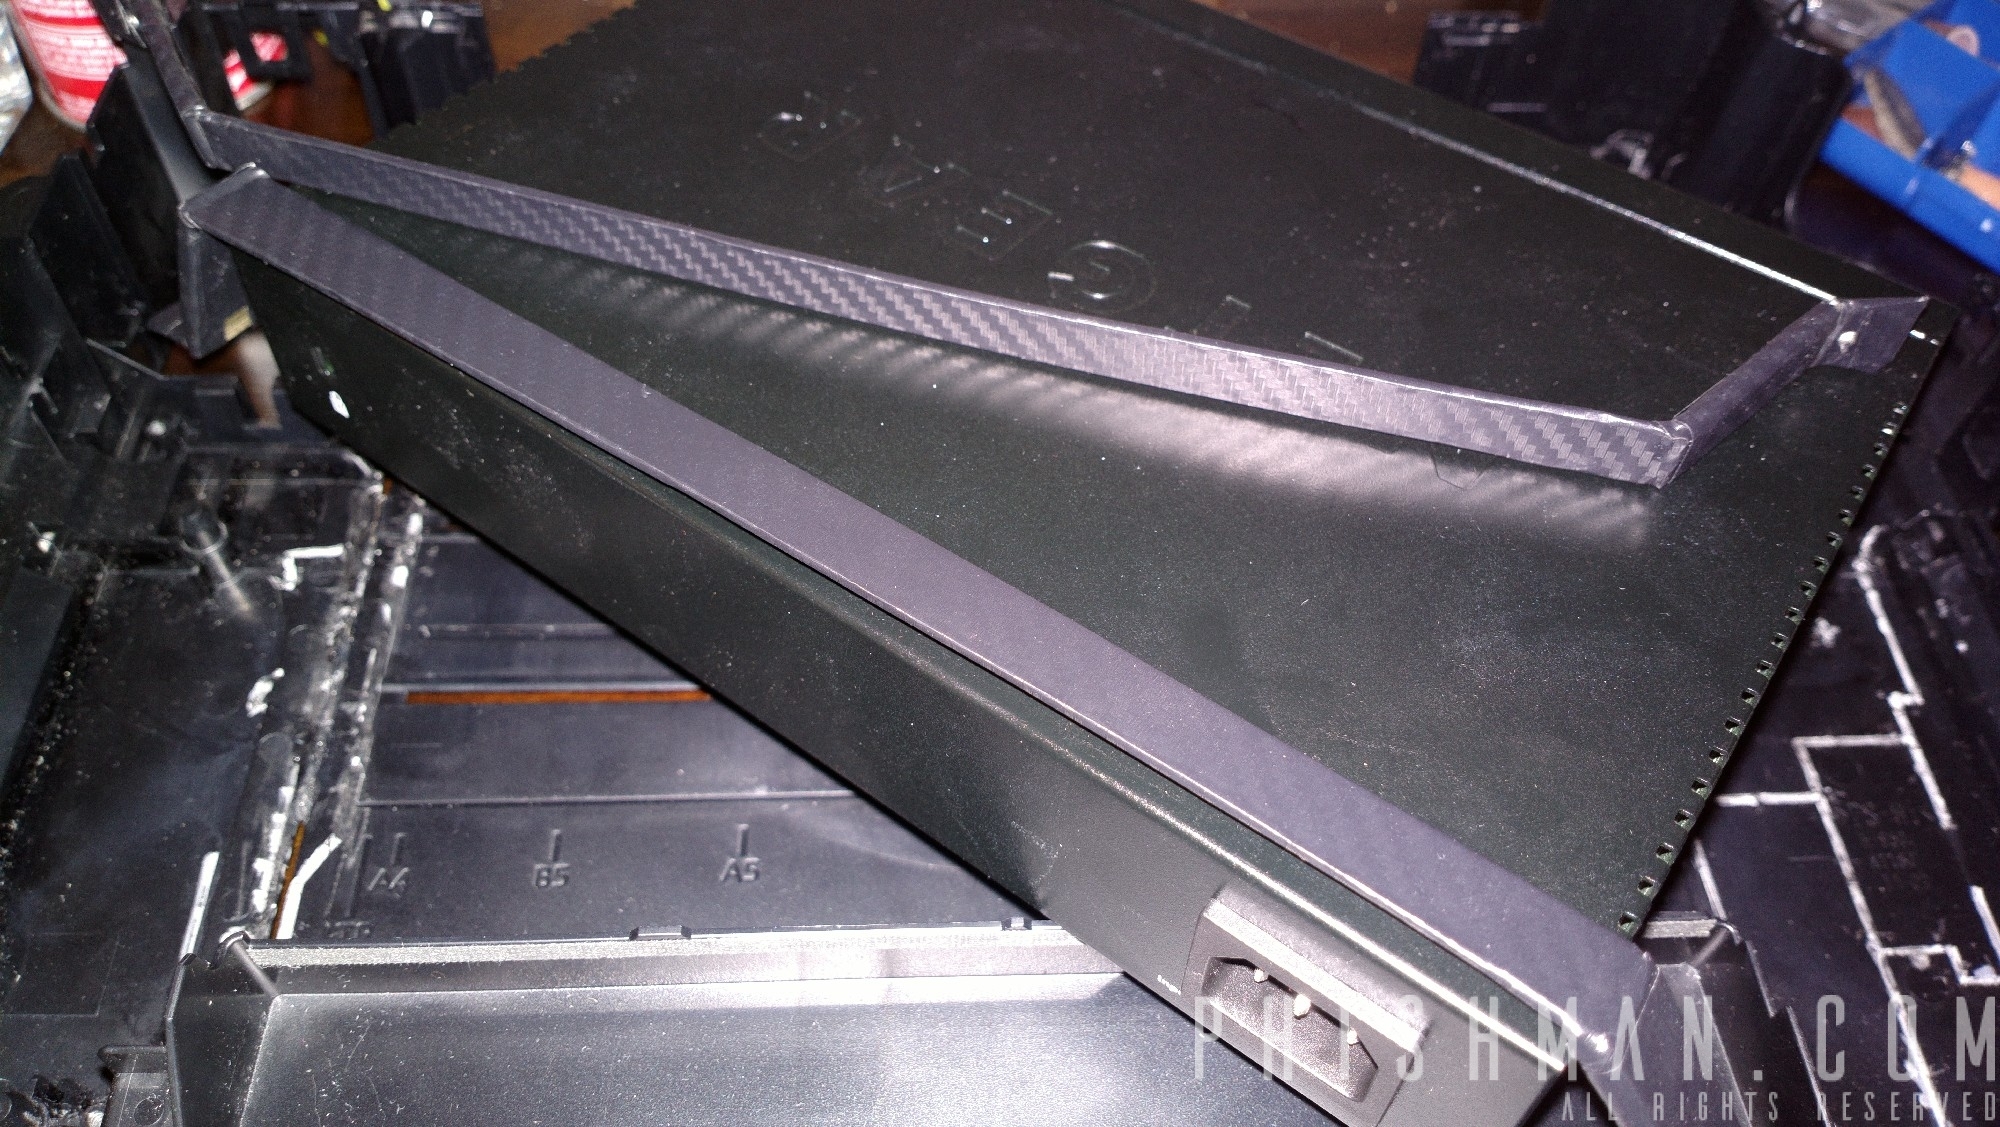
$5.89 – 1 x Orion 3d Black Carbon Fiber Vinyl Wrap – Outdoor Rated for Automotive Use – 12″ x 60″
$5.90 – 1 x Pwr+ Short 3 Ft 3 Prong AC Power Cord Cable Plug L-Type
$1.00 – 1 x Mesh organizer
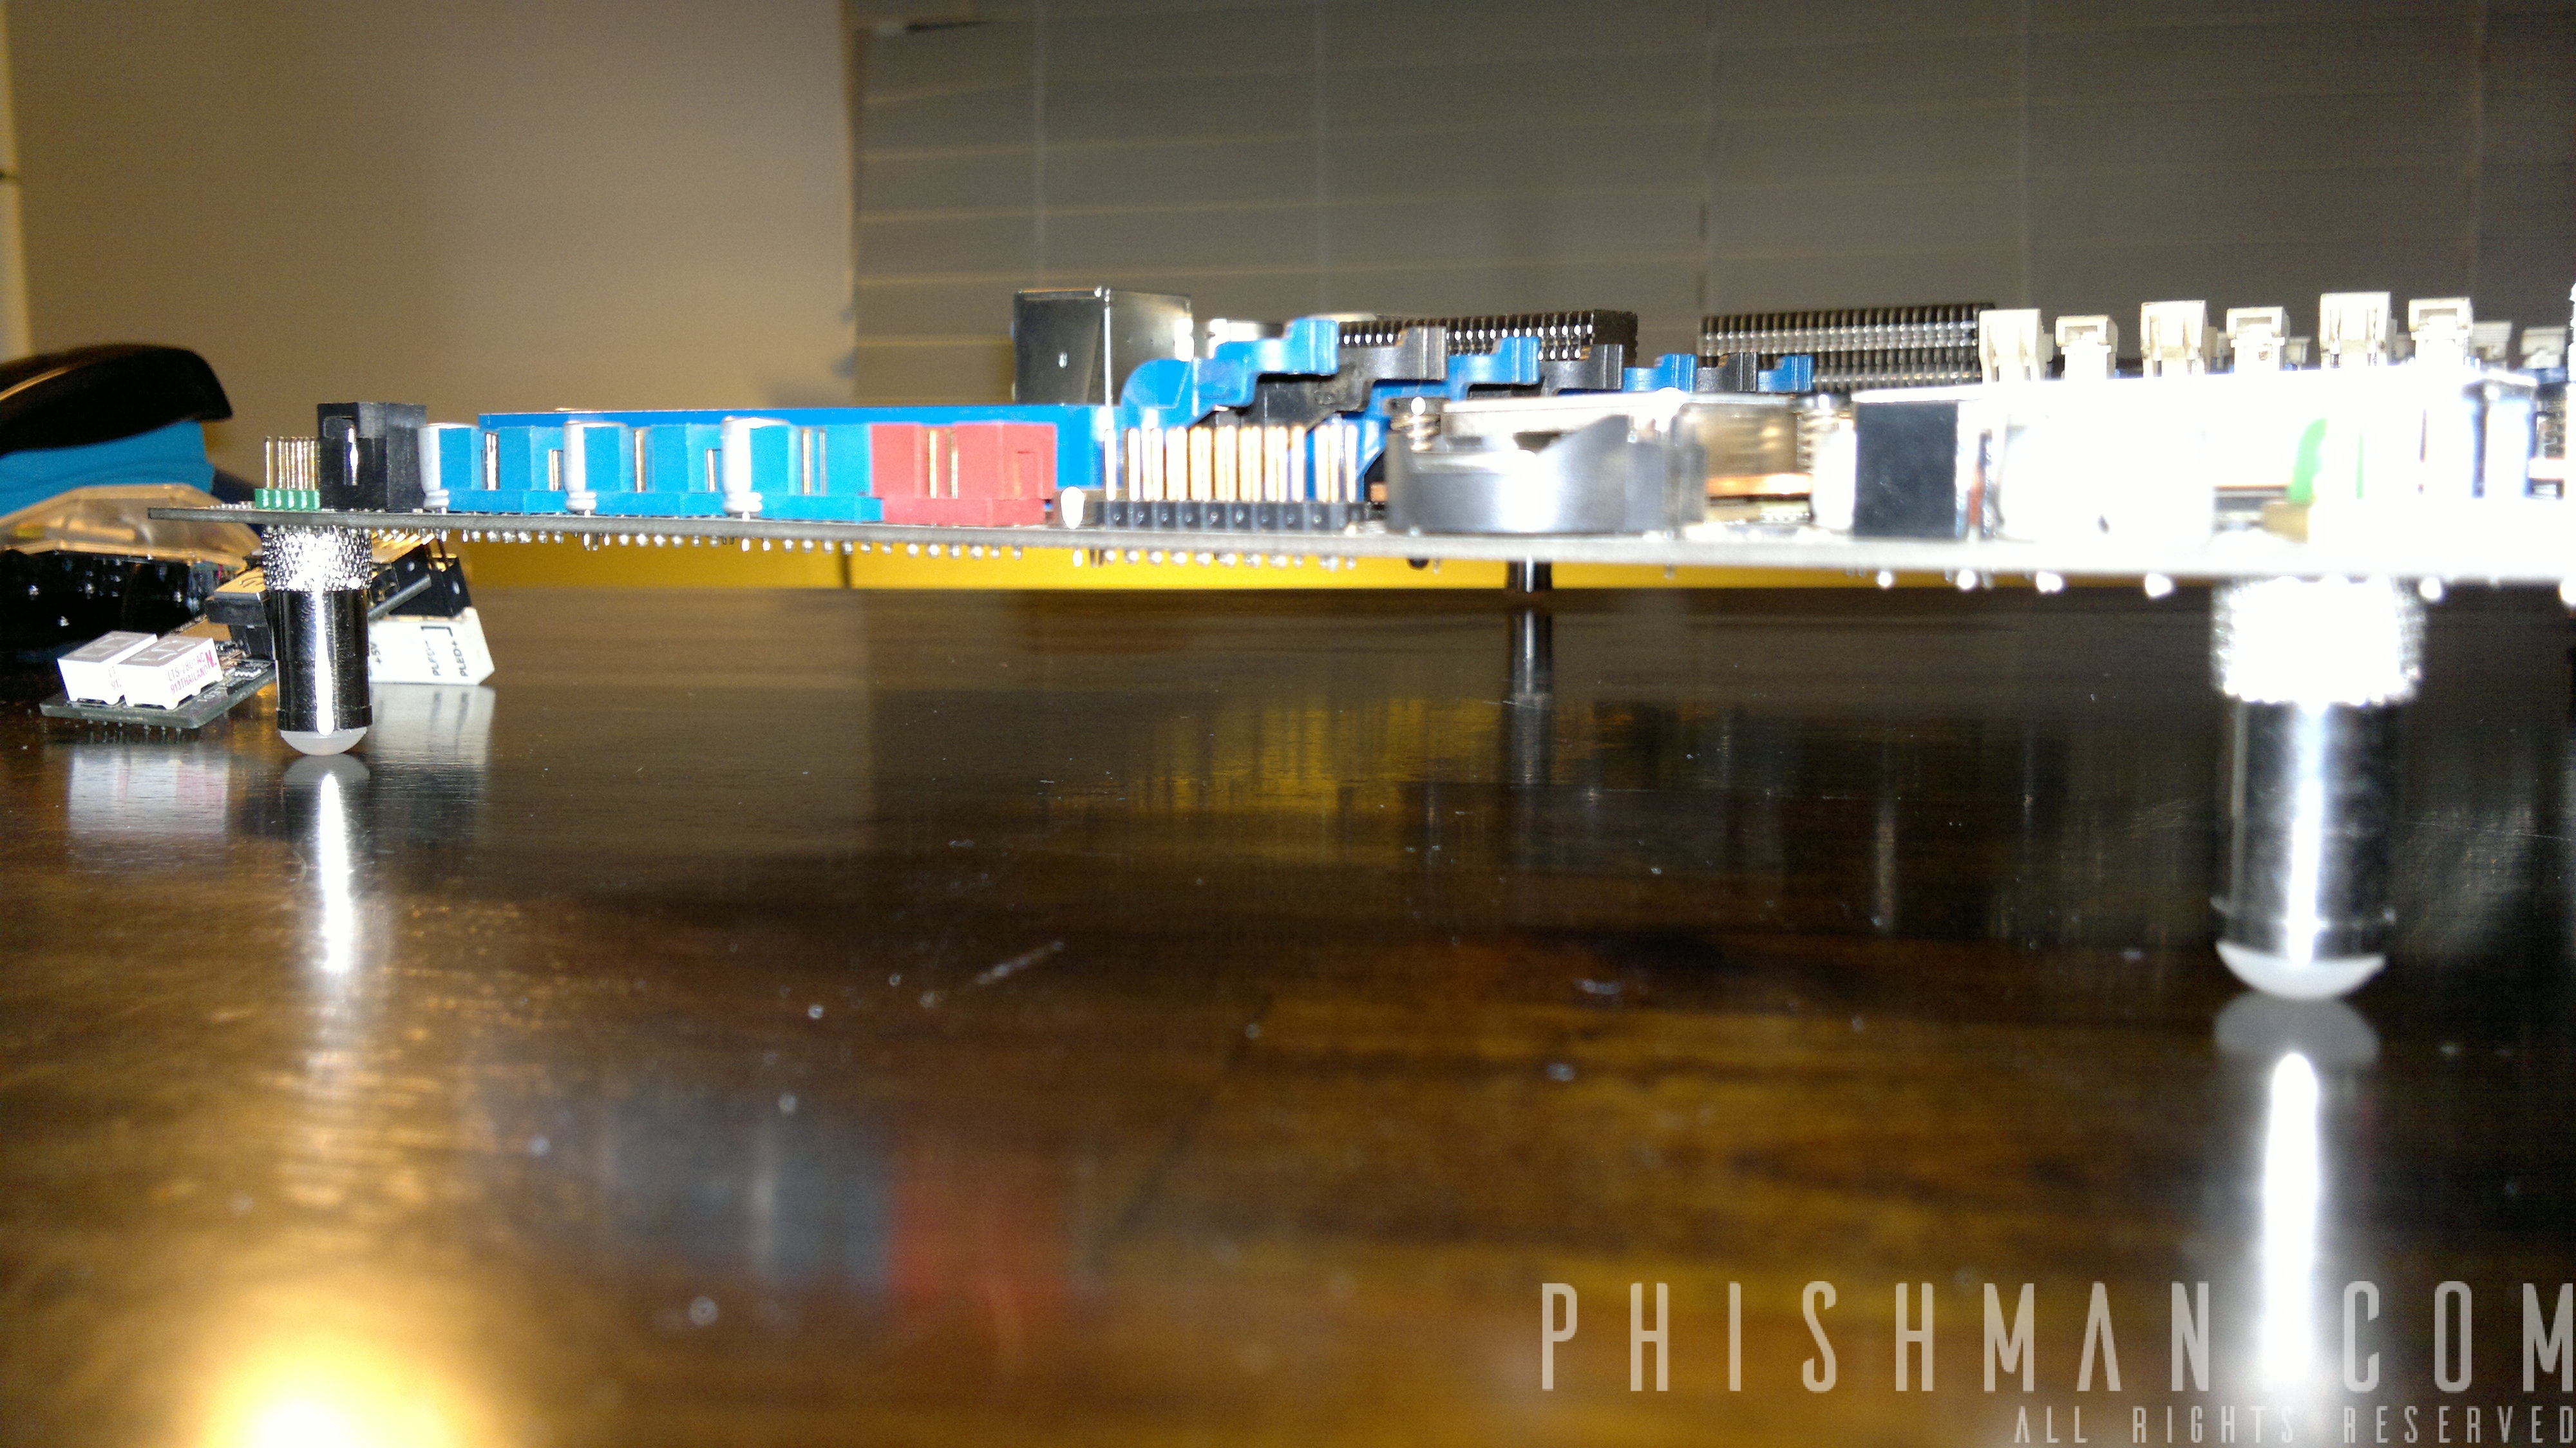
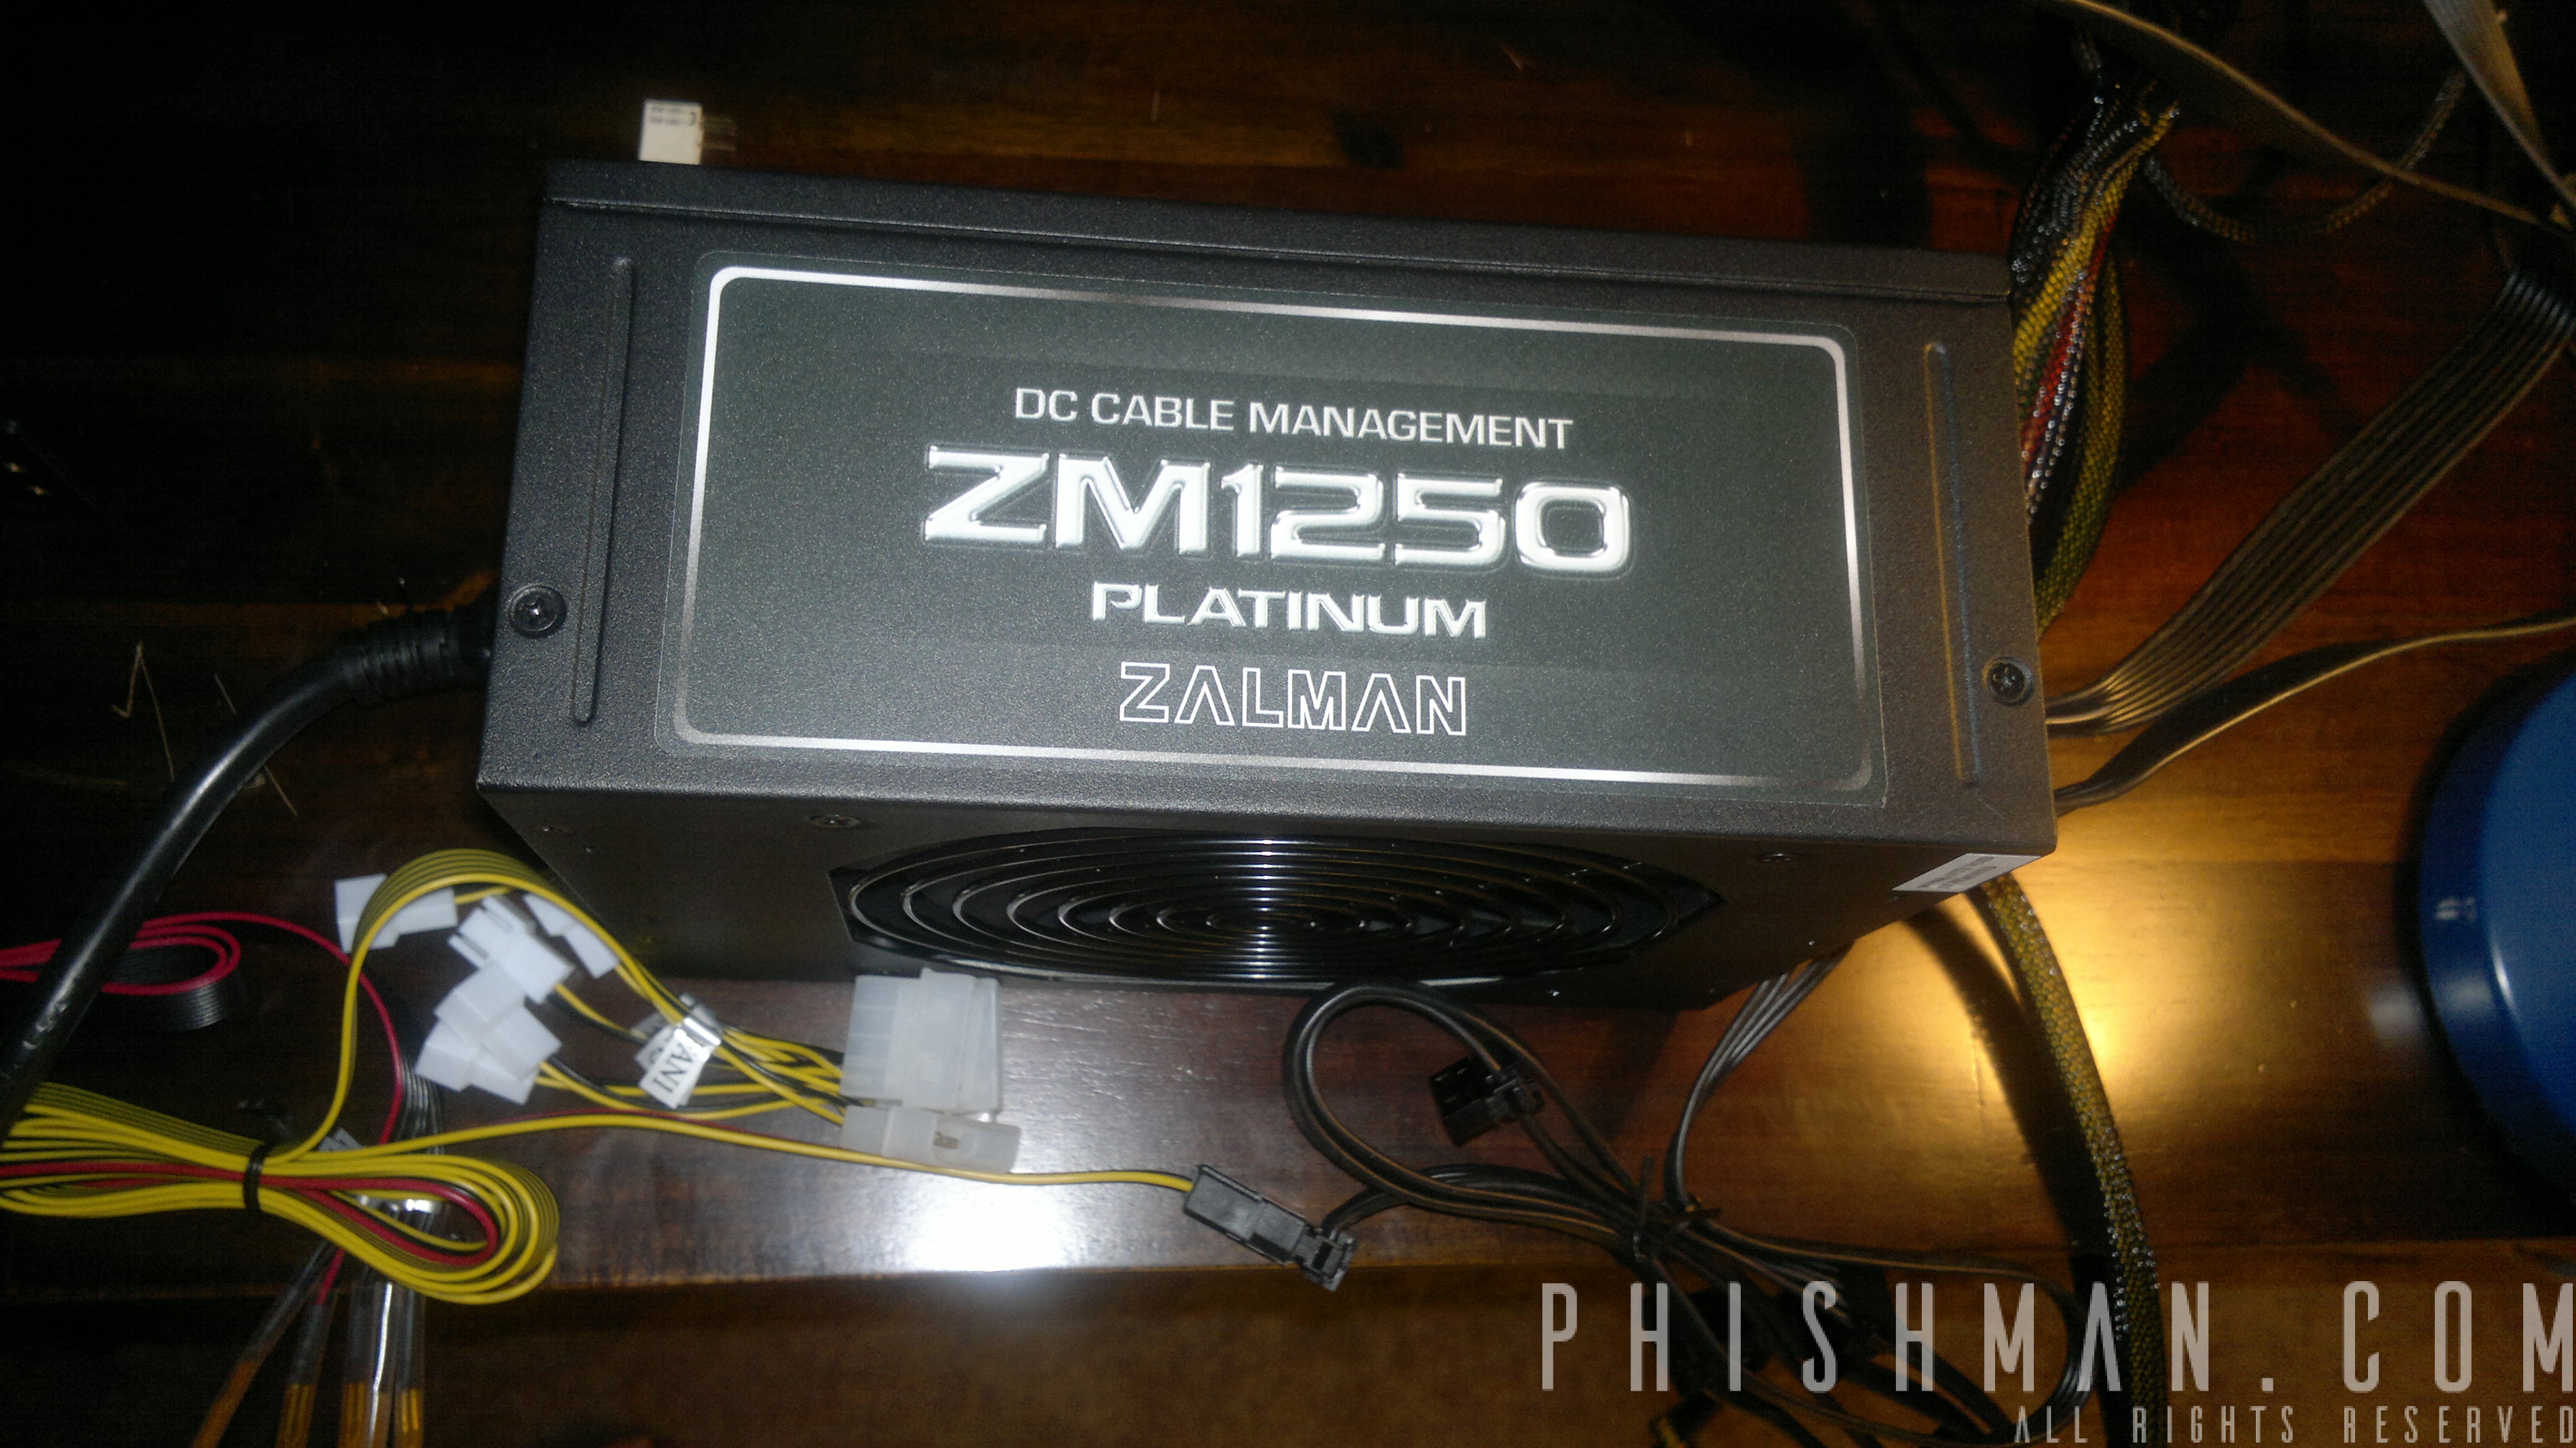
$81.49 – 1 x ASUS H110S2/CSM LGA1151 DDR4 Dual GB LAN DP HDMI LVDS Mini-STX
$50.00 – 1 x Intel Pentium G4400 SkyLake 3.3 GHz LGA 1151 Boxed Processor (for BIOS update)
$50.00 – 1 x Intel Pentium G4560 Kaby Lake 3.50GHz LGA 1151
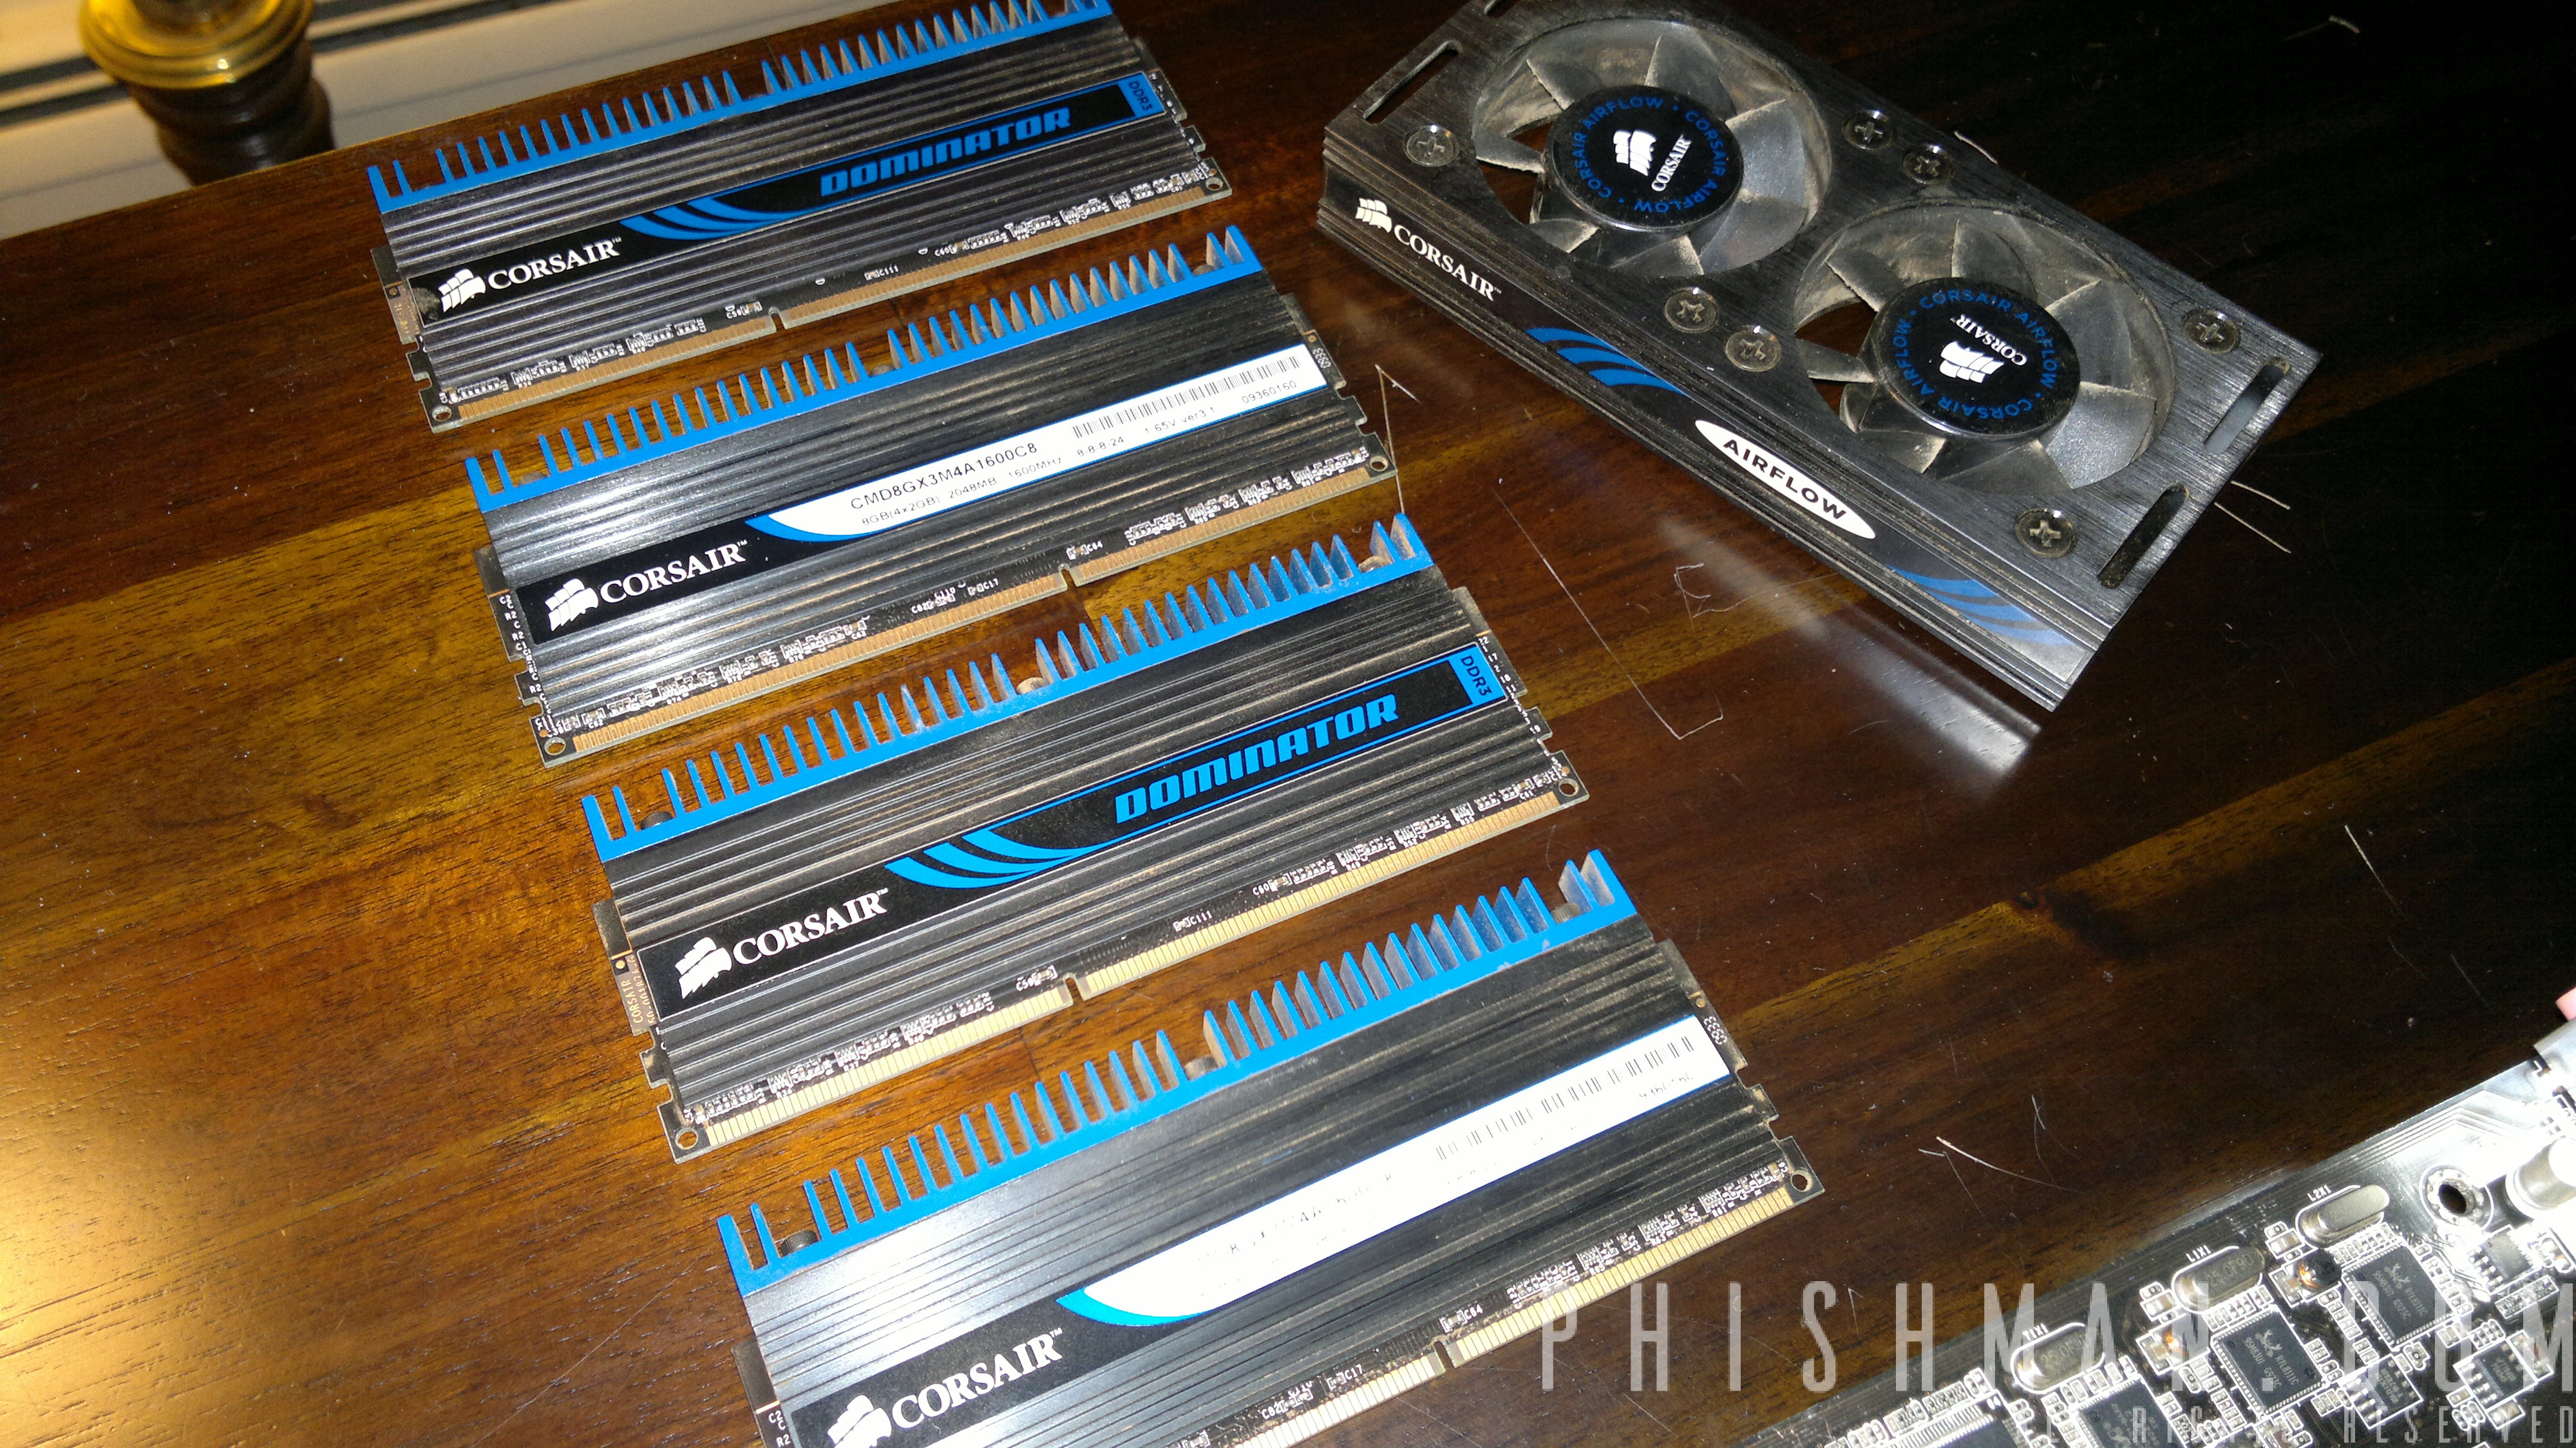
$216.98- 1 x G.SKILL 32GB (2 x 16G) Ripjaws Series DDR4 PC4-17000 2133MHz Laptop Memory Model F4-2133C15D-32GRS
$135.00- 1 x Samsung 960 EVO Series 250GB NVMe M.2 Internal SSD
$26.56 – 1 x Oneda 120W 19V 6.32A AC Power Adapter Laptop Charger for Asus
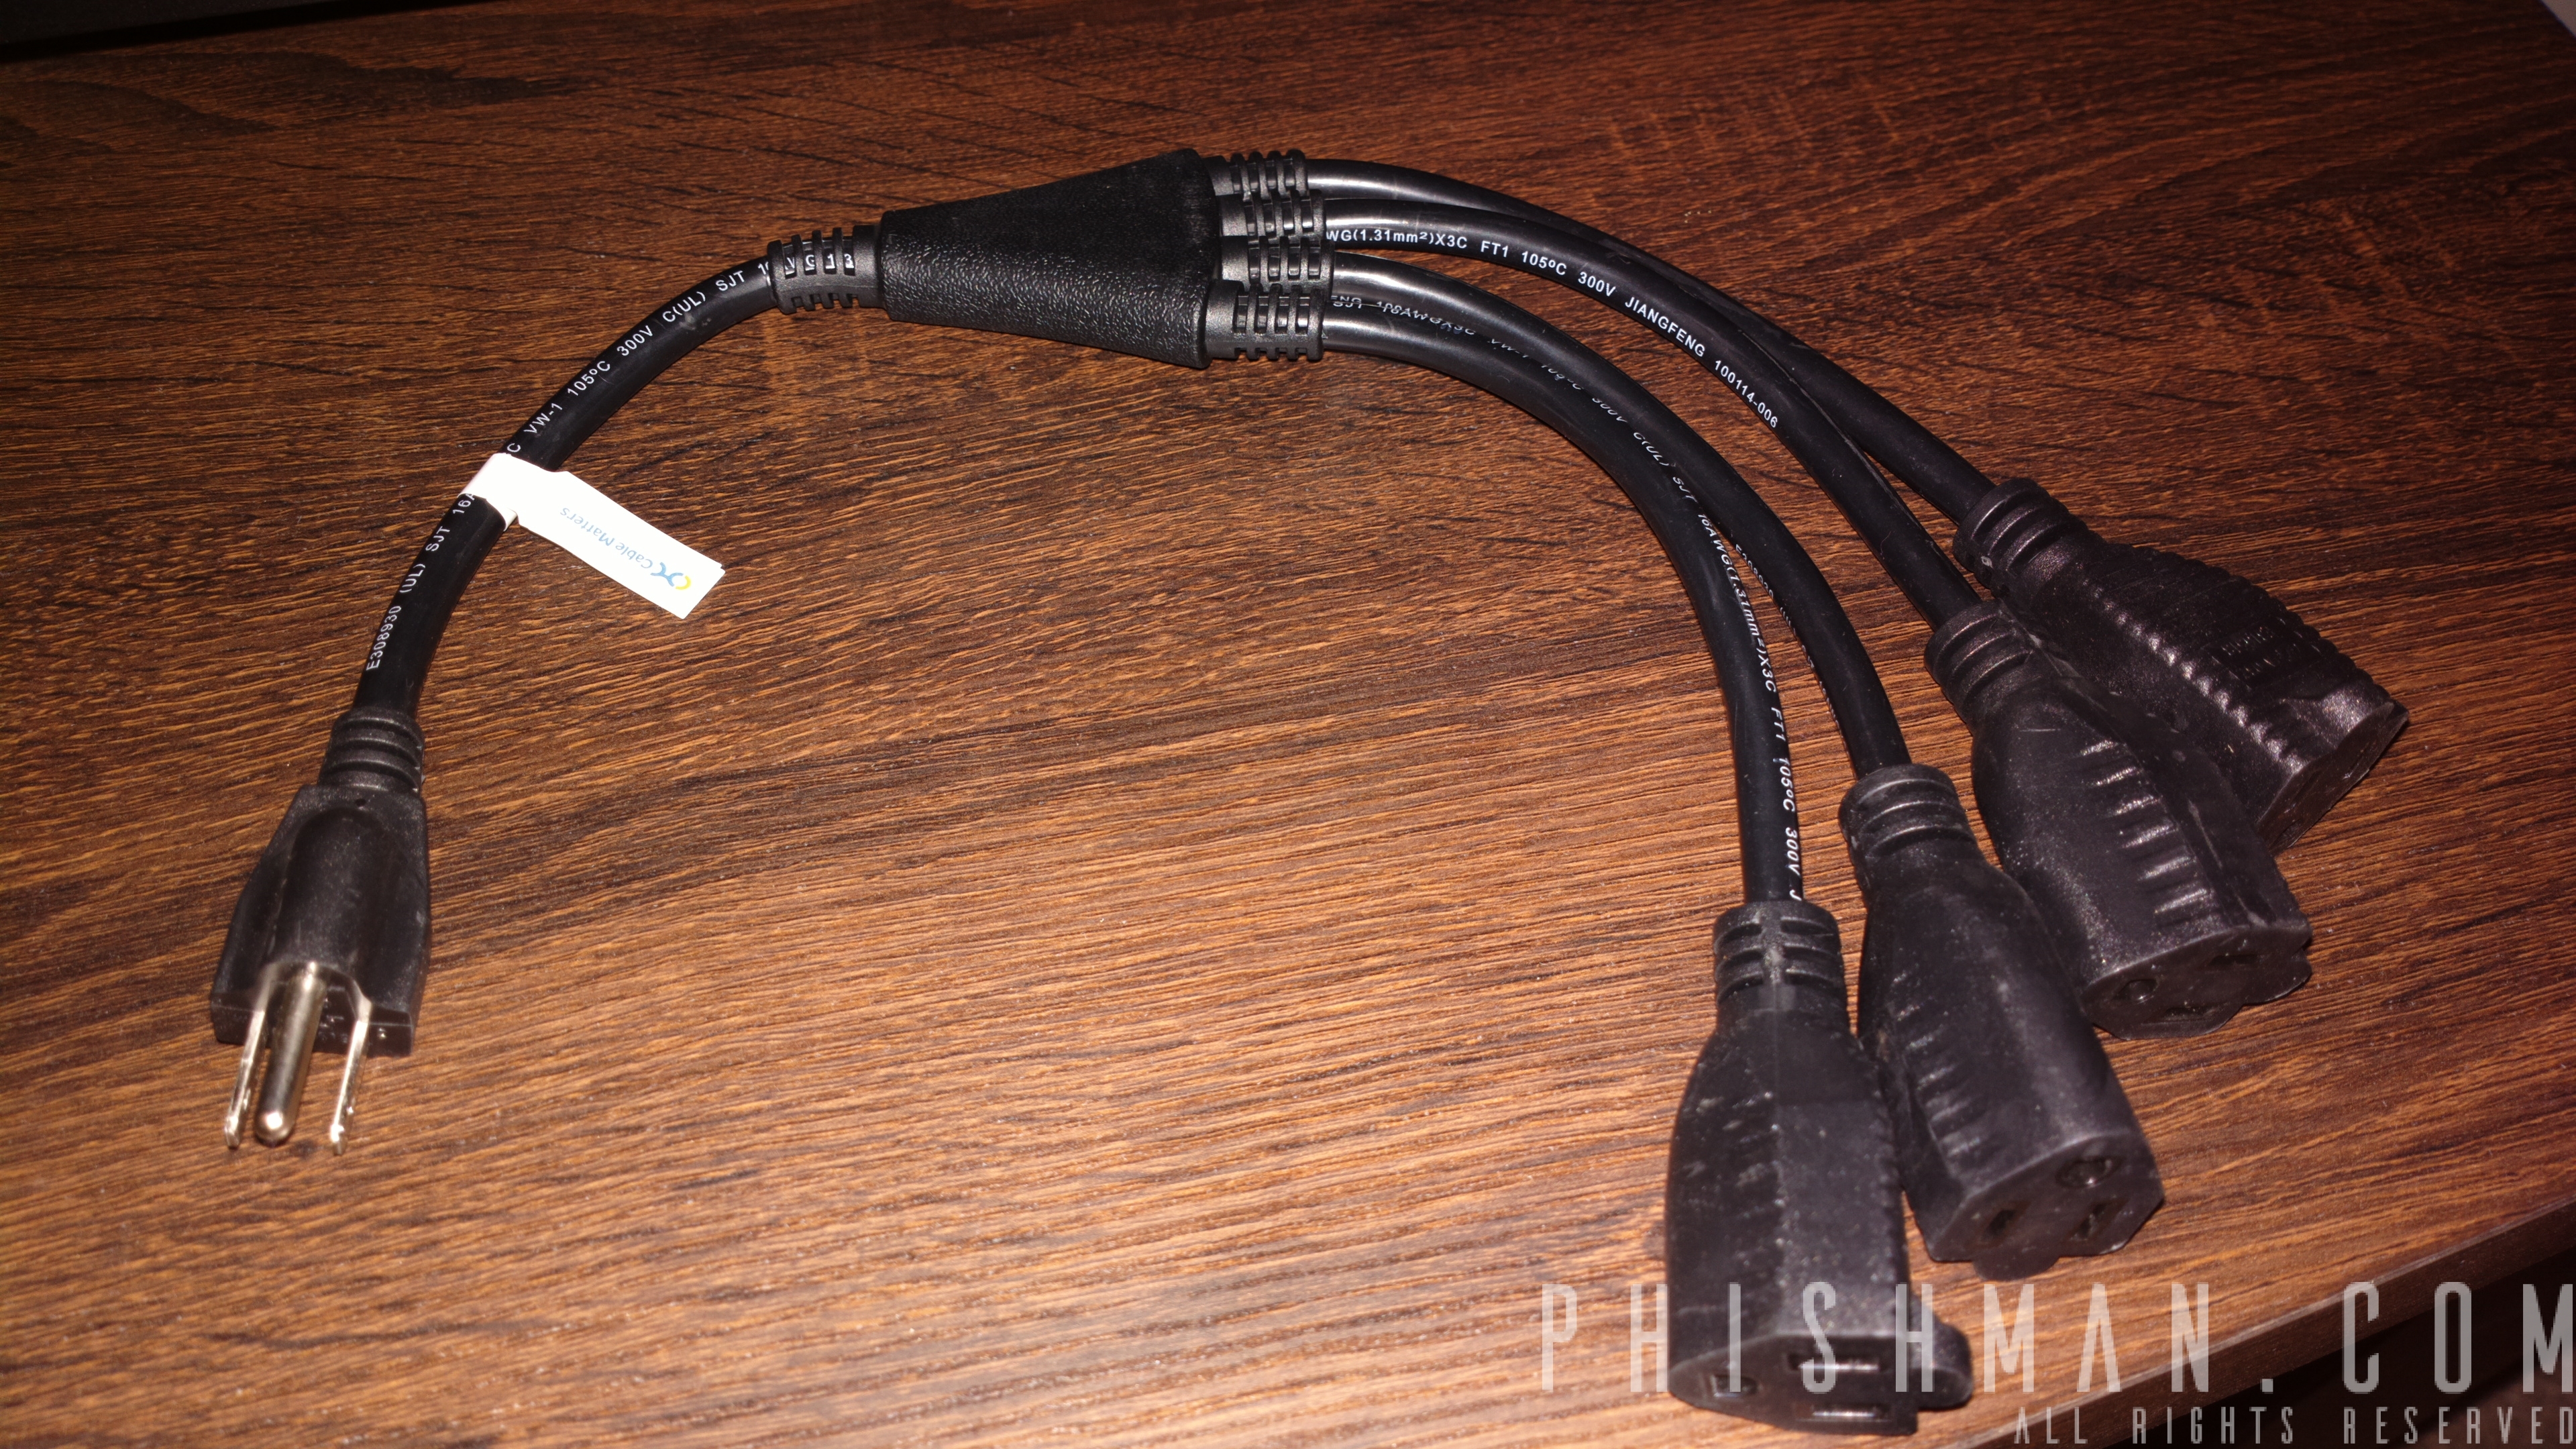
$14.99 – 1 x Cable Matters (2-Pack) 4-Outlet AC Power Cord Y-Splitter – 1.5 Feet
$7.99 – 1 x HUACAM HC05 3 Pack USB to 5.5 mm/2.1 mm 5 Volt DC Barrel Jack Power Cable
TOTAL: $1292.29
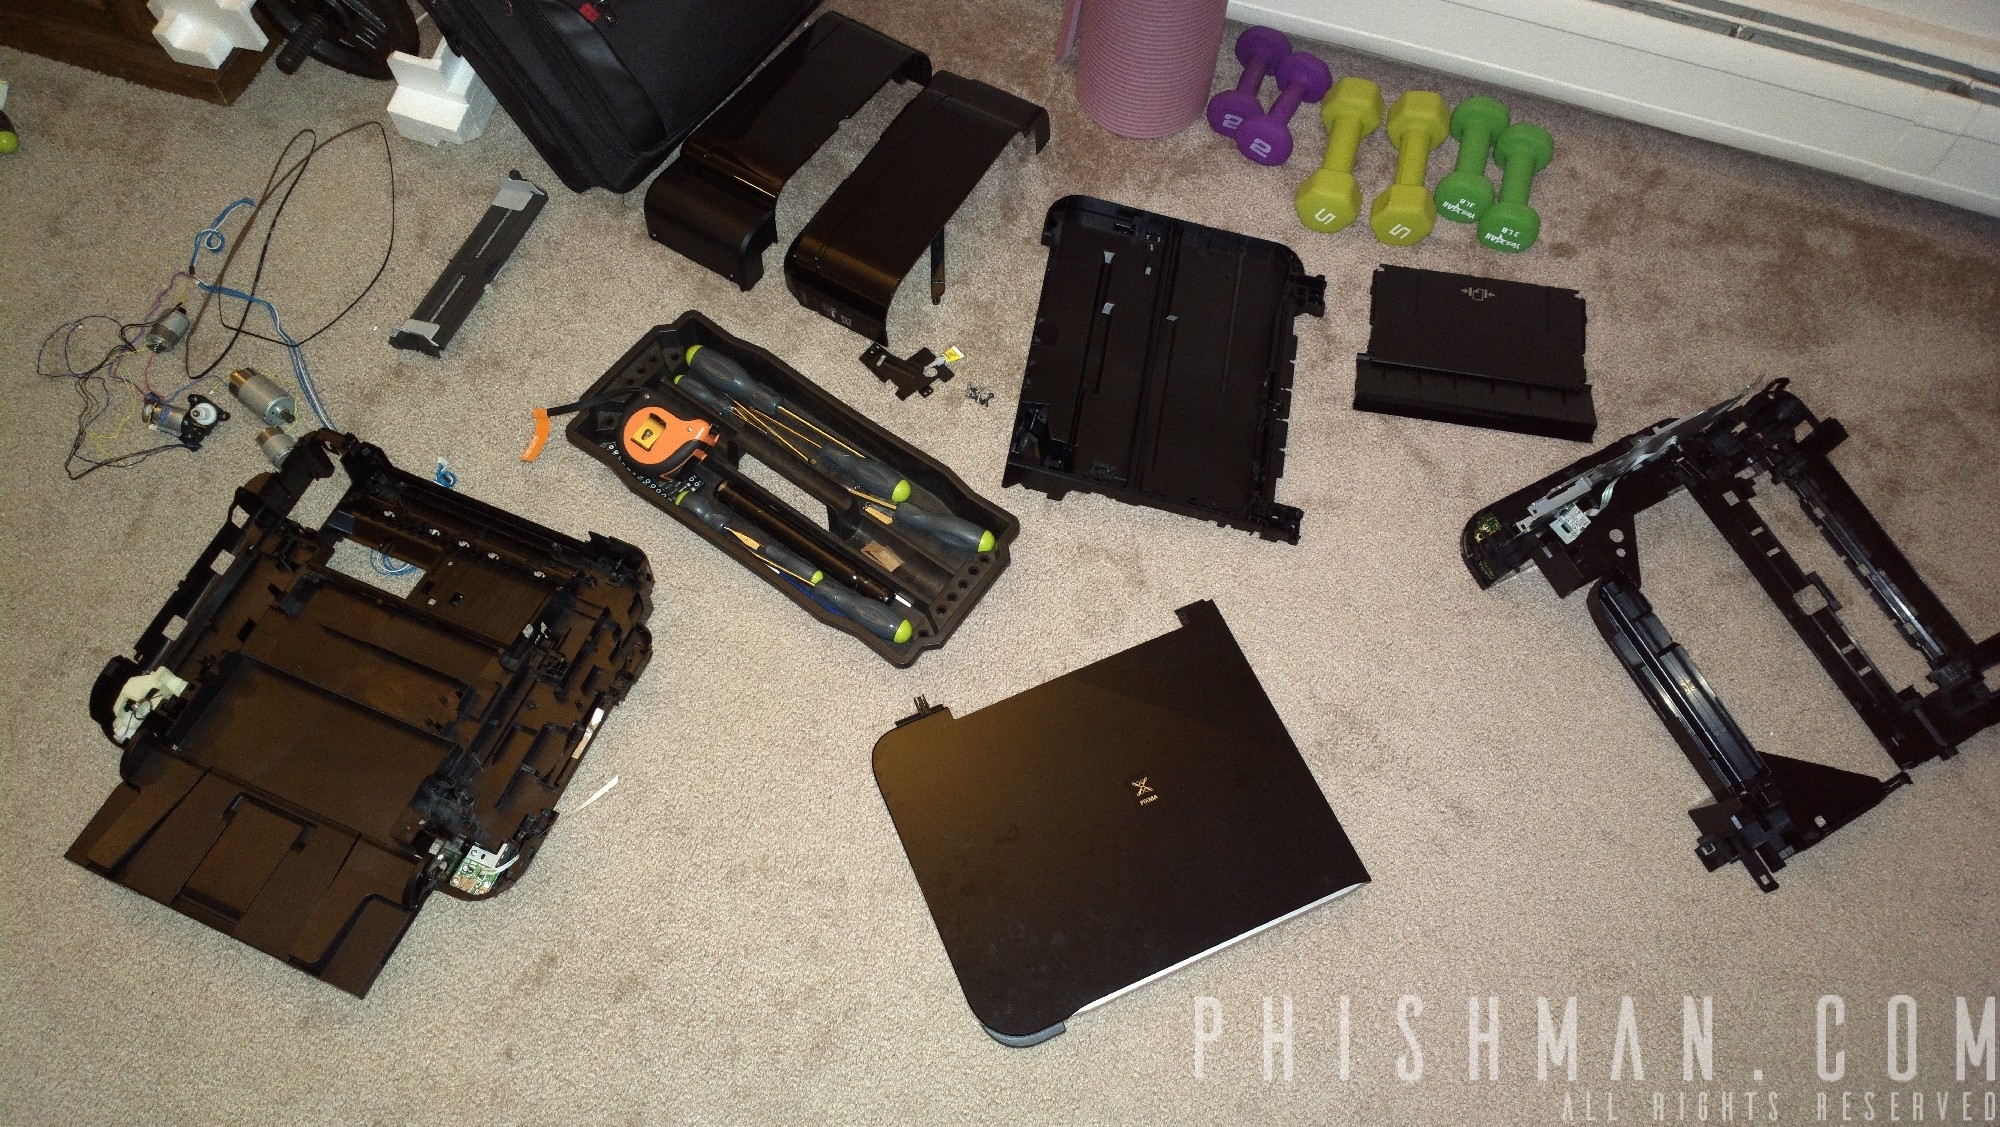
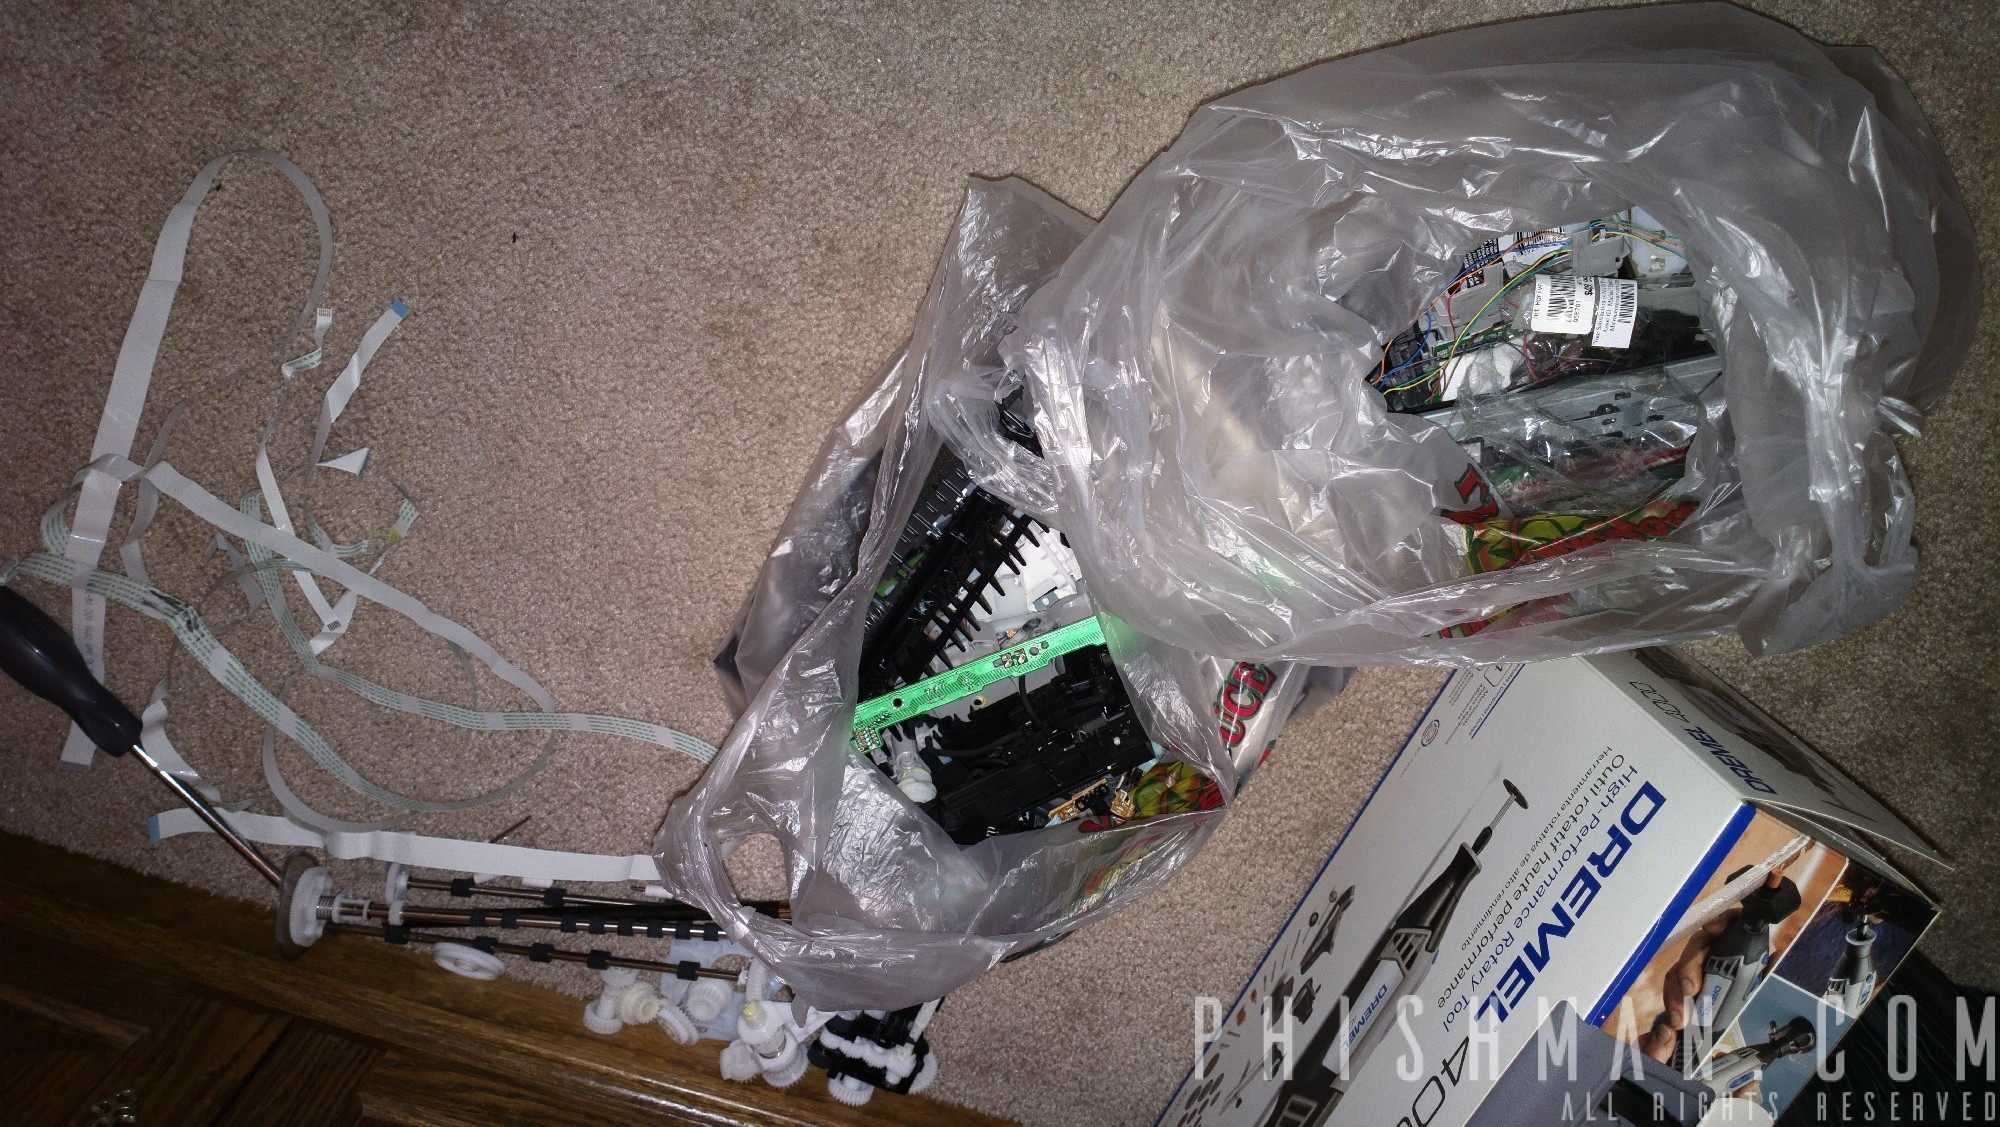
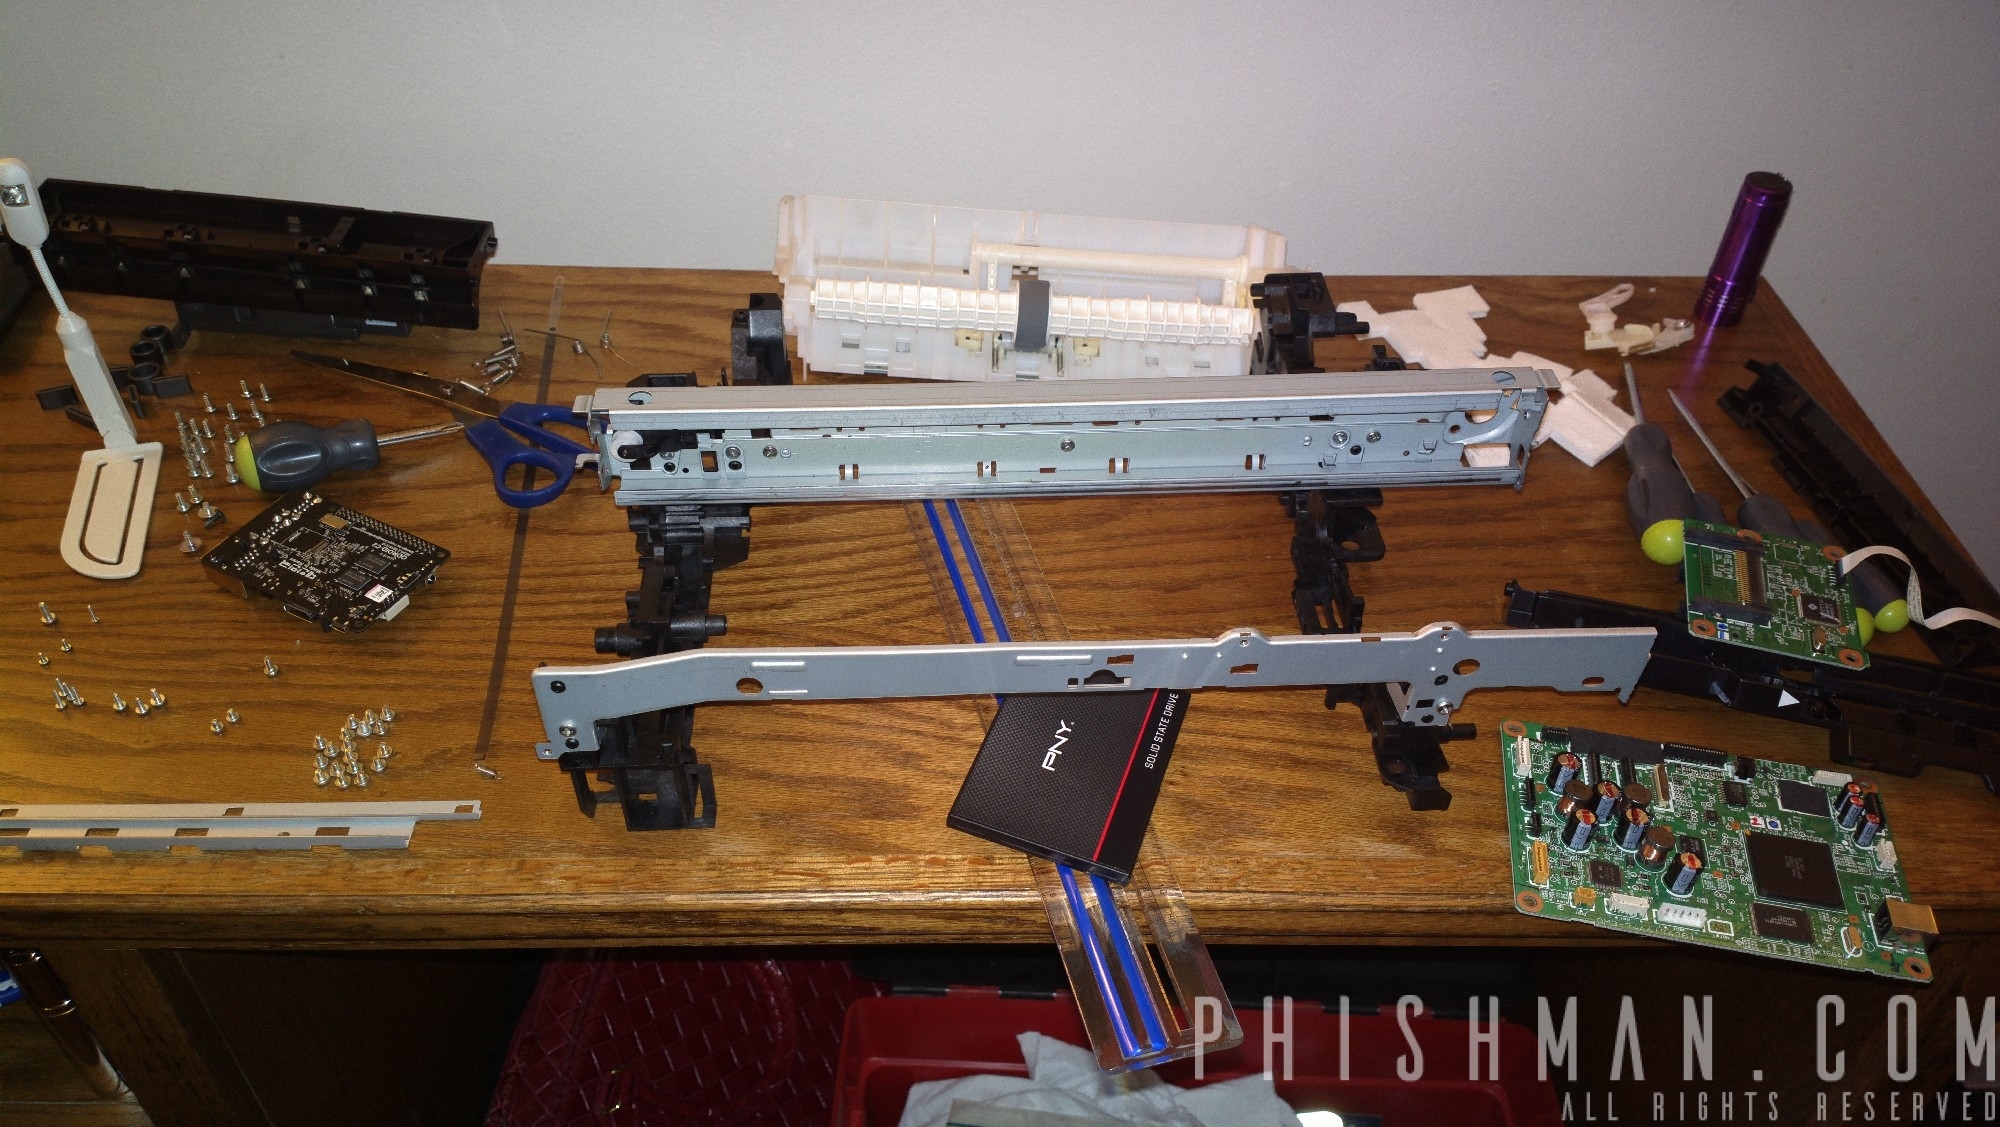
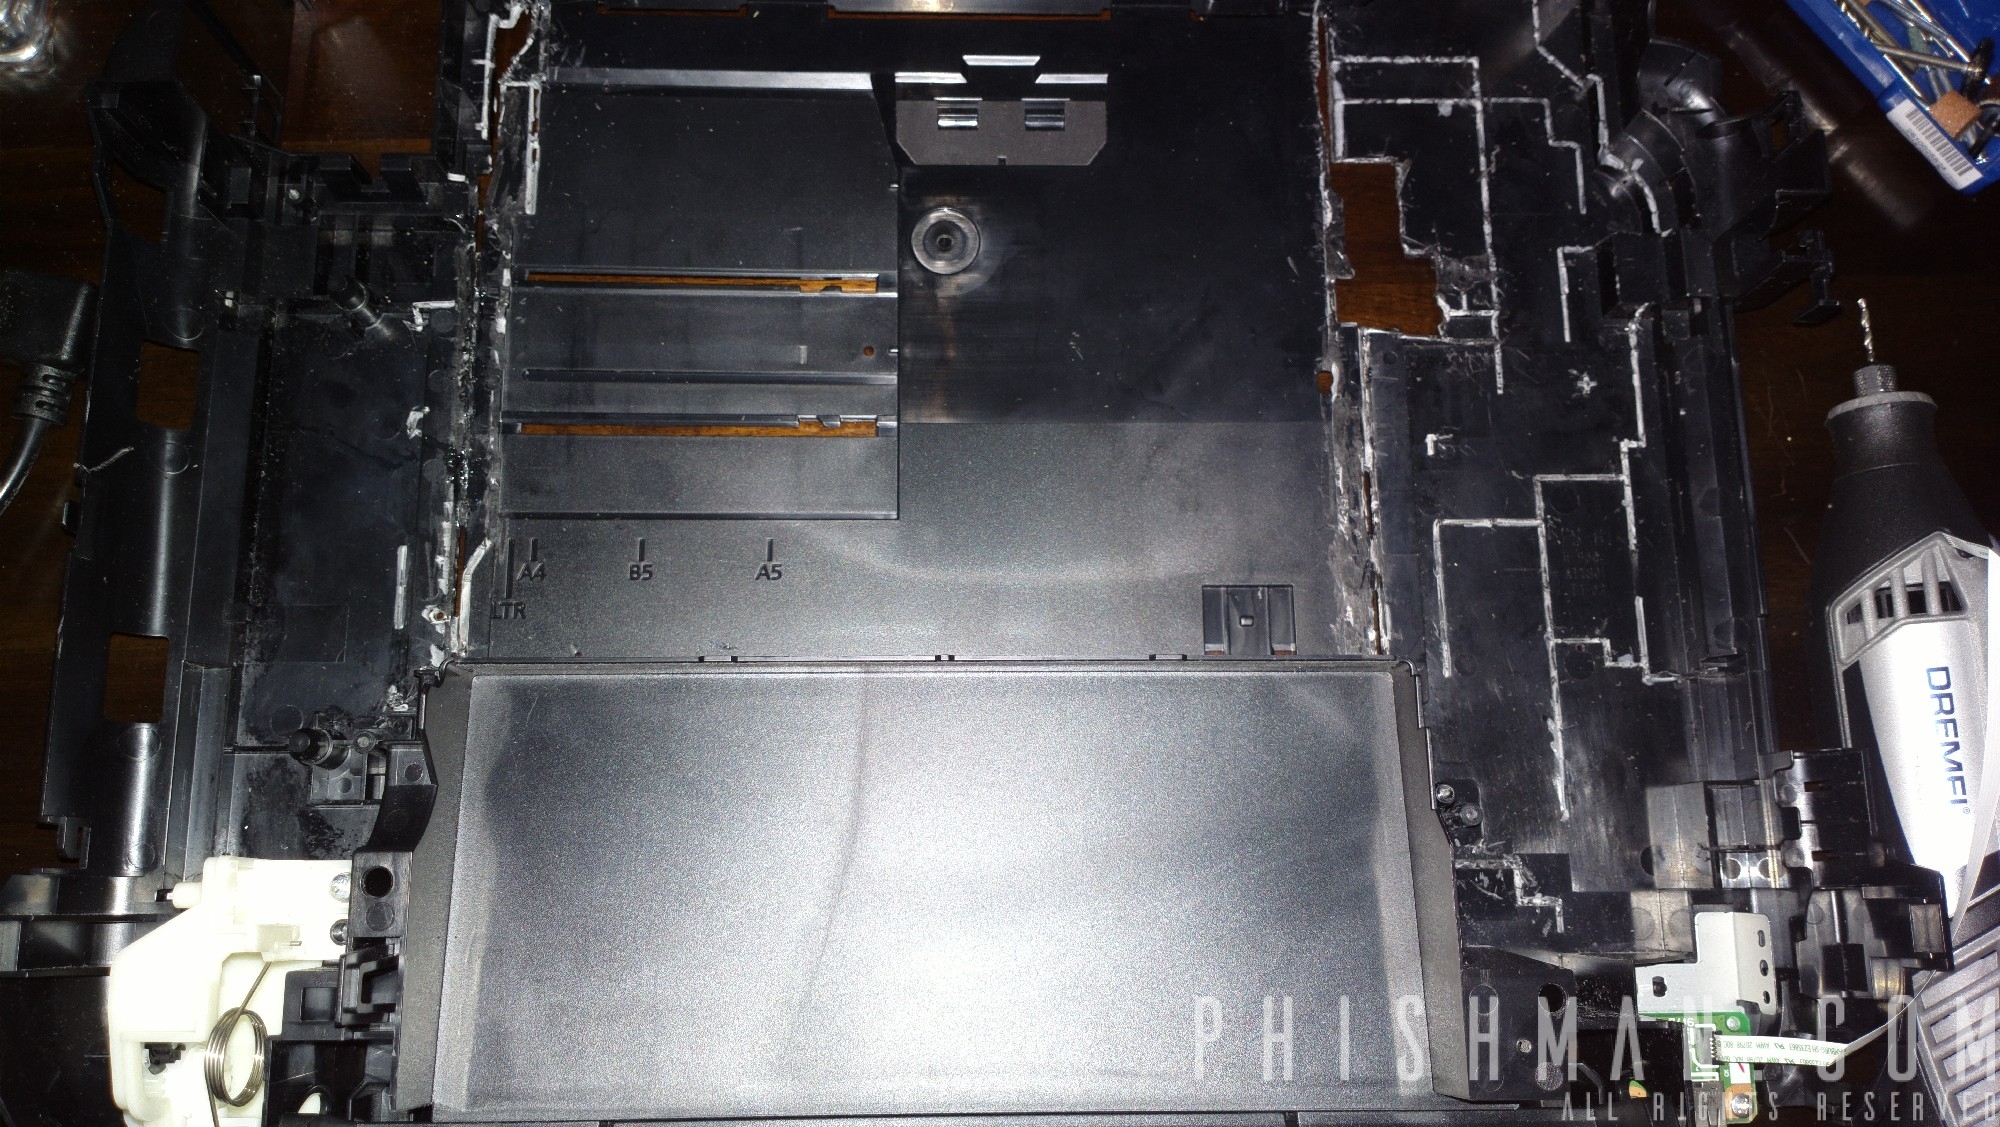
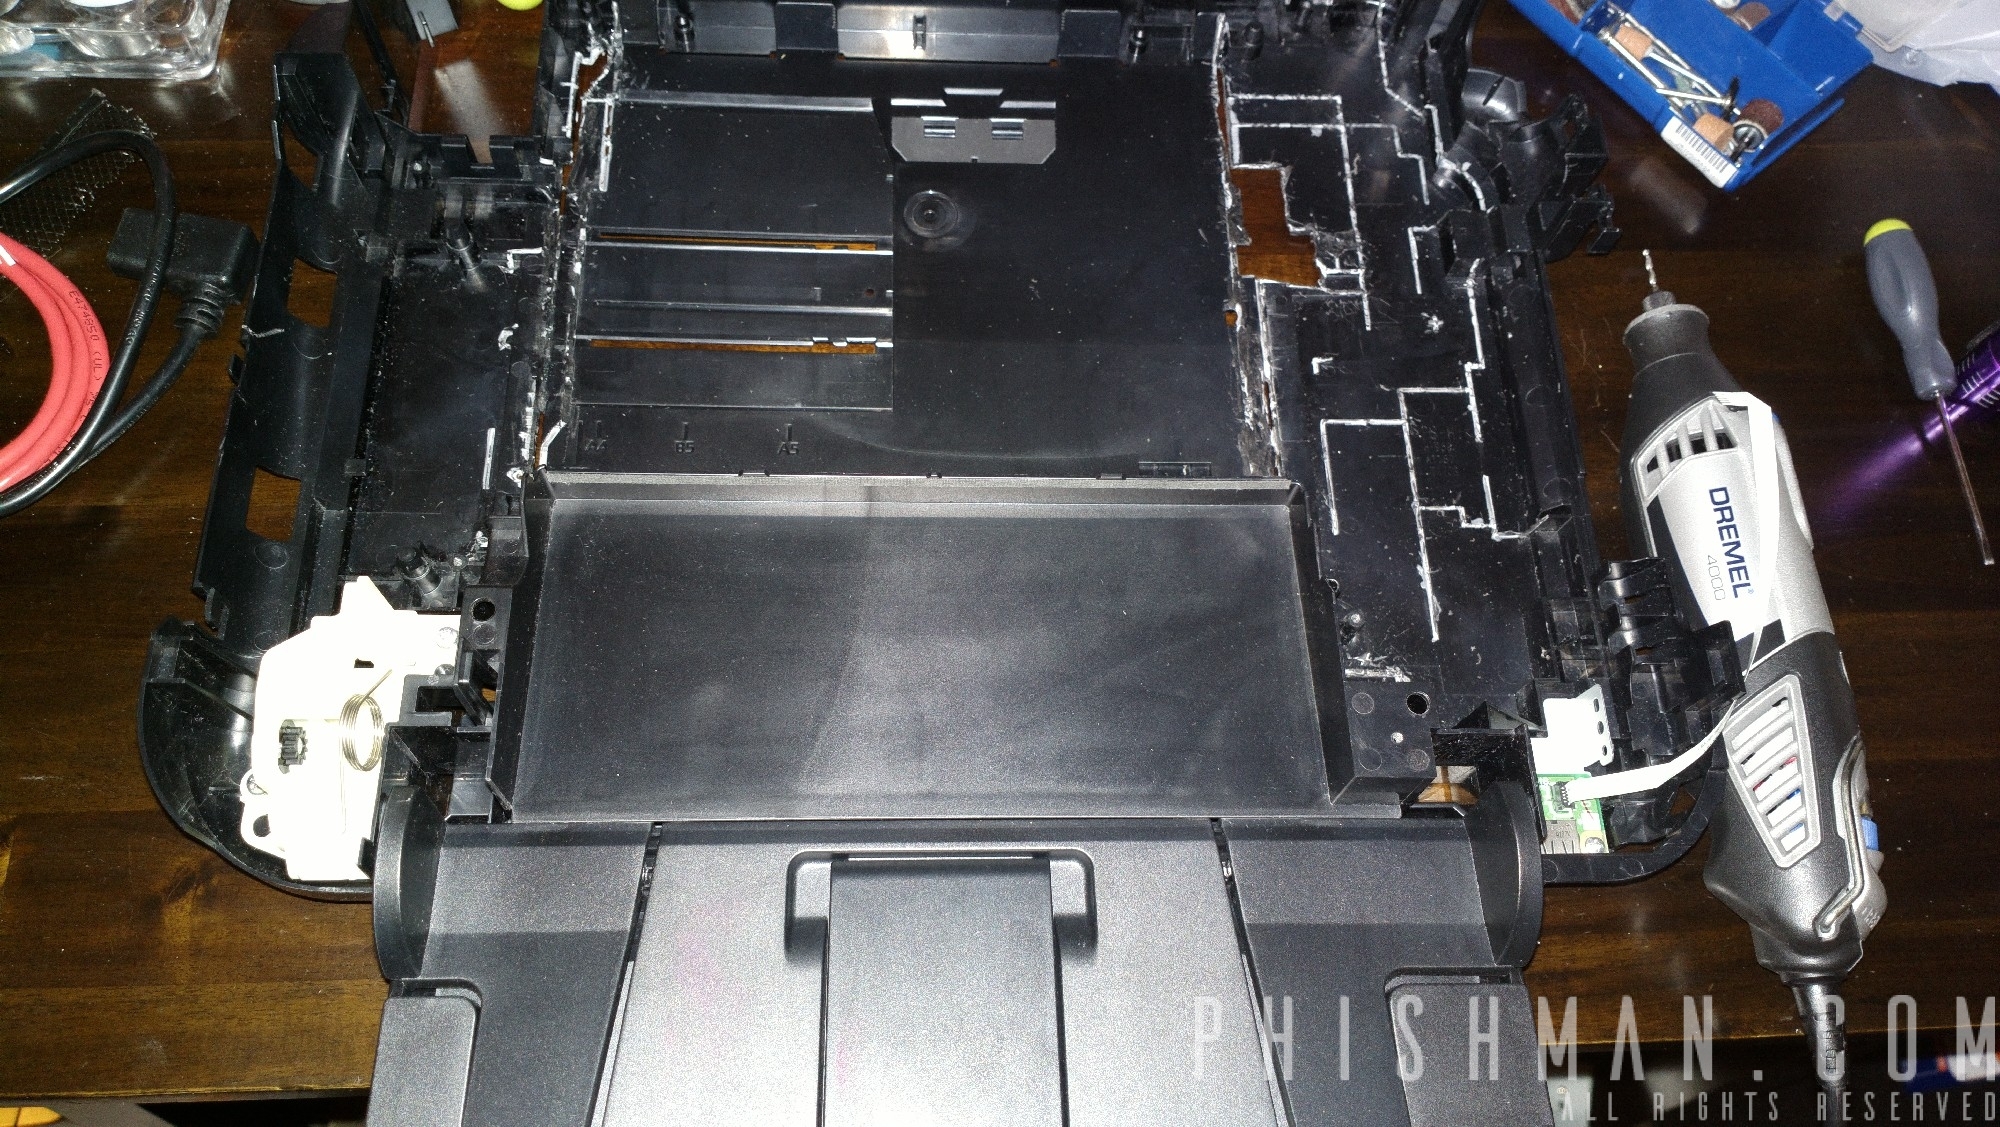
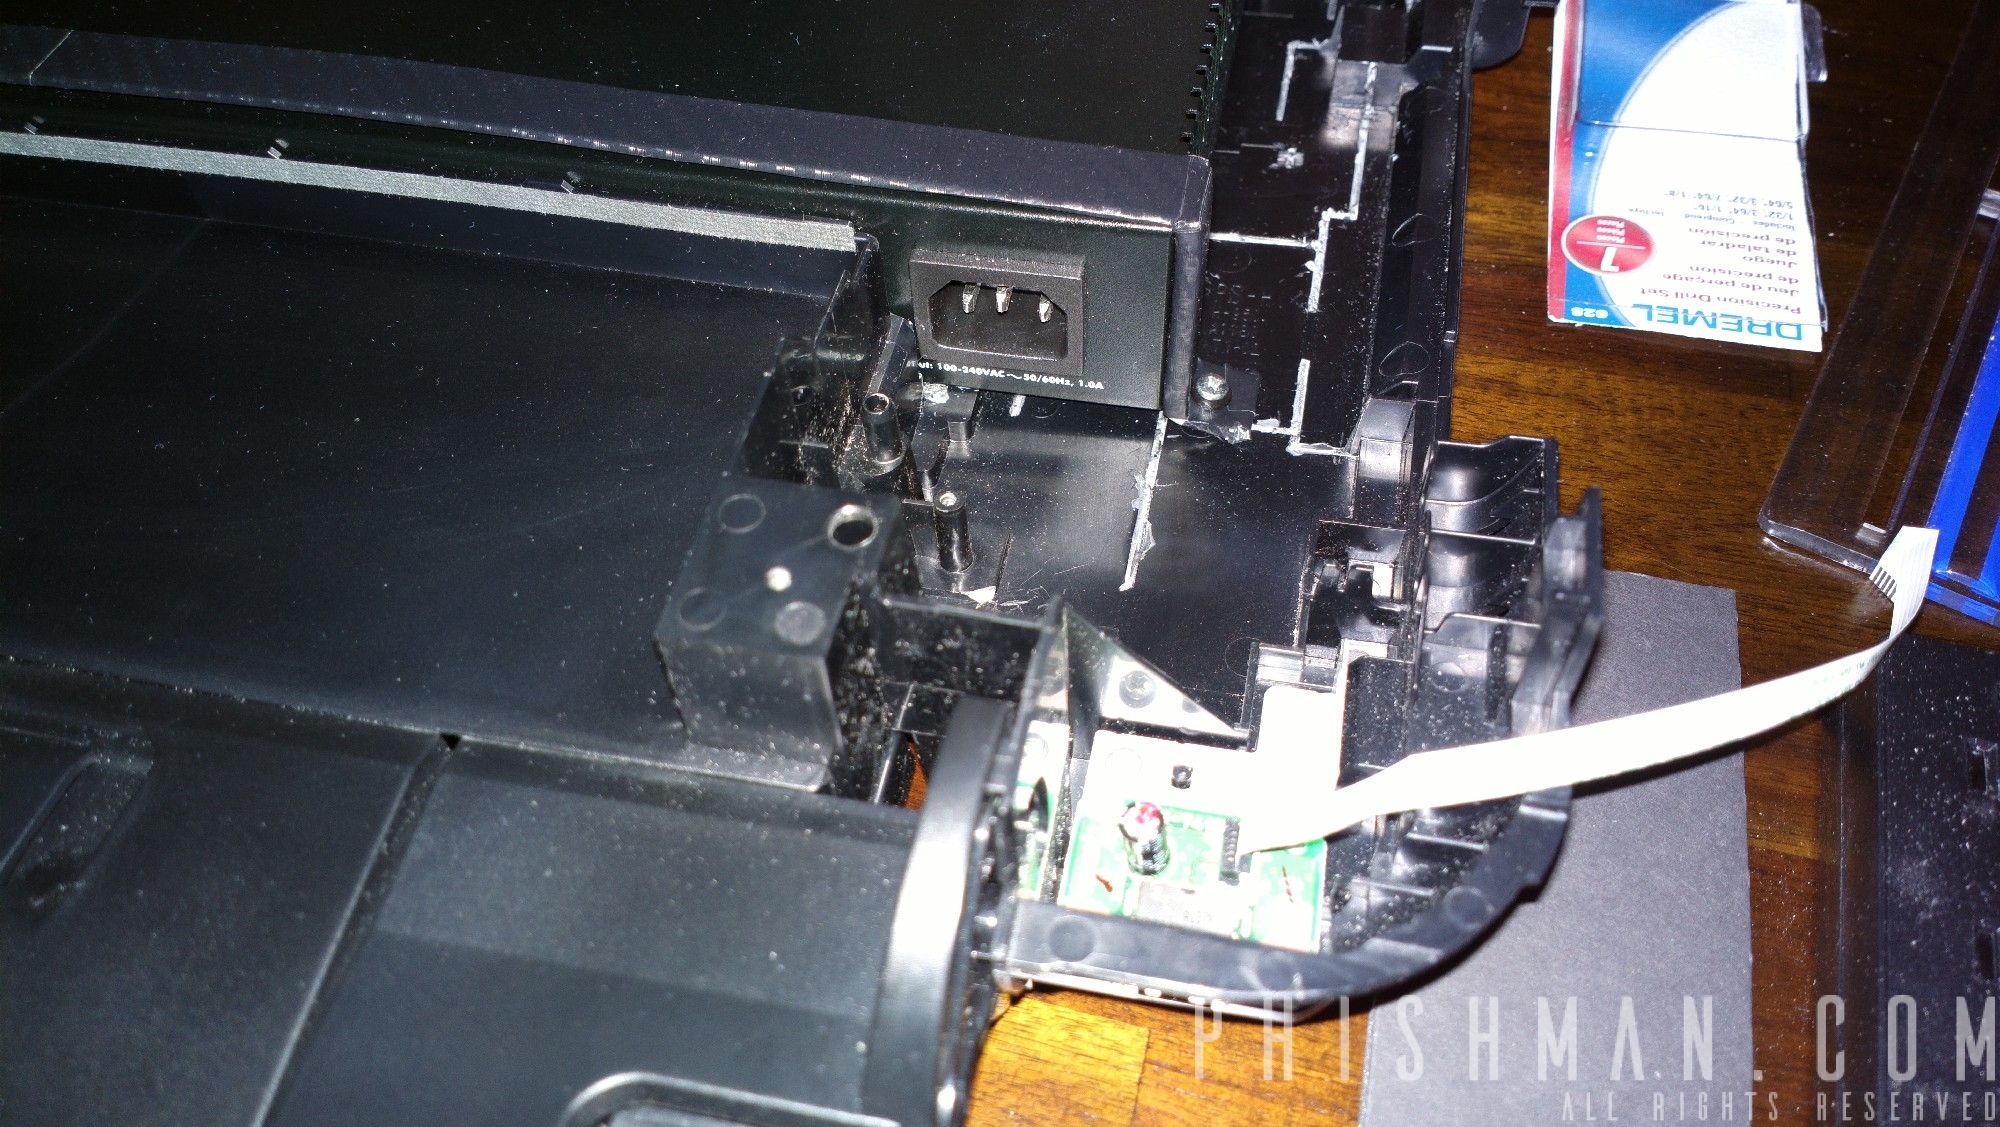
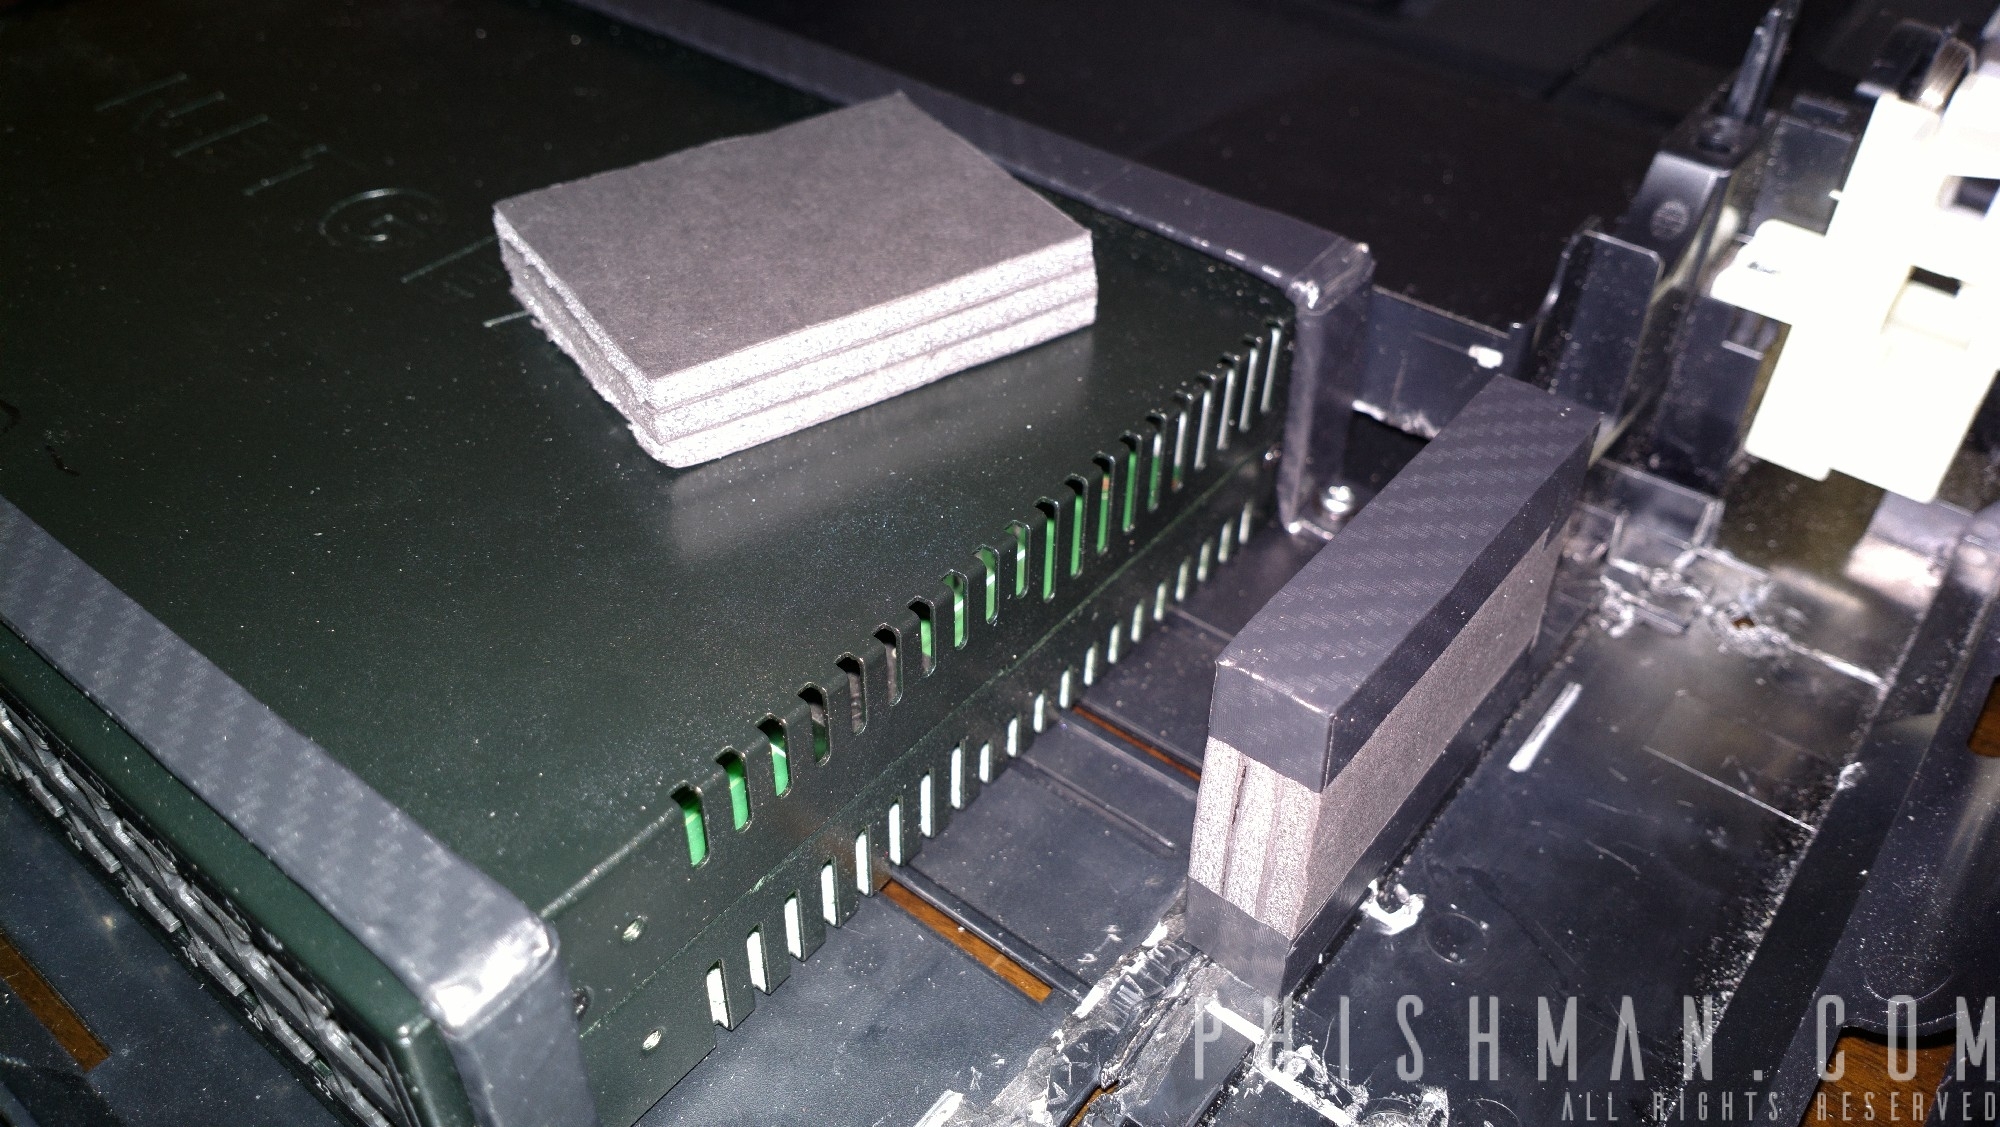
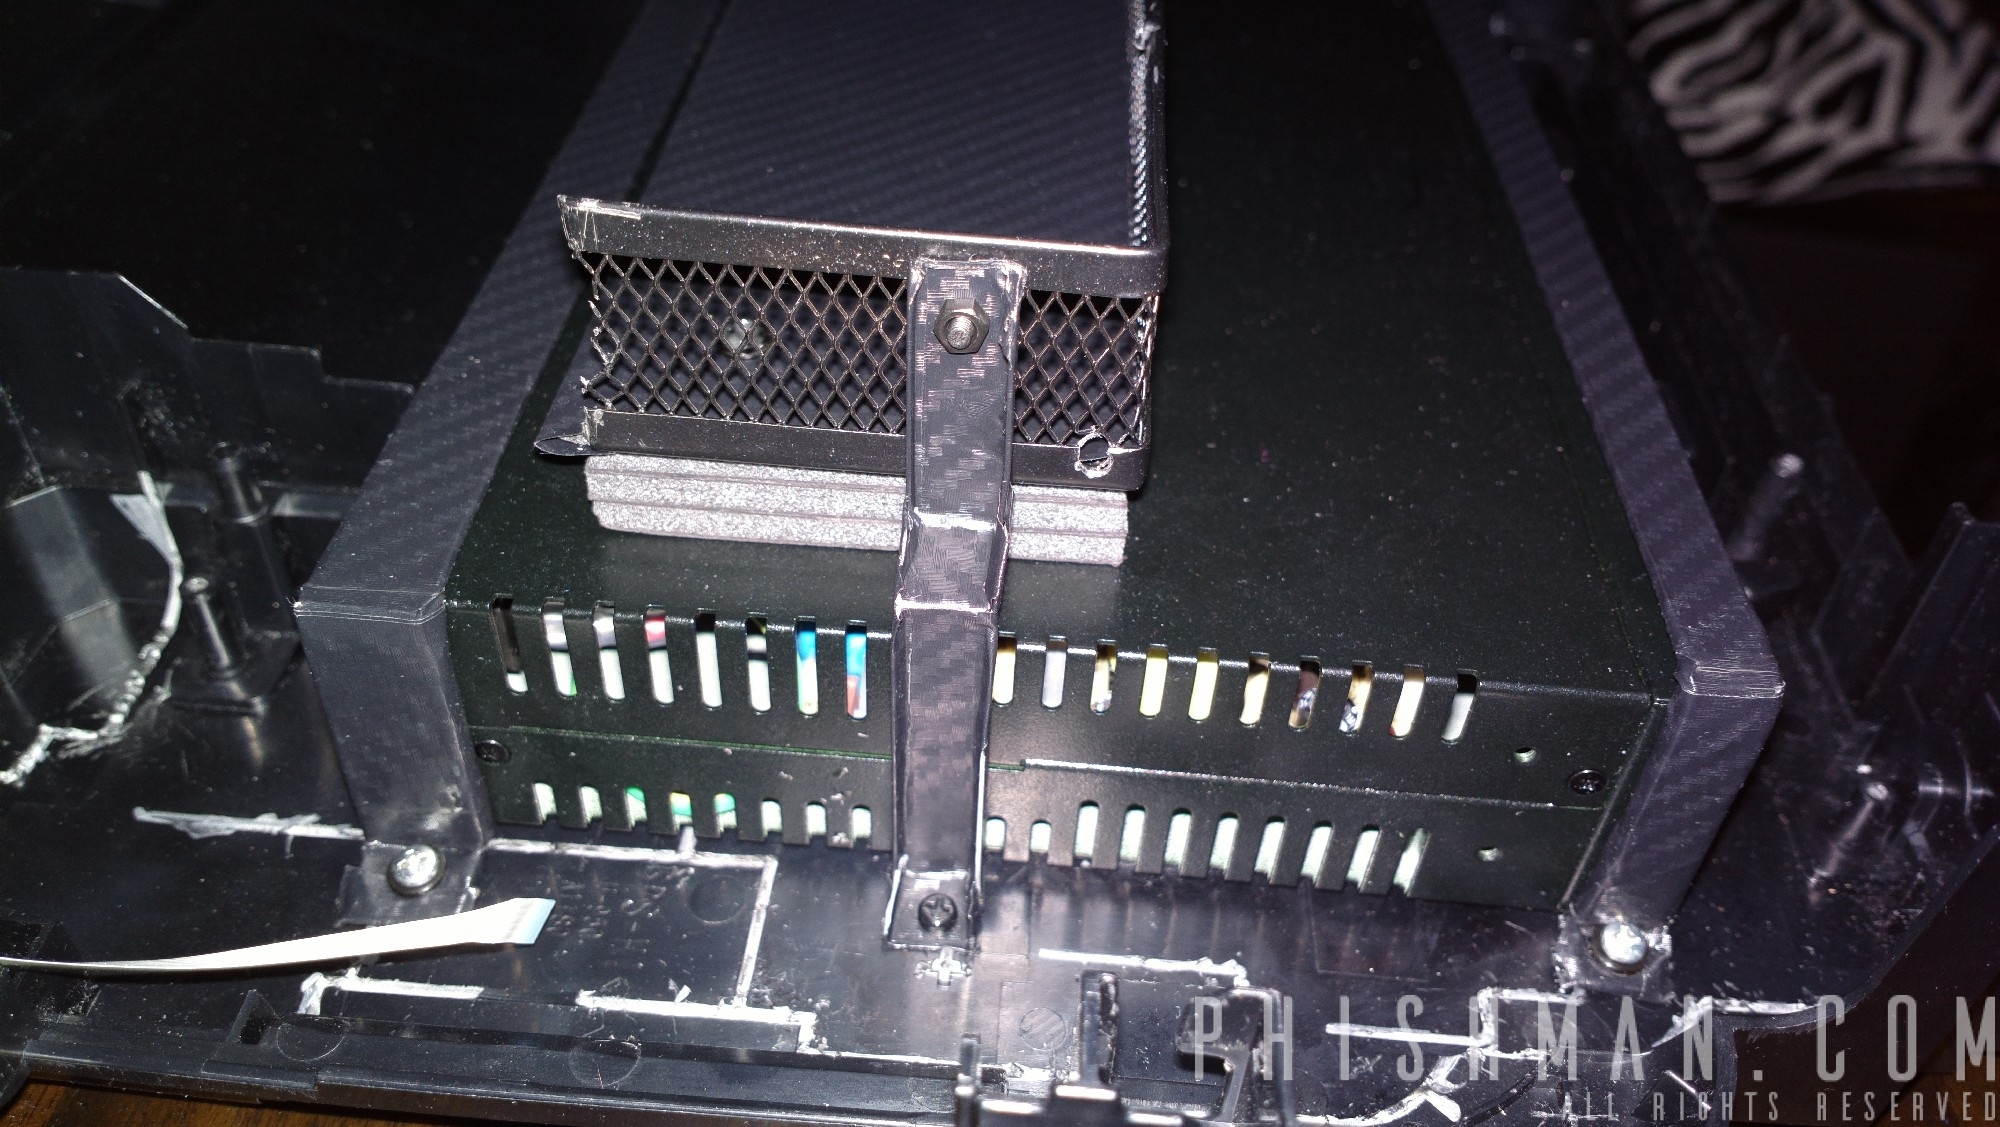
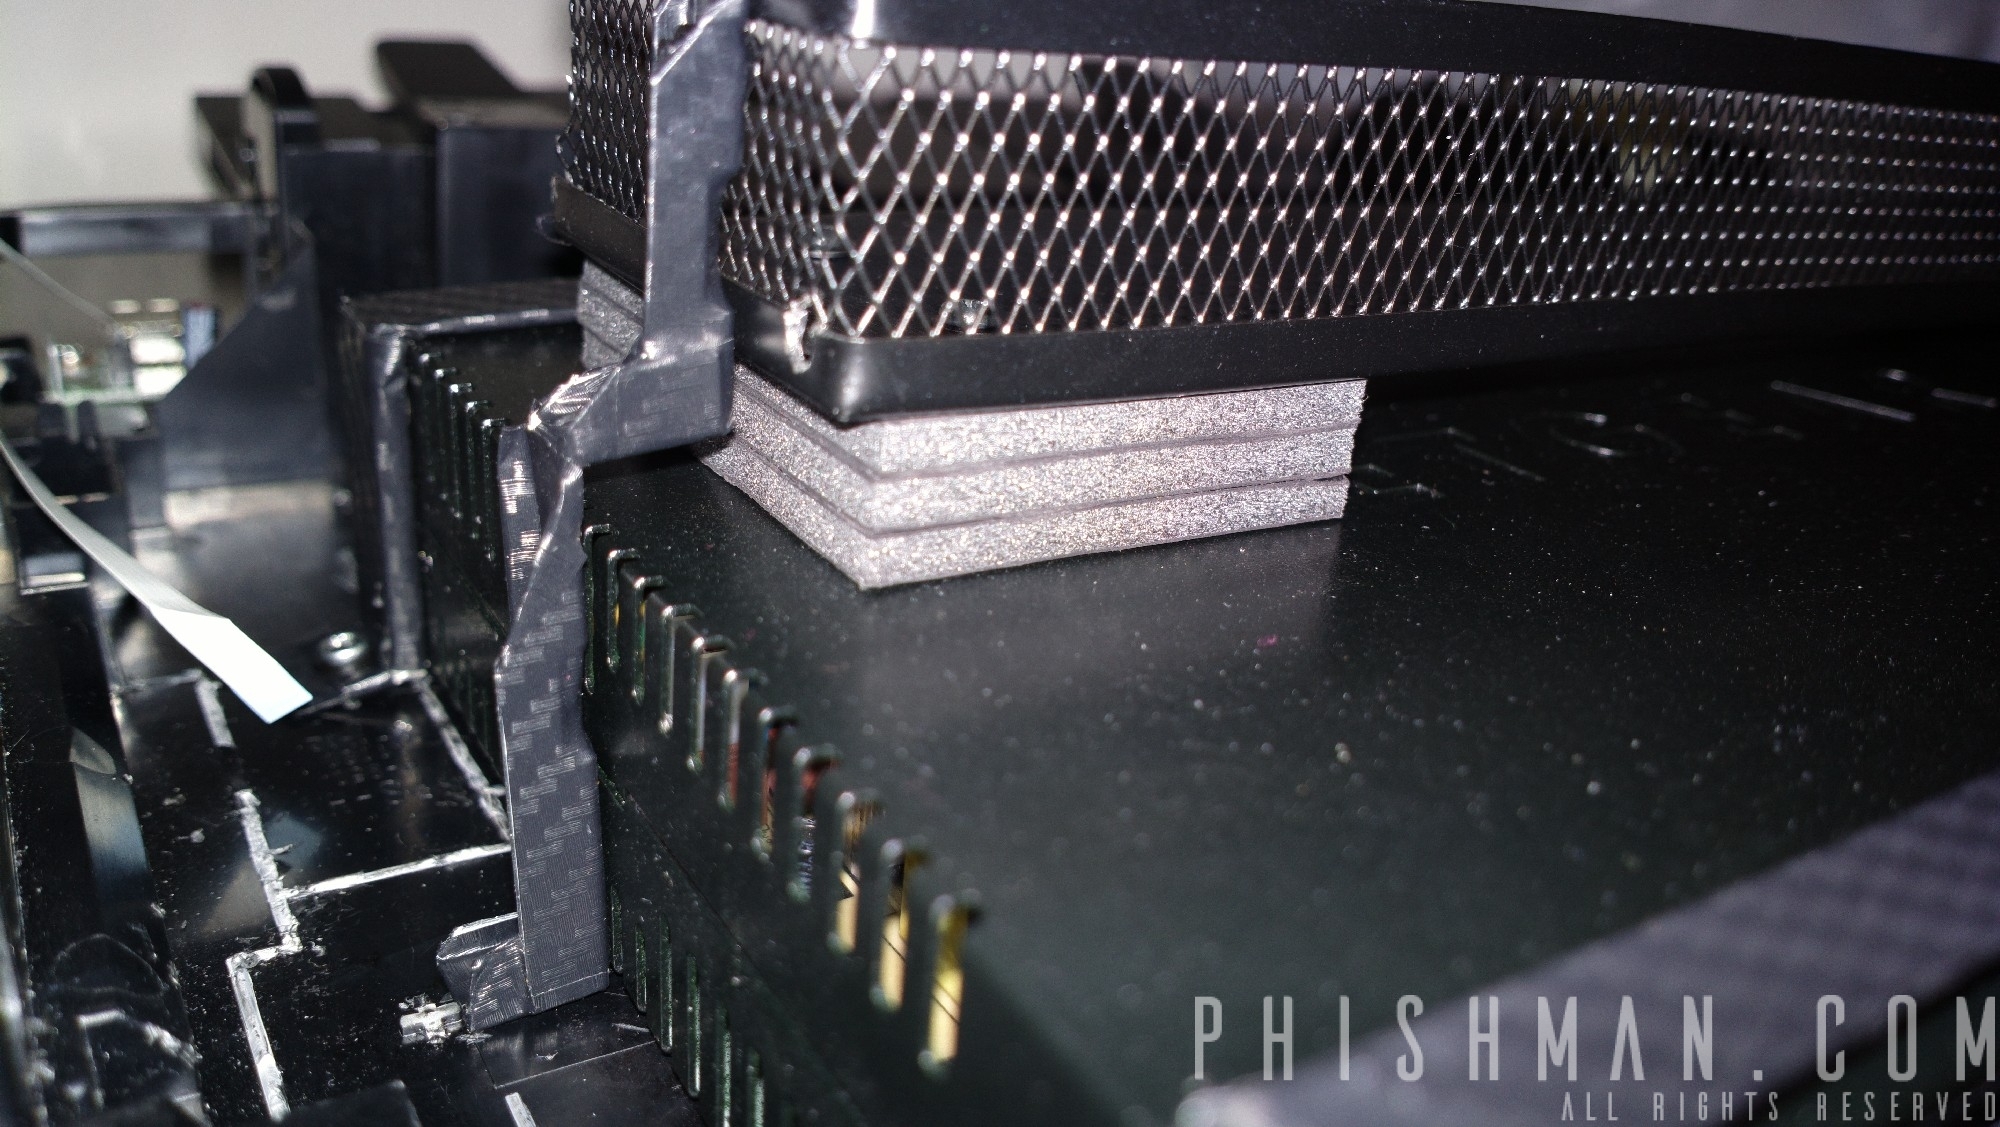
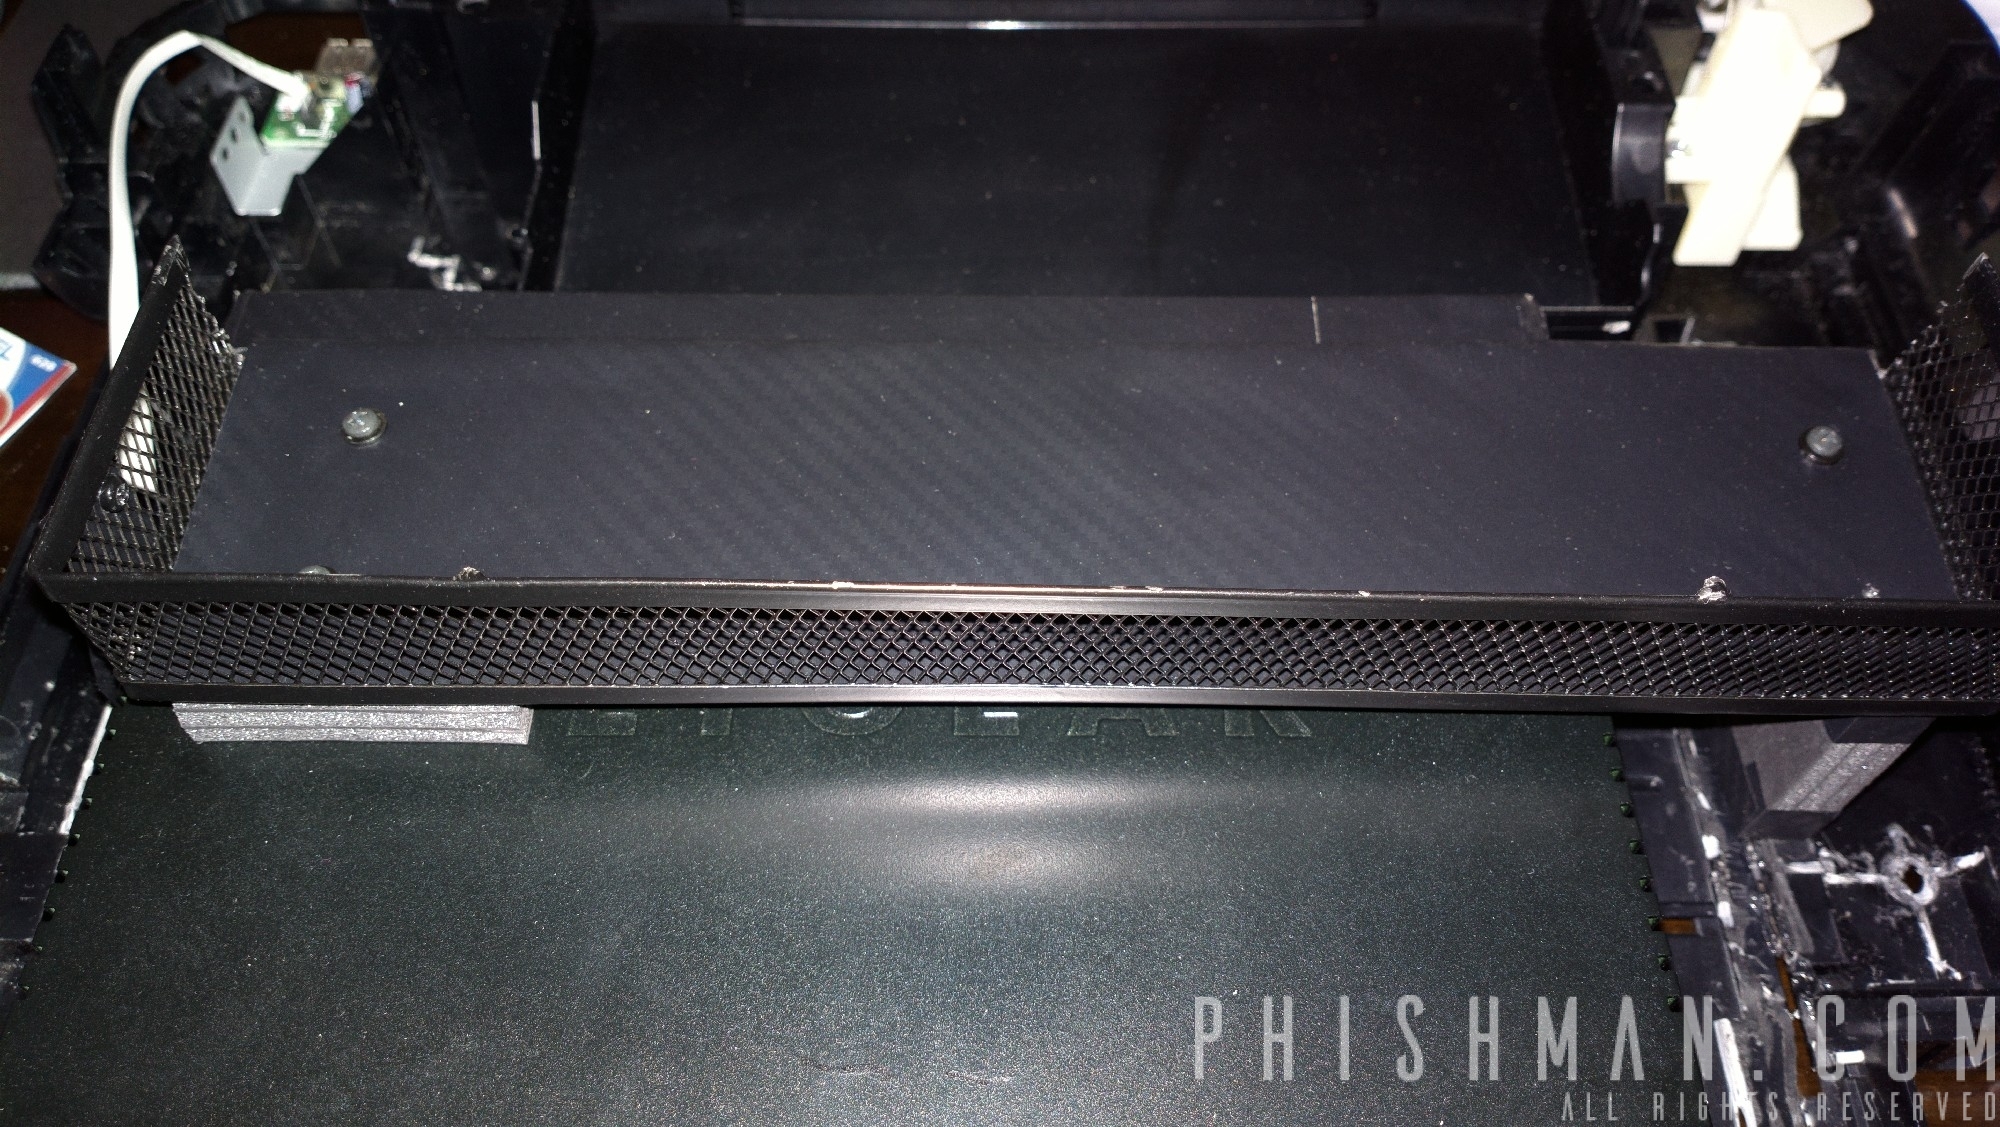
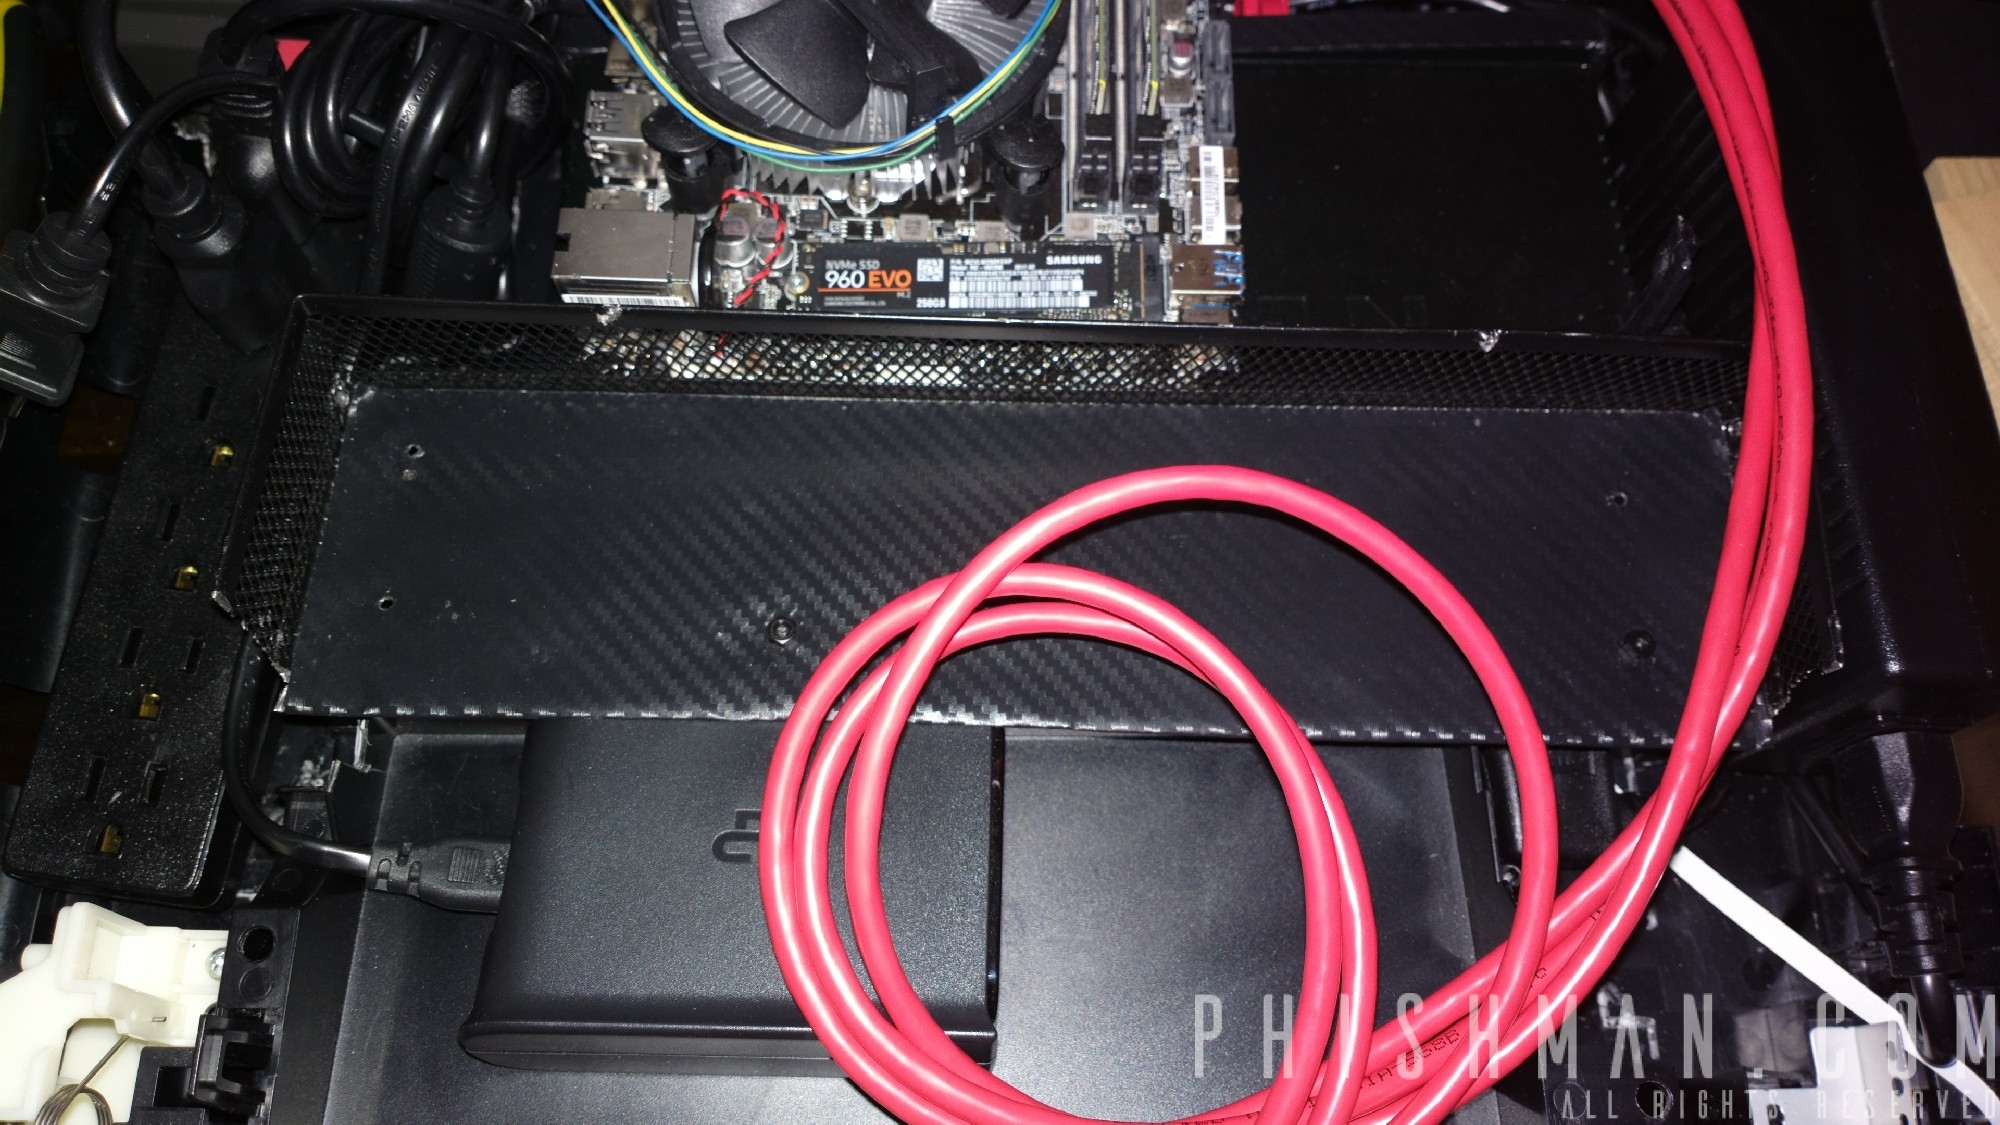
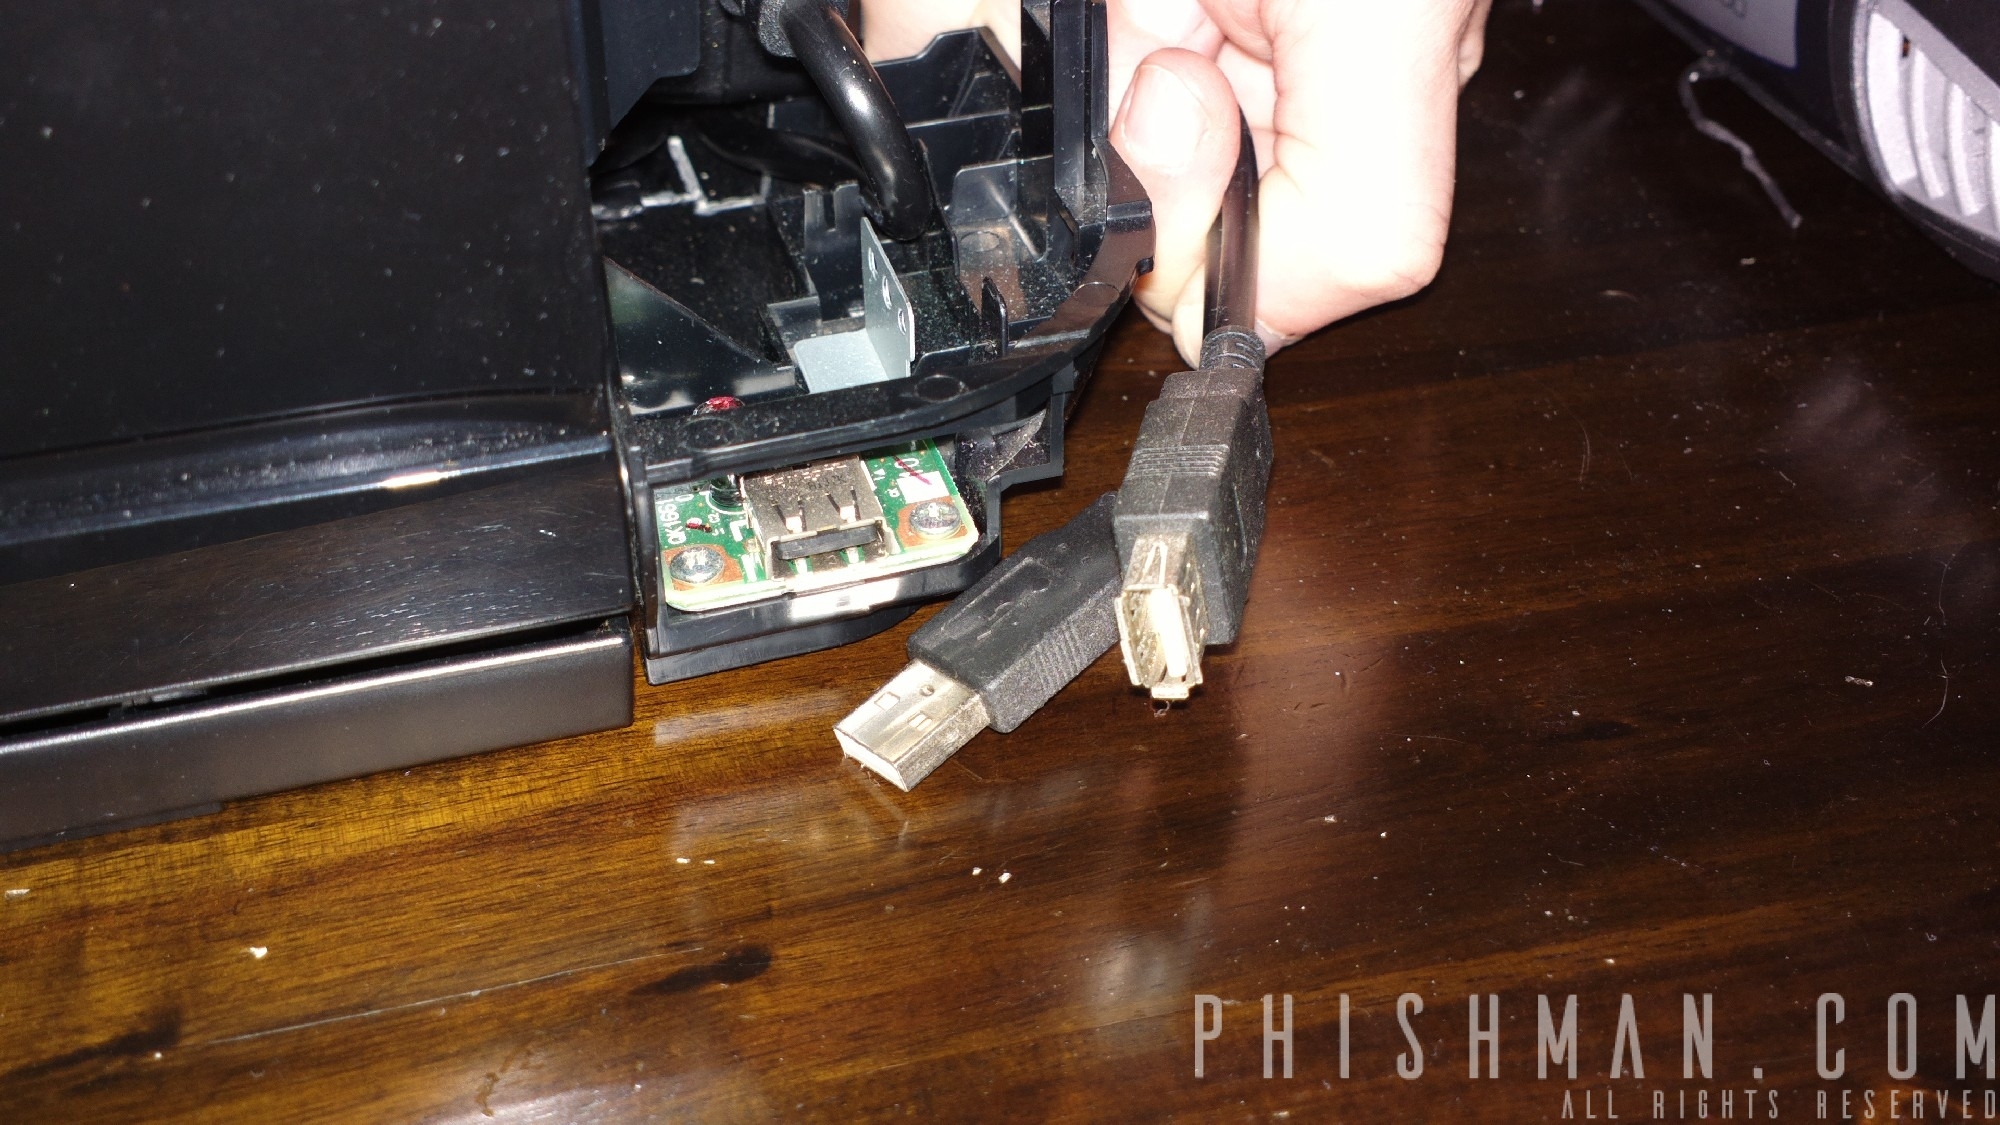
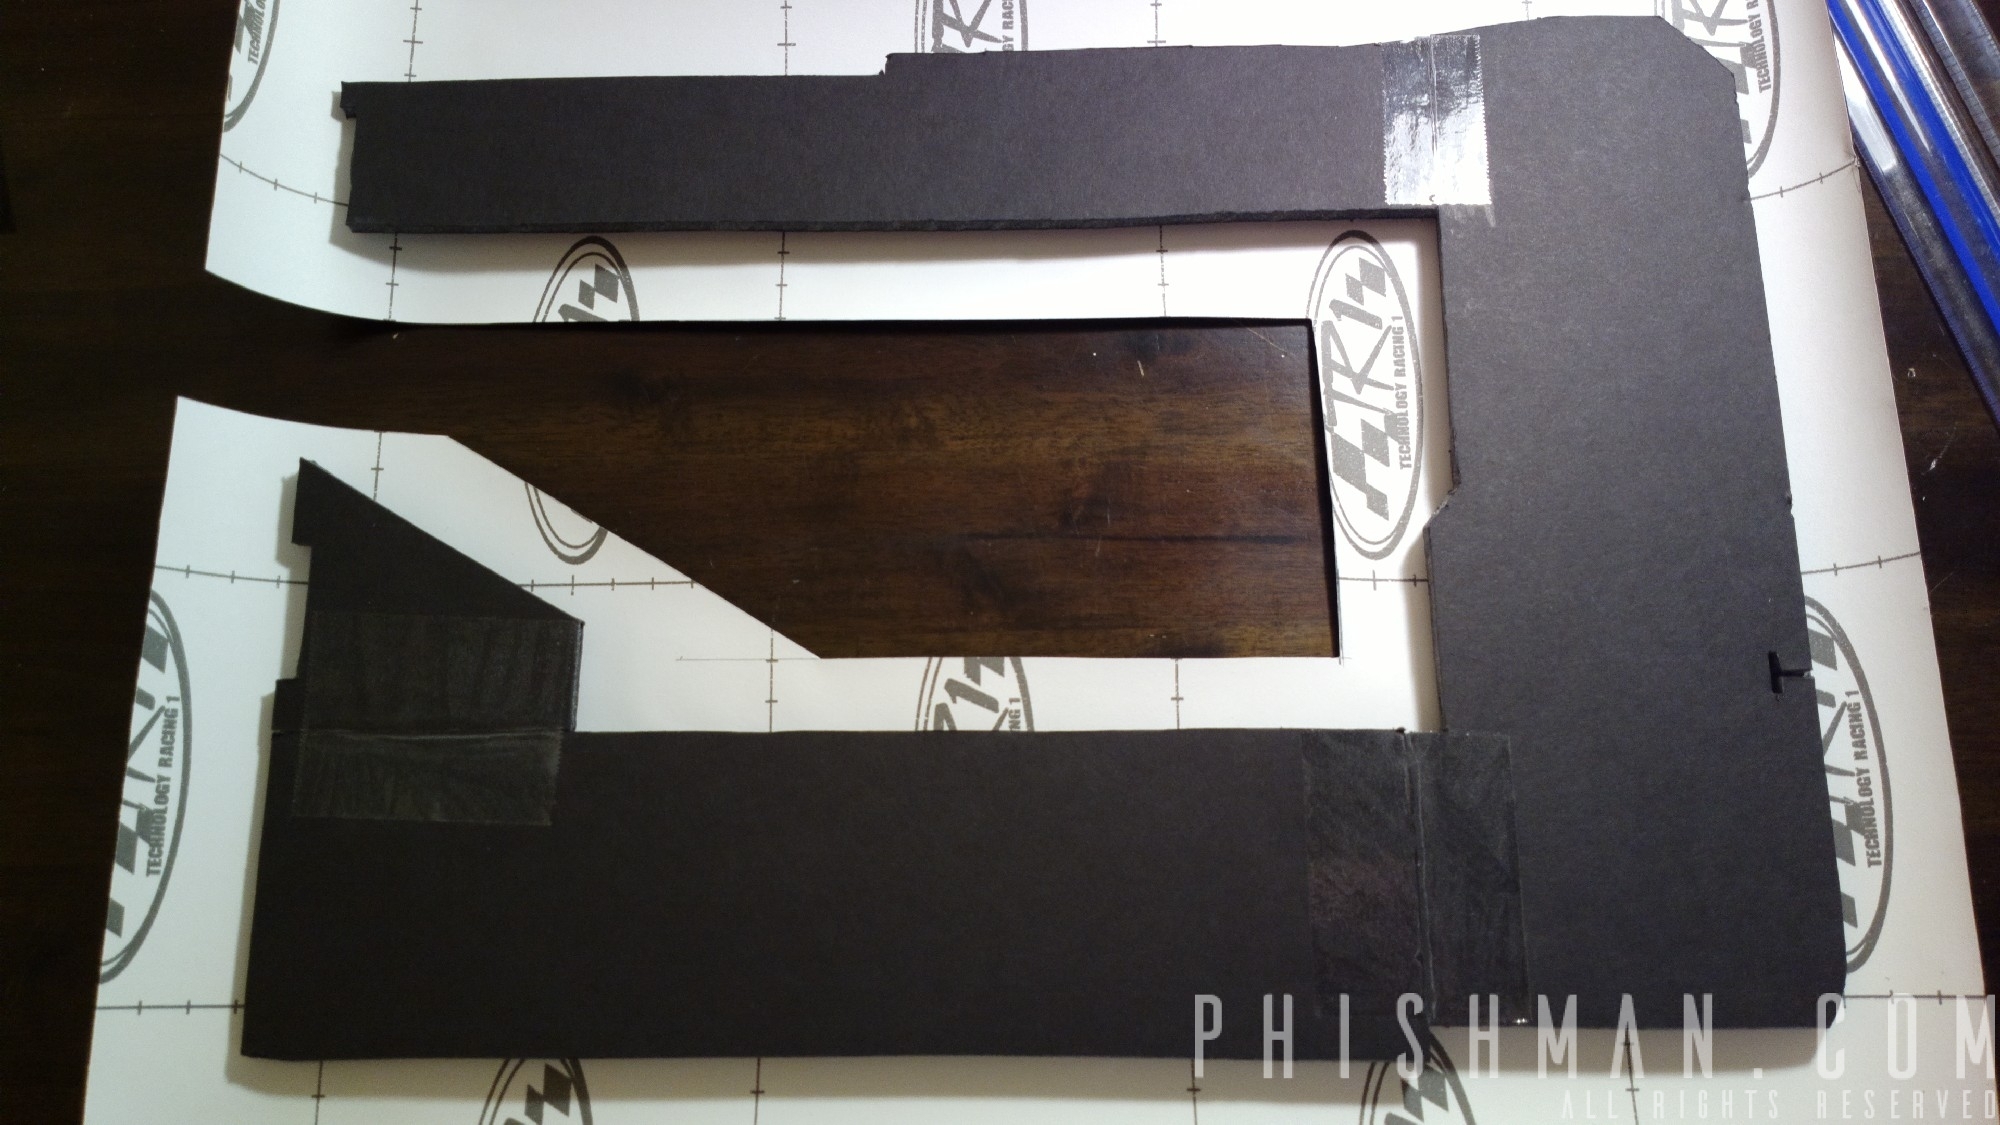
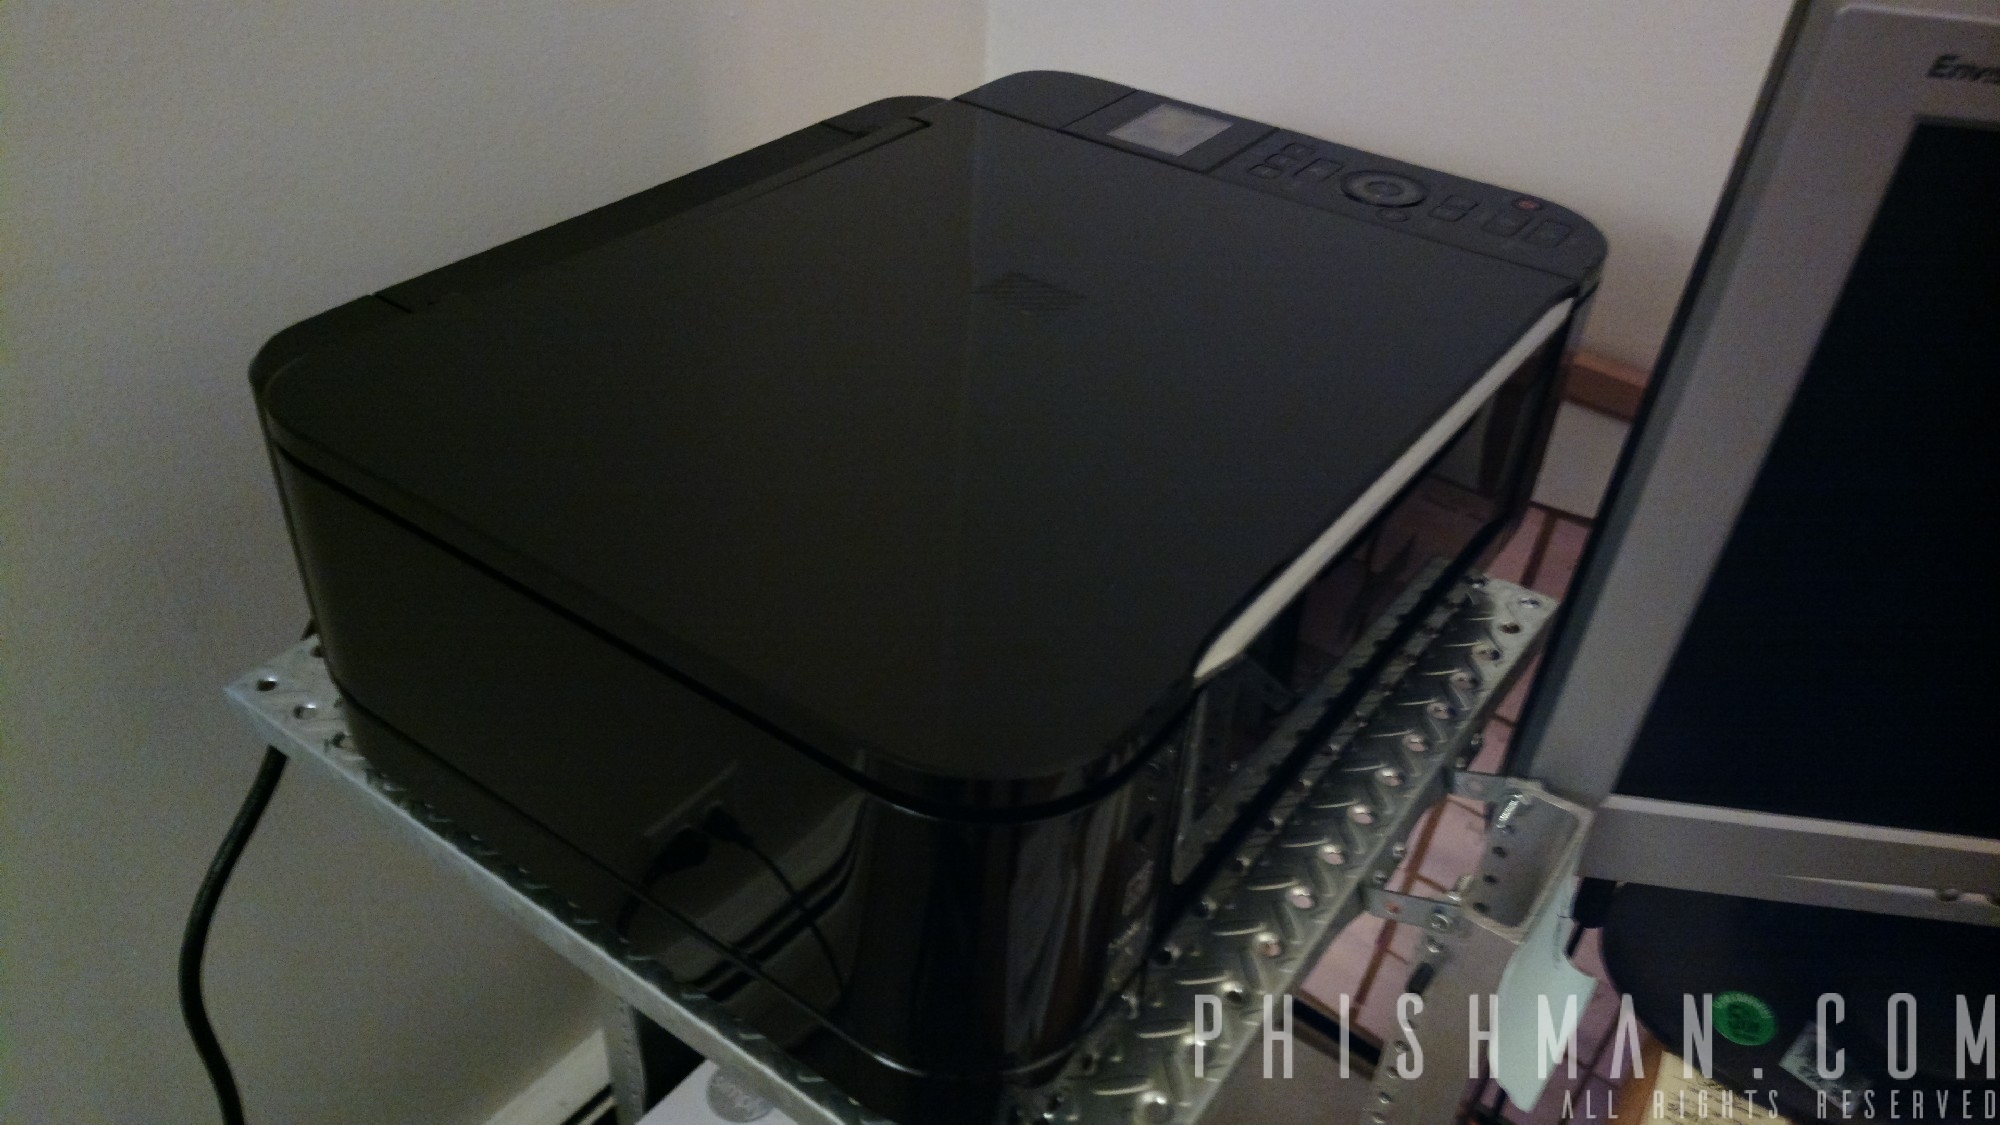
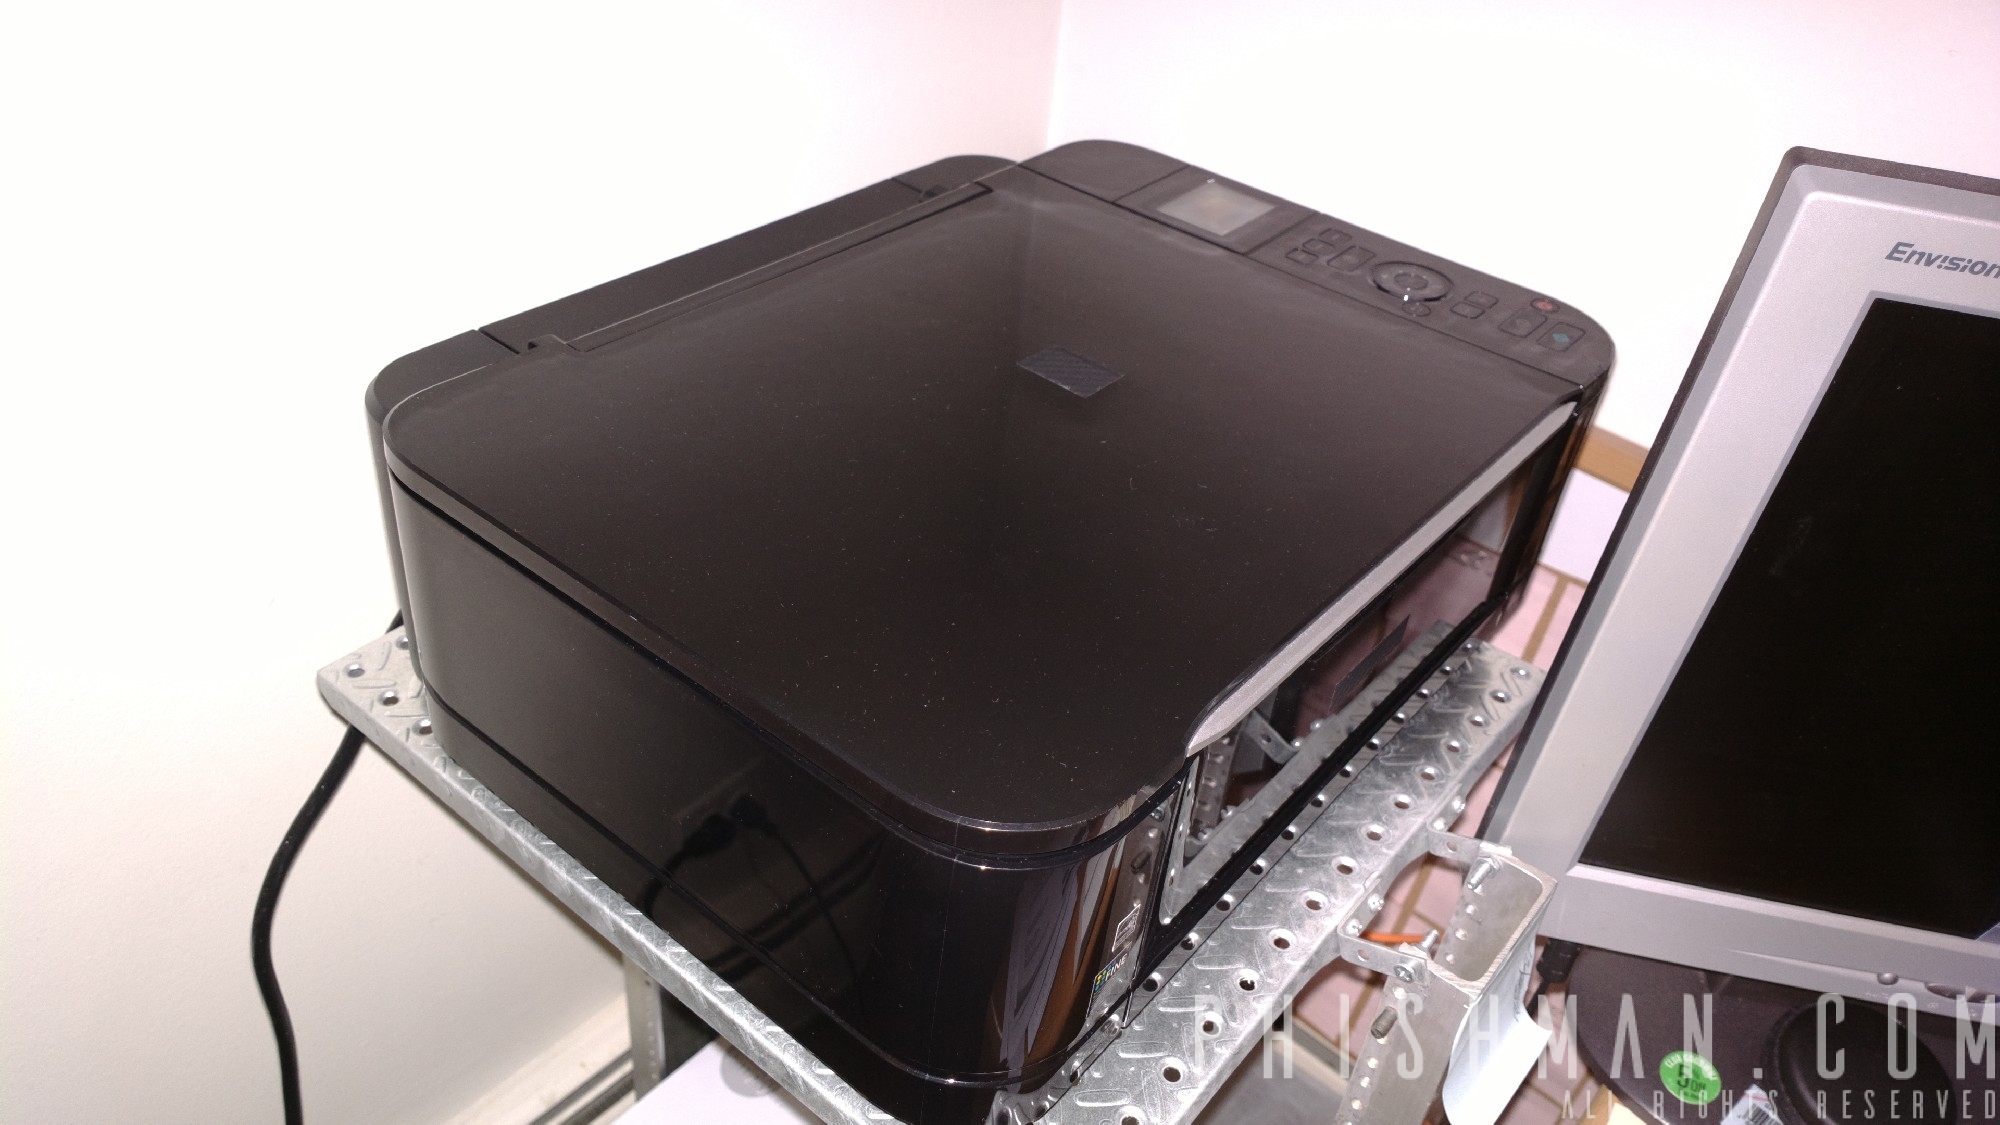
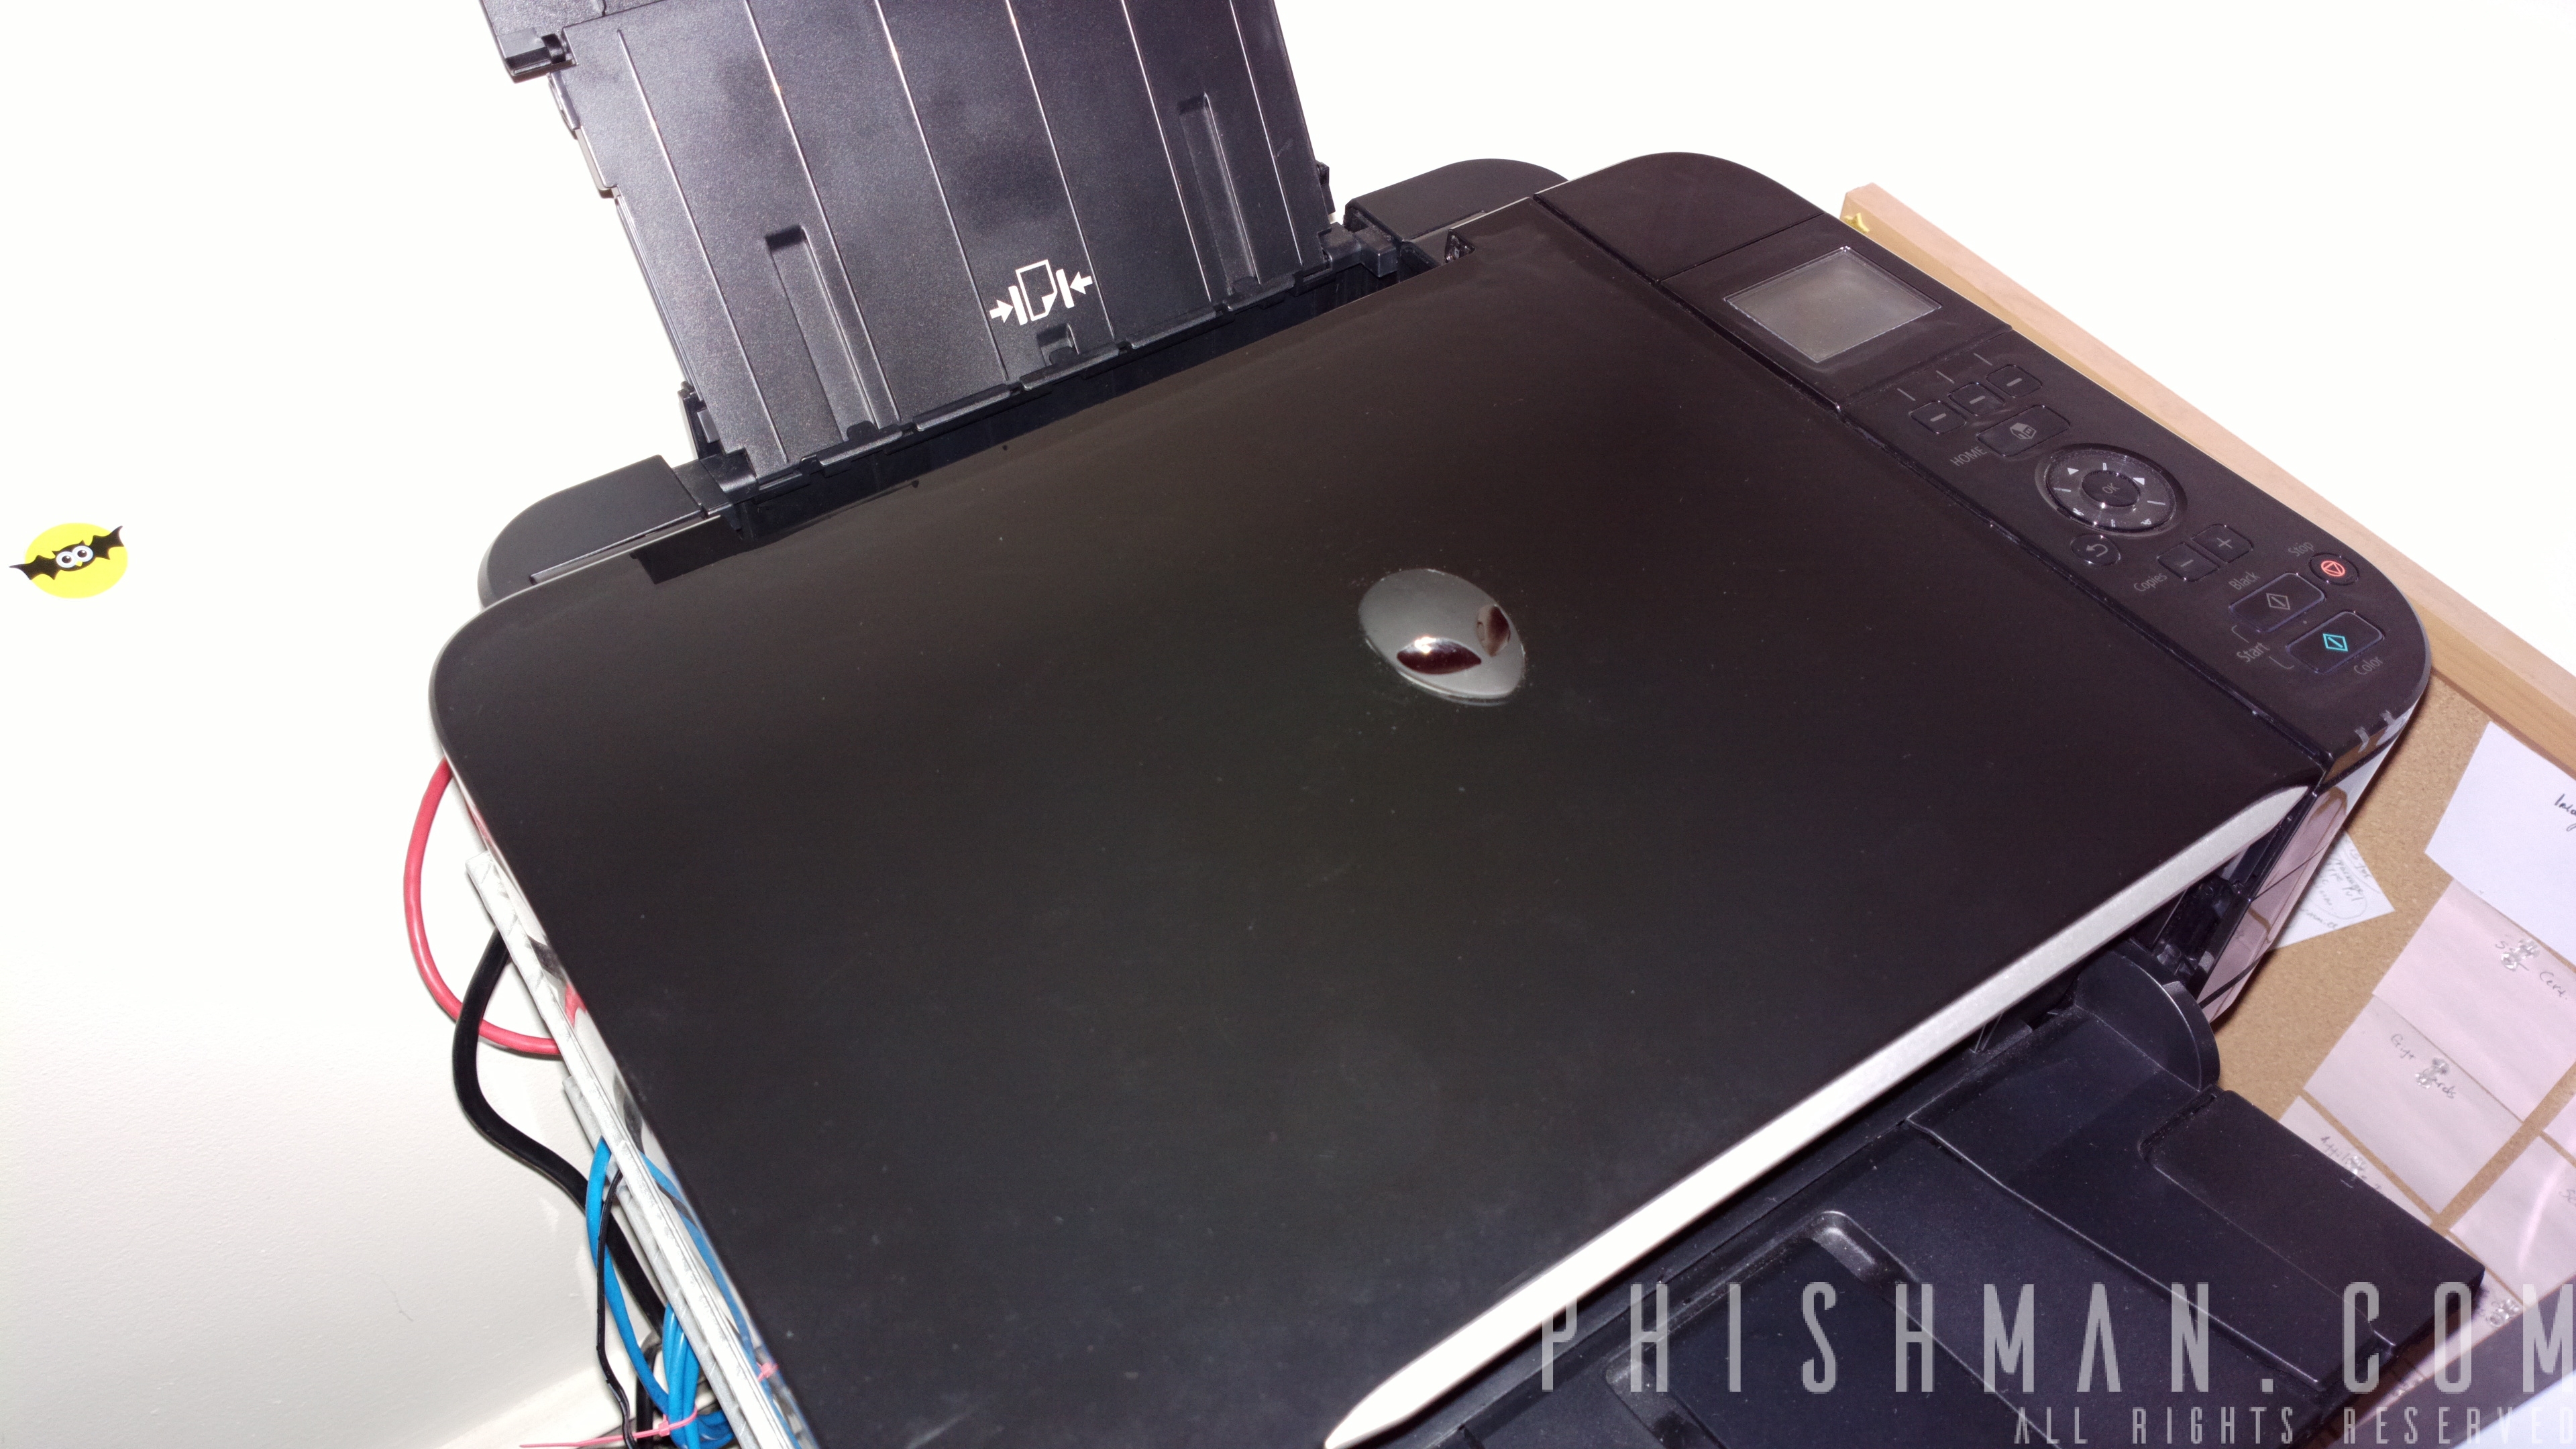
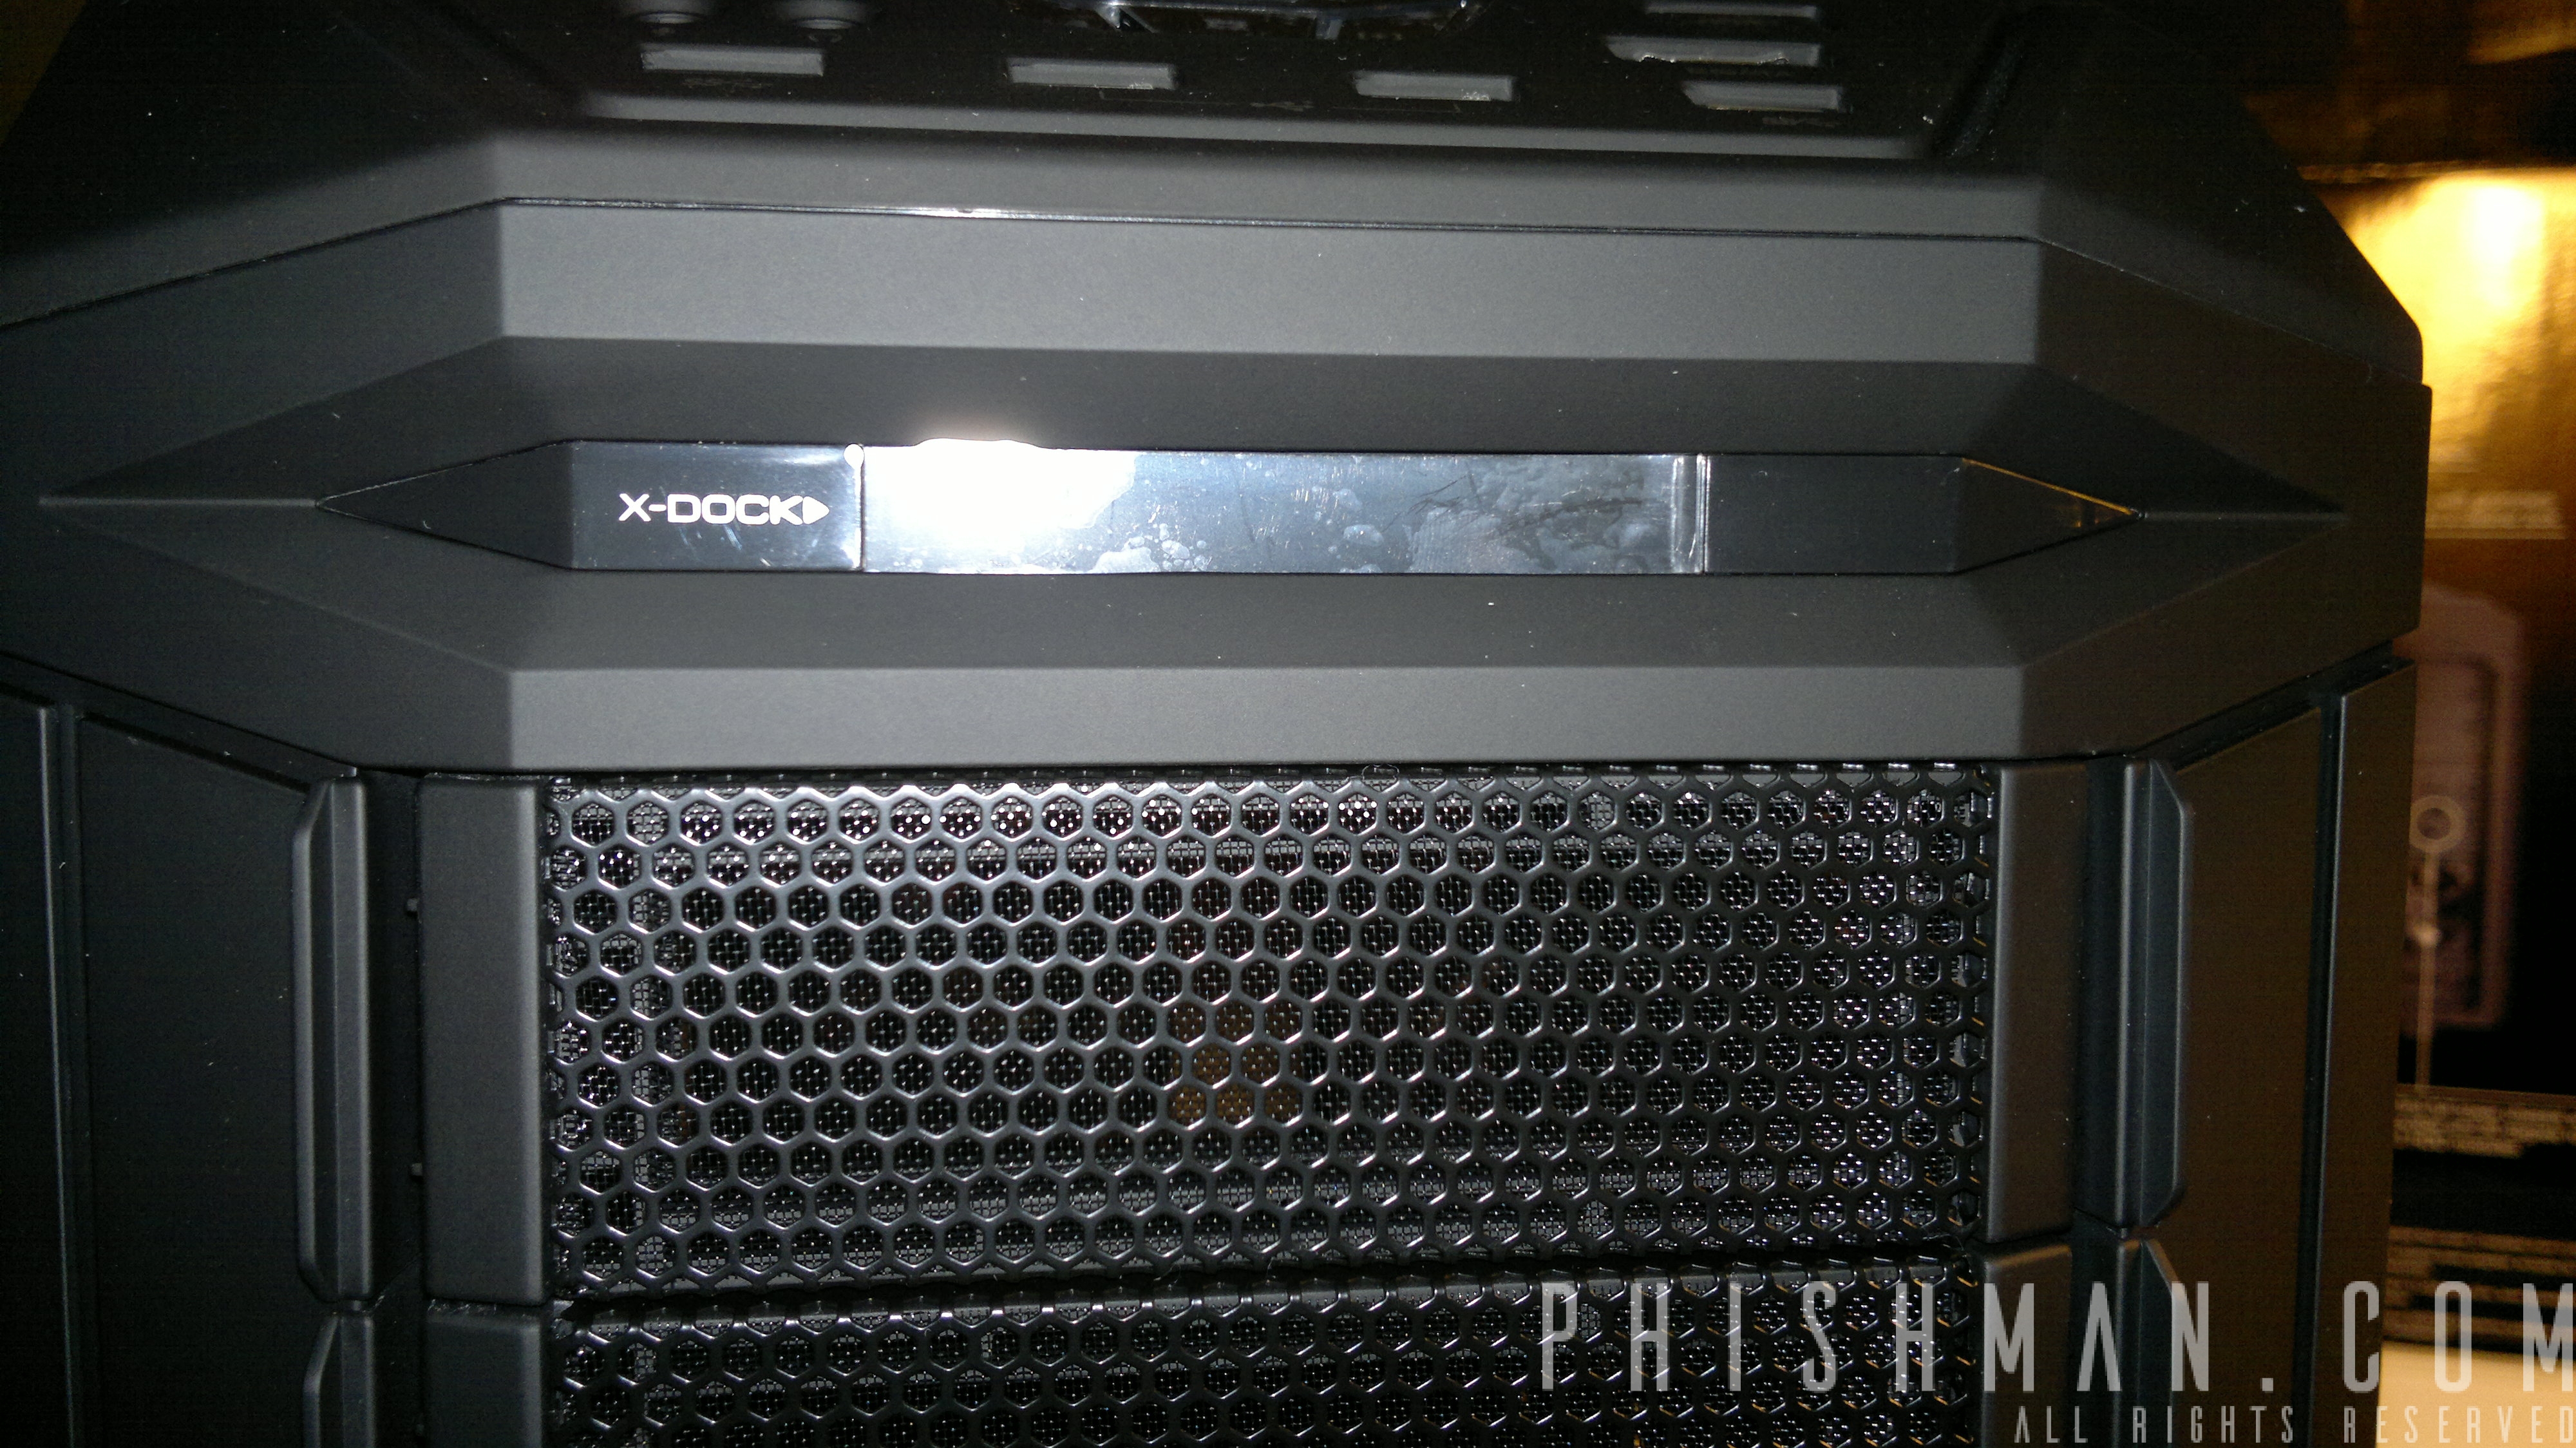
Case enclosure used is old broken Canon printer, which I liked for the project.
Building


 (6 votes, average: 4.33 out of 5)
 (4 votes, average: 4.00 out of 5)


Recent Comments